User settings, Application, Timeline – Grass Valley EDIUS Pro v.7.4 Reference Manual User Manual
Page 94
Chapter 3 Edit Settings — [User Settings]
94
[User Settings]
Change how clips are handled on the timeline, or change the user editing environment, for example, by customizing screens or buttons.
Both restricted users and administrator users can change and save settings in profiles from any user profile.
The following explains the items that can be set in the user settings.
The settings can be changed even during editing.
[Application]
Set EDIUS operations.
[Timeline]
Set operation or display on timeline.
1)
Click [Settings] on the menu bar, and click [User Settings].
2)
Click the [Application] tree, and click [Timeline].
3)
Set each item.
[Extend Clips when Applying
Transition/Cross Fade]
When a clip transition/audio cross fade has been set to the clip on the timeline, right and left
clips extend and overlap with each other. The total length remains unchanged.
“Extend/Fix mode” (w page 213)
[Insert Default Crossfade in
Transition]
When a transition has been set to a video clip on a VA track, the default audio cross fade of the
same length is simultaneously added to the audio clip at the same position.
“Changing Default Effects” (w page 321)
[Insert Default Transition in
Crossfade]
When a cross fade has been set to an audio clip on a VA track, the default transition of the
same length is simultaneously added to the video clip at the same position.
“Changing Default Effects” (w page 321)
[Set the Cut Point of Transition/Cross
Fade to Front when at Middle of a
Frame]
Set the cut points of clip transitions or audio cross fades to forward. For example, when the
transition for 7 frames has been set, the cut points are set between the third and fourth frames.
3
4
[Hold the Next Clip when Trimming a
Clip (except at ripple trim)]
Disable extension of clips across the edge of the clips on the left and right when trimming a clip
with ripple mode off.
[Show Tool Tip During the Trim]
Display timecode information on the tooltip while dragging to trim the cut point of clips.
[Reset Pan Settings when Audio Clips
are Moved to Other Tracks]
When an audio clip has been moved or copied to another track, the pan setting is reset aligned
with the move destination track. For example, when a clip on the A1 track has been moved
to the A2 track, the pan that was set on the A1 track is reset on the A2 track with the L and R
sides inverted.
[Select the Left Clip when Cutting a
Clip]
Set which one of the previous and next clips will be selected when clip cutting has been
performed.
[Snap Event]
Enable the snap function.
Check the event to be used as the snap point. When [Snap to Events Inside the Selected Area]
is checked, all edit points of the clip in the selection area are snapped to.
[Default]
Change the default setting for the editing mode when creating a new project file.
“Switching the Mode when Placing/Moving Clips” (w page 210)
[Waveform]
Set the display method for the waveform of the timeline to either [Log (dB)] or [Linear (%)].
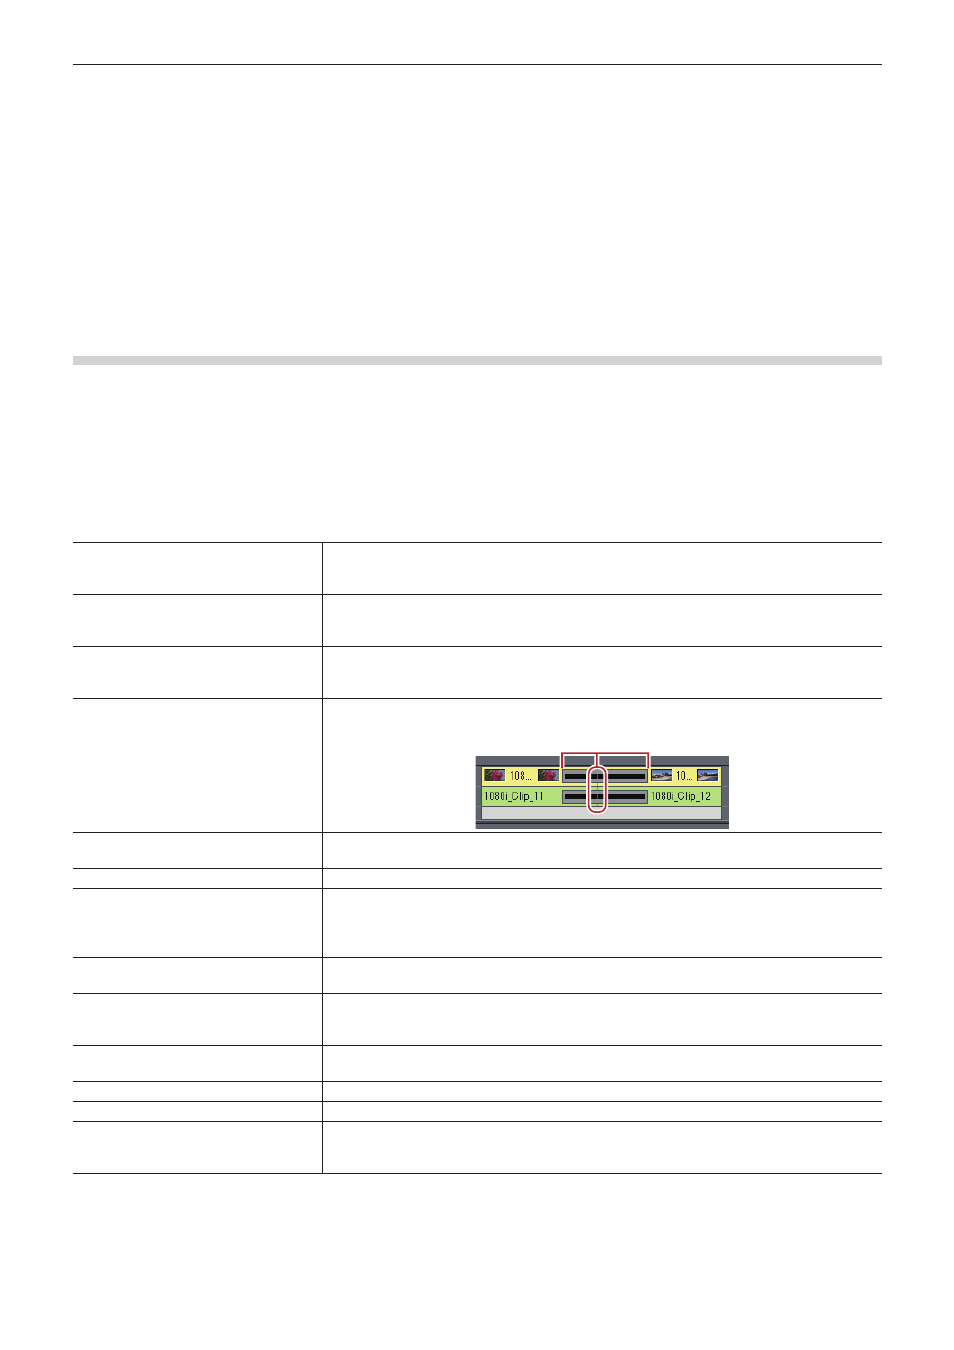
[Clip Timecode]
Display the checked timecode on the clip.
[Clip Thumbnail]
Display the thumbnails of In/Out points at the clip edge on the timeline. Select [All] to display
thumbnails in succession. To hide thumbnails, uncheck this item.
[Alt] + [H]
4)
Click [OK].
f
You can continue to set other items by clicking [Apply].