Exporting video clips from timeline – Grass Valley EDIUS Pro v.7.4 Reference Manual User Manual
Page 281
Chapter 6 Editing Timelines — Playing Back Timelines
281
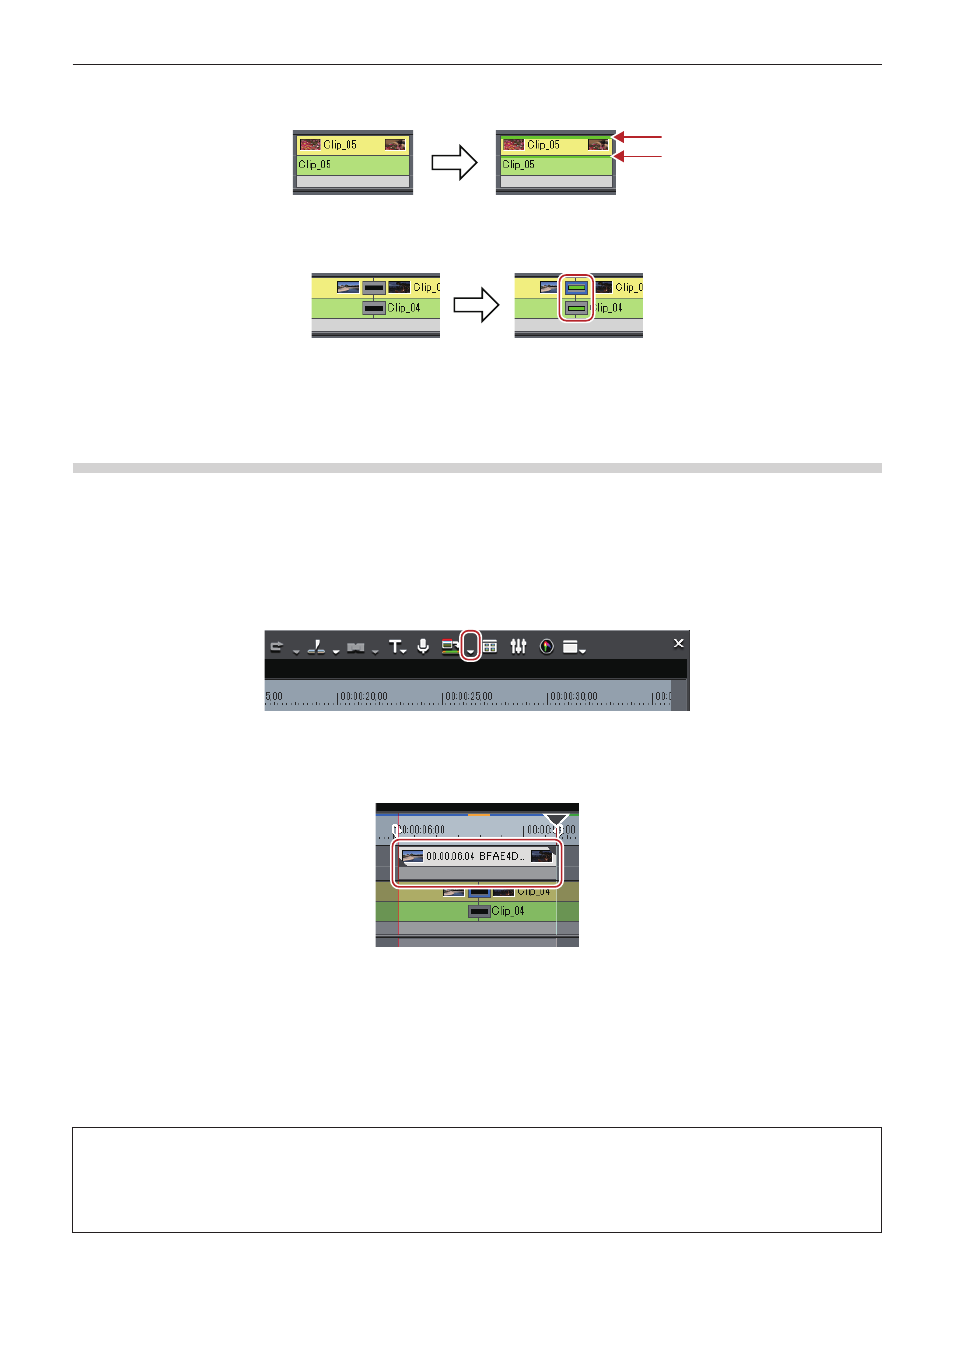
Example:
When a clip has been rendered
When a transition has been rendered, the center line of the transition changes color to green.
Example:
When a clip transition has been rendered
1
Alternative
f
Click [Render] on the menu bar, and click [Render selected clip/transitions].
f
Rendering clips/transitions:
[Shift] + [G]
Exporting Video Clips from Timeline
Render between In and Out points on the timeline, and export only video clips as a file in AVI format. Exported clips are placed on the V/VA
track.
1)
Set the area of the clip to export from the timeline with the In and Out points.
f
“Setting the In and Out Points on the Timeline” (w page 217)
2)
Click the [Render In/Out (Render Overload Area)] list button on the timeline.
3)
Click [Render and Add to Timeline (Between In/Out)].
f
To cancel export, click [Cancel] in the [Render] dialog box.
f
When rendering is completed, the video clip which has been exported to the V/VA track of the timeline is placed.
f
If there is no space to place a clip on the track, a new V track is added.
1
Alternative
f
Click [Render] on the menu bar, and click [Render and Add to Timeline (Between In/Out)].
f
Right-click the time scale, and click [Render and Add to Timeline (Between In/Out)].
f
Exporting video clips from the timeline:
[Shift] + [Q]
2
f
Exported clips are saved in the “rendered” folder in the project folder.
3
Note
f
Track areas set with title track clips and mute are exported as black clips.
f
Exported clips are automatically deleted when a project is ended while these clips are not in use in the project. If exported clips will be
required for continued use later, either place them on the timeline or save the project with the clips registered to the bin.
f
To use exported clips in other projects, copy the file to another folder.