Playback with shifted audio, Offset of audio – Grass Valley EDIUS Pro v.7.4 Reference Manual User Manual
Page 387
Chapter 9 Audio Operations — Adding and Editing Audio
387
9)
Click [Yes].
f
The audio clip is placed and data saved.
2
f
The white line on the right side of the level meter changes to red when the volume exceeds 0 dB. Clicking the line returns it to its original
setting.
f
If playback of the timeline does not stop in time, recording is also stopped.
Playback with Shifted Audio
Offset of Audio
The timing of video and audio playback can be adjusted by sample increments.
1)
Select a clip, and click [Clip] on the menu bar → [Audio Offset].
f
Multiple clips can also be selected.
f
The [Audio Offset] dialog box appears.
“[Audio Offset] Dialog Box” (w page 387)
1
Alternative
f
Right-click a clip and click [Audio Offset].
3
Note
f
Audio offset cannot be applied if multiple clips of differing sampling rate are selected.
2)
Select the direction of movement and enter the offset.
3)
Click [OK].
f
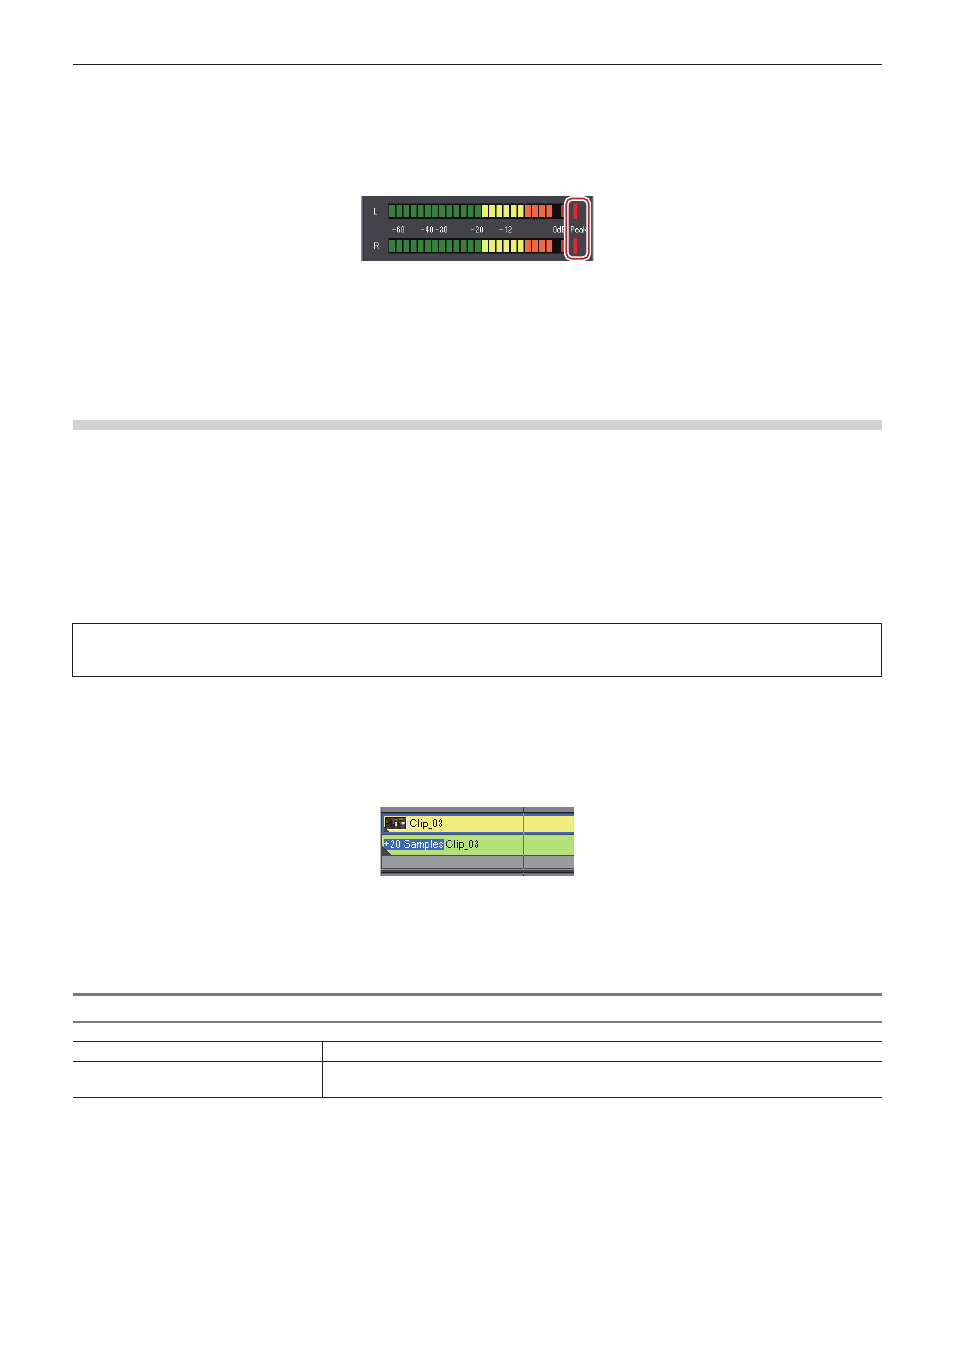
When offset has been applied to a clip, the offset value is displayed in blue at the start of the clip.
f
Waveforms will also update with the applied audio offset.
2
f
If the link between video and audio is not in sync, the number of frames they are out of sync will be displayed with priority.
“Unlinking Clips” (w page 227)
[Audio Offset] Dialog Box
[Direction]
Select whether to delay the audio compared to video, or advance the audio compared to video.
[Offset]
Enter a value by which to delay or advance. Values can be entered by sample increments or
seconds.