Capturing sources in k2 clip format, Capture workflow – Grass Valley EDIUS Pro v.7.4 Reference Manual User Manual
Page 437
Chapter 11 Interaction with GV STRATUS — Interaction Function with GV STRATUS
437
Placing K2 Clip Files on the Timeline
1)
Click the [K2 (SAN)] tree in the folder view of the source browser, and click a connection destination.
f
The information on the K2 Media server is displayed in the clip view.
f
A Program/List format clip is displayed with the icon .
f
A clip that is being captured by another EDIUS client is displayed with the icon indicating that the system is generating a file.
2
f
To update the information of the server, right-click the connection destination, and click [Refresh].
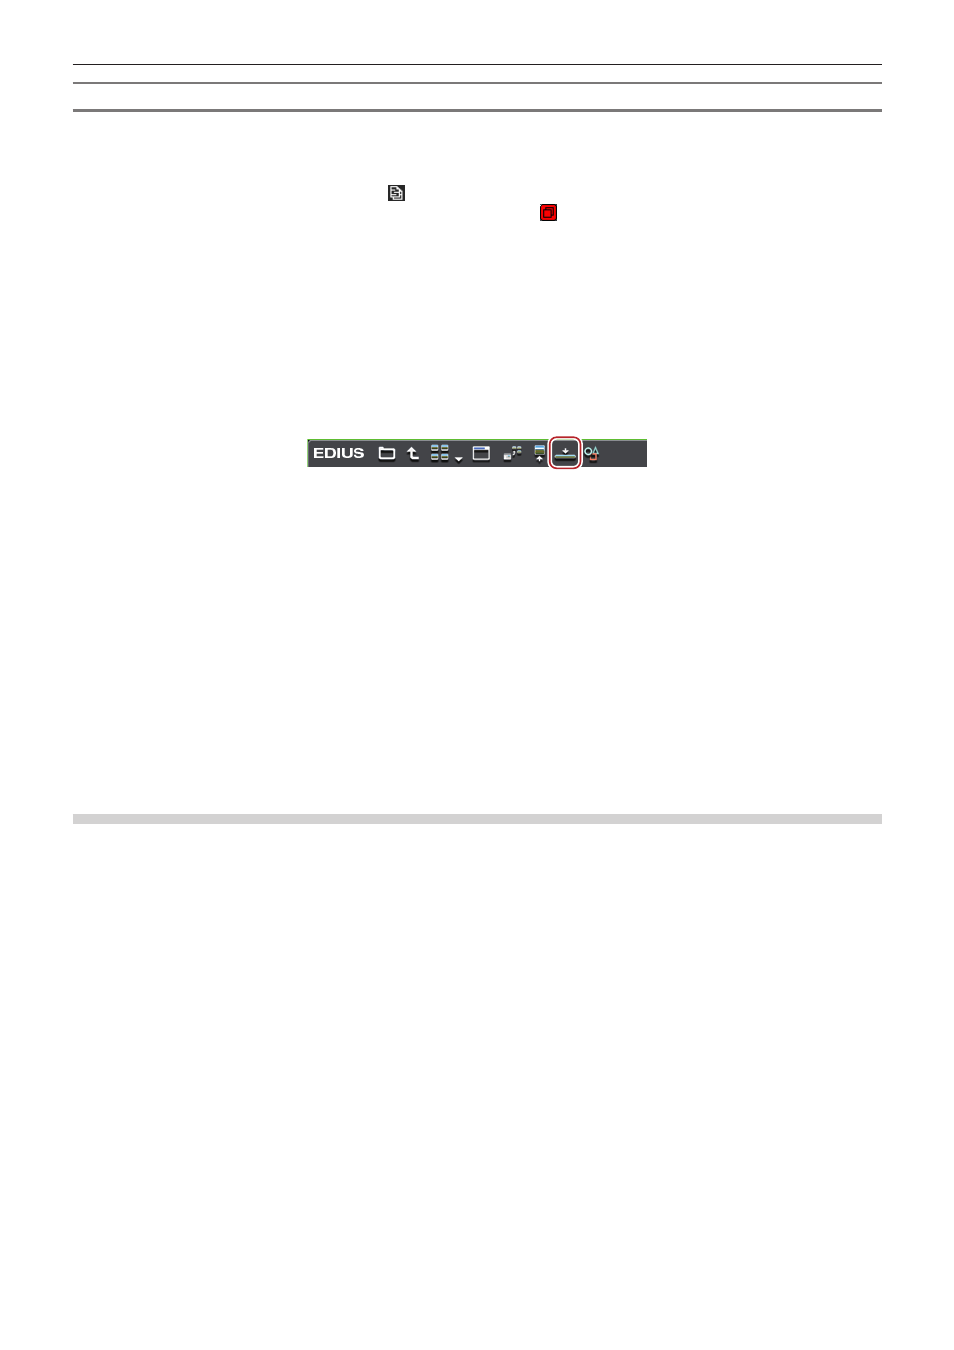
2)
Drag and drop a clip to the timeline.
f
For a Program/List format clip, a dialog box appears indicating that loading is being performed. The clip is placed on the timeline as a
sequence clip when loading the clip is complete.
1
Alternative
f
Configure the source channel mapping and move the timeline cursor to the point where you want to place a clip. Select a clip, and click
[Add to Timeline] in the source browser.
f
Configure the source channel mapping and move the timeline cursor to the point where you want to place a clip. Select and right-click a
clip in the source browser, and click [Add to Timeline].
2
f
If you click [Cancel] in the dialog box that is displayed while loading a Program/List format clip, all of the previously loaded clips will
become invalid.
f
If [Allows Users to Rename/Delete Clips and Bins.] is checked in the browser settings, the following operations can be performed in the
clip view of the source browser.
“Browser Settings” (w page 433)
g
Click a clip name and rename it.
g
Select a clip and press [F2] on the keyboard to rename it.
g
Right-click a clip and click [Delete] to delete it.
Capturing Sources in K2 Clip Format
Capture Workflow
The workflow to capture sources in K2 Clip format using EDIUS is as follows.
1)
Specify the save destination for the captured source.
f
You set the save destination for the source captured in K2 Clip format.
“K2 Server (SAN) Settings” (w page 432)
2)
Connect external devices to a PC.
f
Connect the external devices, such as cameras or decks, you want to use for capturing to Grass Valley hardware or your PC.
3)
Register a device preset that supports capturing in K2 Clip format.
f
Register setting items for the connection information or video format to load a clip in K2 Clip format, etc. as a device preset for the
external devices, such as cameras or decks, you want to use for capturing as well as Grass Valley hardware. Select [K2 Clip] from the
[File Format] list on the [Input H/W, Format Settings] screen.
“Registering Device Presets” (w page 109)
“Detailed Codec Settings when Capturing in K2 Clip Format” (w page 438)
4)
Capture in K2 Clip format.
f
Capture sources in K2 Clip format.
“Capturing in K2 Clip Format” (w page 438)
“Batch Capturing in K2 Clip Format” (w page 439)