Batch capturing in k2 clip format – Grass Valley EDIUS Pro v.7.4 Reference Manual User Manual
Page 439
Chapter 11 Interaction with GV STRATUS — Interaction Function with GV STRATUS
439
5)
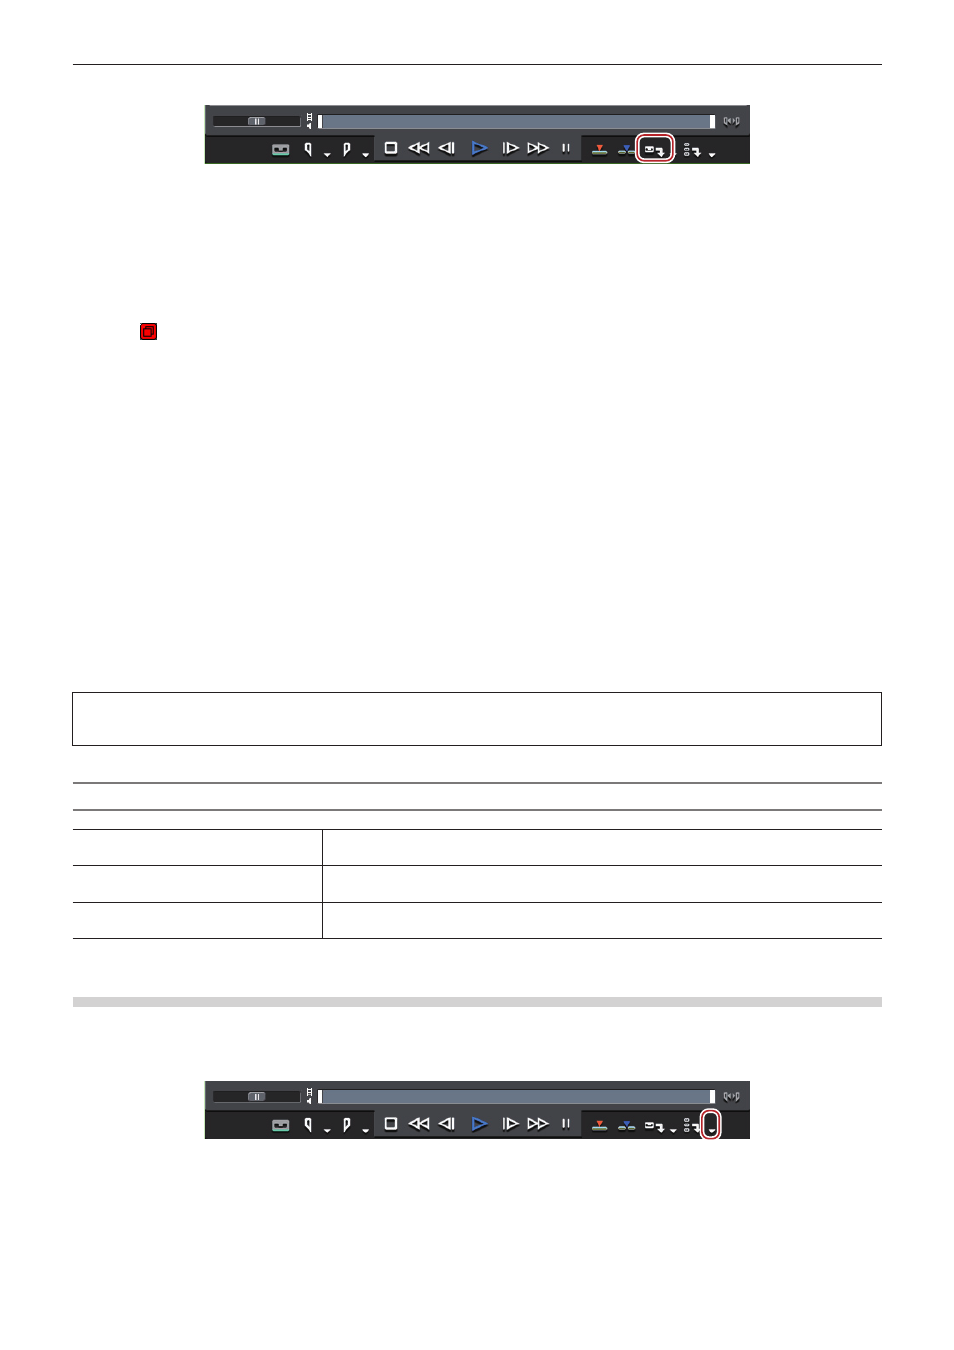
Click [Capture] on the Player.
f
The [K2 Ingest Setting] dialog box appears.
6)
Change the clip name as necessary.
f
Capturing starts. The [Capture] dialog box appears.
f
For a device that supports deck control by EDIUS, capturing ends automatically at the Out point. Click [Stop] in the [Capture] dialog box to
stop capturing halfway through the process. If you want to continue capturing, repeat steps
f
For a device that does not support deck control by EDIUS, click [Stop] in the [Capture] dialog box to stop capturing and stop the playback
on the device. If you want to continue capturing, cue up to the part you want to capture and then repeat steps
f
The icon indicating that the system is generating a file is displayed on the clip that is being captured in the source browser.
f
The captured clip is registered in the bin.
1
Alternative
f
Same operations as steps
1) to 2) are available using the following methods.
g
Click [Capture] on the menu bar, and click [Device Preset Name] to display the device preset.
g
Click the device preset name ([Input Preset 1] to [Input Preset 8]) to display the device preset. (By default, [Input preset 2] to [Input
Preset 8] are not displayed. Before performing the operation, set to display the buttons in the preview window.)
“Operation Button Settings” (w page 121)
g
Displaying the device preset assigned to the input preset 1:
[F2]
g
Displaying the device preset assigned to the input preset 2:
[F3]
g
Displaying the device preset assigned to the input preset 3:
[F4]
f
Same operation as step
5) is available using the following methods.
g
Press [F9] on the keyboard after step
2
f
During capture, you can add a marker with a comment to the source clip.
f
During the capturing process, another EDIUS client on the same network can perform edit while recording by loading the captured data.
“Loading K2 Clip Files to Be Managed by the K2 Media Server” (w page 435)
f
If you want to change the save destination or reel name halfway through the process, for example, when you replace the tape, click
[Capture] on the menu bar and, click [K2 Ingest Setting].
3
Note
f
If only the audio is captured, it is not displayed as a clip in the source browser window. A WAV file is saved in the project folder.
[K2 Ingest Setting] Dialog Box
[Server]
From the list, select the save destination for the source captured in K2 Clip format.
“K2 Server (SAN) Settings” (w page 432)
[Bin]
Displays the list of bins in the save destination you selected in [Server]. Select the bin to
register captured clips.
[Reel Name]
To set a reel name, uncheck [Use User Bit as a Reel Name] and enter a reel name. You can
also select the previously entered reel names from the list.
Batch Capturing in K2 Clip Format
The following explains how to batch capture sources in K2 Clip format.
1)
Click the [Add to Batch Capture List] list button on the Player.
2)
Click [Batch Capture].
f
The [Batch Capture] dialog box appears.
“[Batch Capture] Dialog Box” (w page 146)