Moving camera switch points – Grass Valley EDIUS Pro v.7.4 Reference Manual User Manual
Page 291
Chapter 6 Editing Timelines — Multicam Mode
291
2)
Click the camera video of the clip to be enabled first.
3)
Click [Play] on the Recorder.
4)
Click the camera video of the clip to be enabled at the video switching position.
f
The camera switch point is set to the timeline cursor position. When playback stops, a cut point is added to the clip on the camera switch
point.
2
f
Any camera switch point which is placed between the first up to the playback stop point is deleted.
f
When setting the camera switch point during playback, you can set not to delete the camera switch points that playback has passed
through. Click [Mode] on the menu bar, and click [Overwrite Cut Point] to uncheck the item.
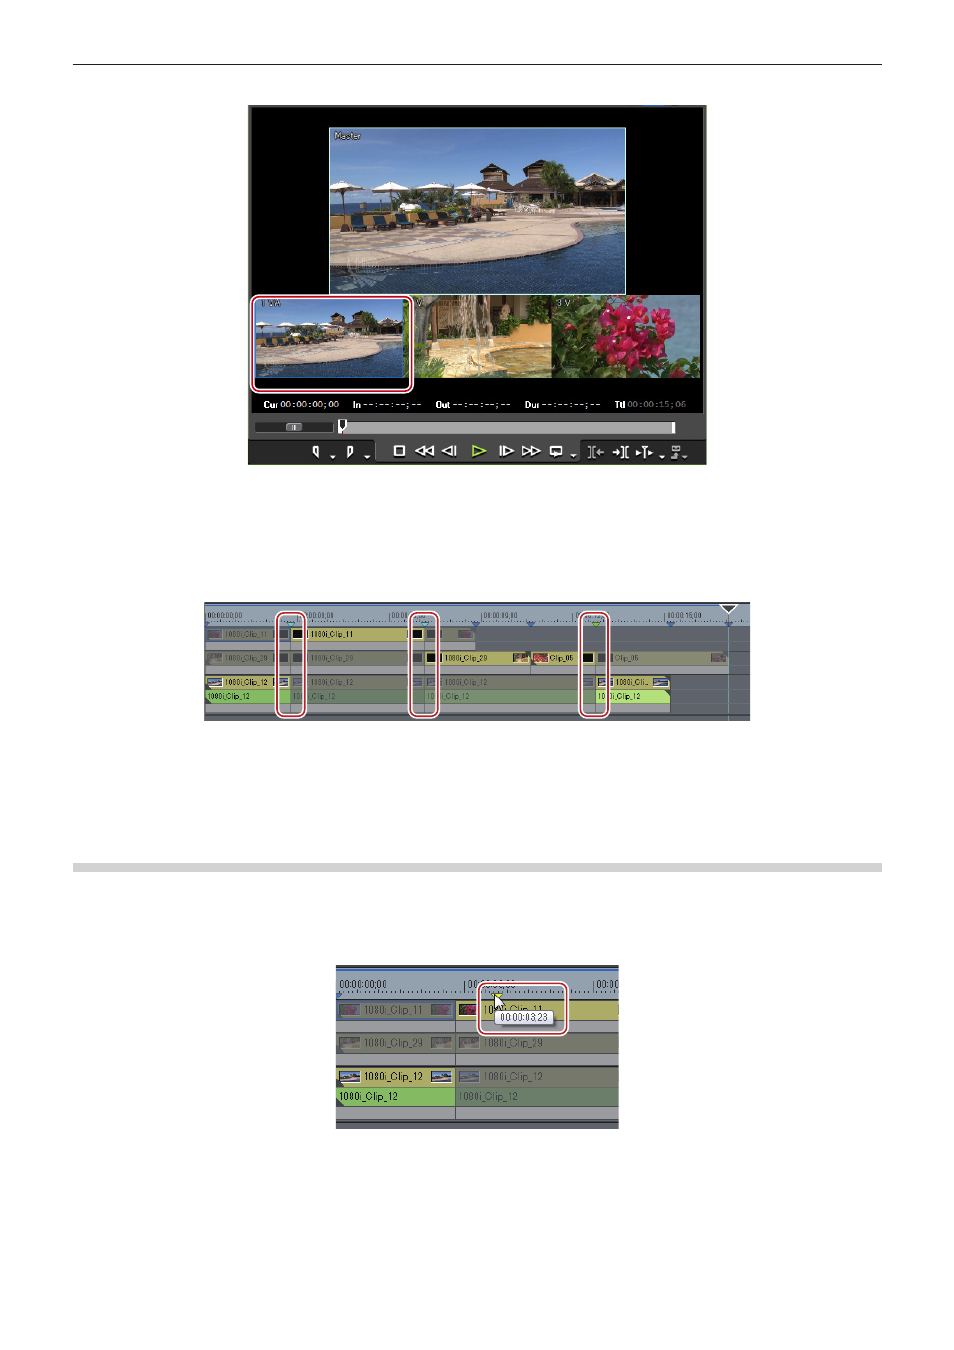
Moving Camera Switch Points
You can delete camera switch points.
1)
Drag the camera switch point.
f
Selected camera switch points are displayed in light blue.
f
During dragging, the images of the previous and next frames of the camera switch point are displayed on the camera of the respective
track on the Recorder.
1
Alternative
f
Click the clip boundary, and perform a slide trim.