Exporting a file in k2 clip format – Grass Valley EDIUS Pro v.7.4 Reference Manual User Manual
Page 442

Chapter 11 Interaction with GV STRATUS — Interaction Function with GV STRATUS
442
3)
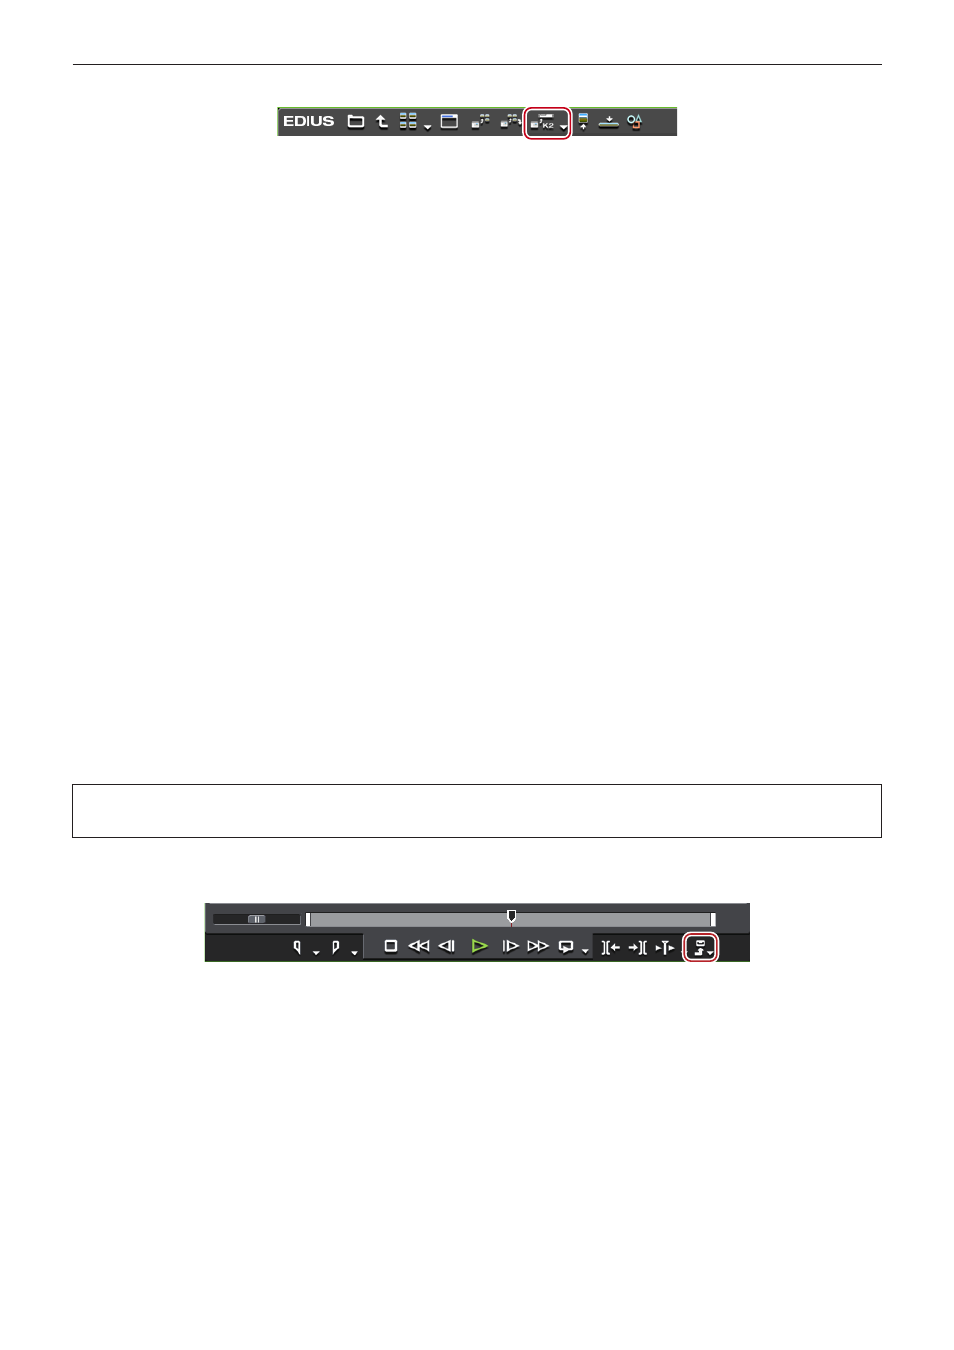
Click [Register K2 Asset] in the source browser.
4)
Click [Register with default setting] or [Register by changing the setting].
f
If you click [Register by changing the setting], the [Register K2 Asset] dialog box appears. Set the export destination, and then click [OK].
“K2 Asset Registration Settings” (w page 434)
f
The clip will be exported as a background job to the K2 Media server.
f
Single clips will be converted in the K2 Clip format, and edit lists such as playlists will be converted to the K2 Program format.
1
Alternative
f
Right-click a clip in the source browser, and then click [Register K2 Asset] → [Register with default setting] or [Register by changing the
setting].
2
f
While converting clips, another EDIUS client on the same network can edit while recording by loading the converted data.
Exporting a File in K2 Clip Format
You can export a project as a K2 Clip format file.
Before performing these steps, you must configure the connection to the K2 Media server you want to use as the export destination.
“K2 Server (SAN) Settings” (w page 432)
2
f
The following functions are supported as with the normal file export.
g
Generating wave information (waveform representation of audio)
g
Creating Preset Exporters
g
Batch export
f
The following exporters support smart rendering:
g
[K2 DV Clip]
g
[K2 DVCPRO HD Clip]
g
[K2 AVCIntra Clip]
g
[K2 D10 Clip]
f
The [K2 MPEG2 Clip] exporter supports segment encoding.
f
If you have EDIUS XRE, you can have your networked external PC perform a rendering process during file export. Note, however, your
EDIUS XRE system PC requires the EDIUS Elite license.
3
Note
f
Files in 1280x720 50p and 1280x720 59.94p formats which have odd number of frames cannot be output.
1)
Click [Export] on the Recorder.
2)
Click [Print to File].
f
The [Print to File] dialog box appears.
“[Print to File] Dialog Box” (w page 393)
1
Alternative
f
Click [File] on the menu bar, and click [Export] → [Print to File].
f
Exporting to file:
[F11]
3)
Click [K2] on the category tree.
4)
Select an exporter, and click [Export].
f
Select an exporter from [K2 DV Clip], [K2 DVCPRO HD Clip], [K2 AVCIntra Clip], [K2 D10 Clip], [K2 MPEG2 Clip], [K2 AVCHD Clip], [K2
DNxHD Clip], [DV GXF], [DVCPROHD GXF], [AVCIntra GXF], [D10 GXF], [MPEG2 GXF], or [JPEG2000 GXF]. Exporters that do not
support the project settings will not be displayed.
