Importing project presets (import), Exporting project presets (export), Saving project – Grass Valley EDIUS Pro v.7.4 Reference Manual User Manual
Page 54: Overwrite saving
Chapter 2 Project Settings — Project Operations
54
3
Note
f
Project presets registered by default cannot be changed.
4)
Set each item and click [OK].
2
f
Even when you change the project preset used in the project being edited, the settings of the project being edited are not changed. To
reflect the changes, switch the setting to the project preset changed.
“Switching Project Settings” (w page 50)
Importing Project Presets (Import)
1)
Click [Settings] on the menu bar, and click [System Settings].
2)
Click the [Application] tree, and click [Project Preset].
3)
Right-click [Presets List], and click [Import].
4)
Select a project preset, and click [Open].
Exporting Project Presets (Export)
1)
Click [Settings] on the menu bar, and click [System Settings].
2)
Click the [Application] tree, and click [Project Preset].
3)
Select and right-click a preset in [Presets List], and click [Export] → [All] or [Selected preset].
4)
Specify a save destination, and click [Save].
Saving Project
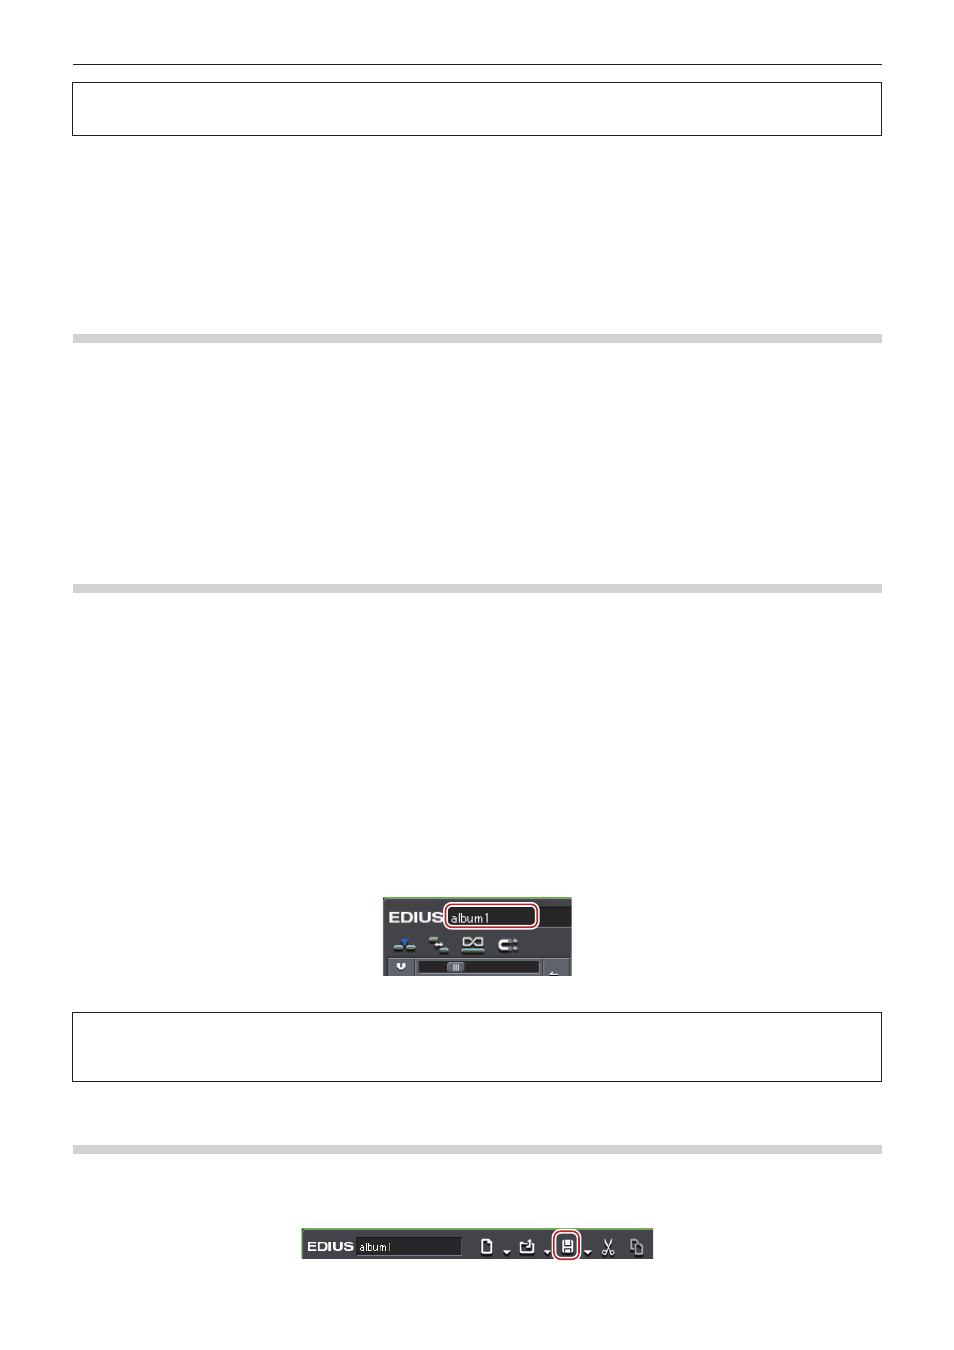
A project file is saved as an ezp file. The file name of the project currently being edited is displayed in the timeline operation area.
The following explains how to save project files and about auto save/backup files.
3
Note
f
After saving the project file, do not move or delete the source that is used for reference in the project. However, if the source is in the
folder where the project file is created, the folder as a whole can be moved.
Overwrite Saving
You can save the project with the project name entered when creating the project.
1)
Click [Save Project] on the timeline.