Sequence settings, Creating new project presets, Creating a project preset – Grass Valley EDIUS Pro v.7.4 Reference Manual User Manual
Page 51
Chapter 2 Project Settings — Project Operations
51
1)
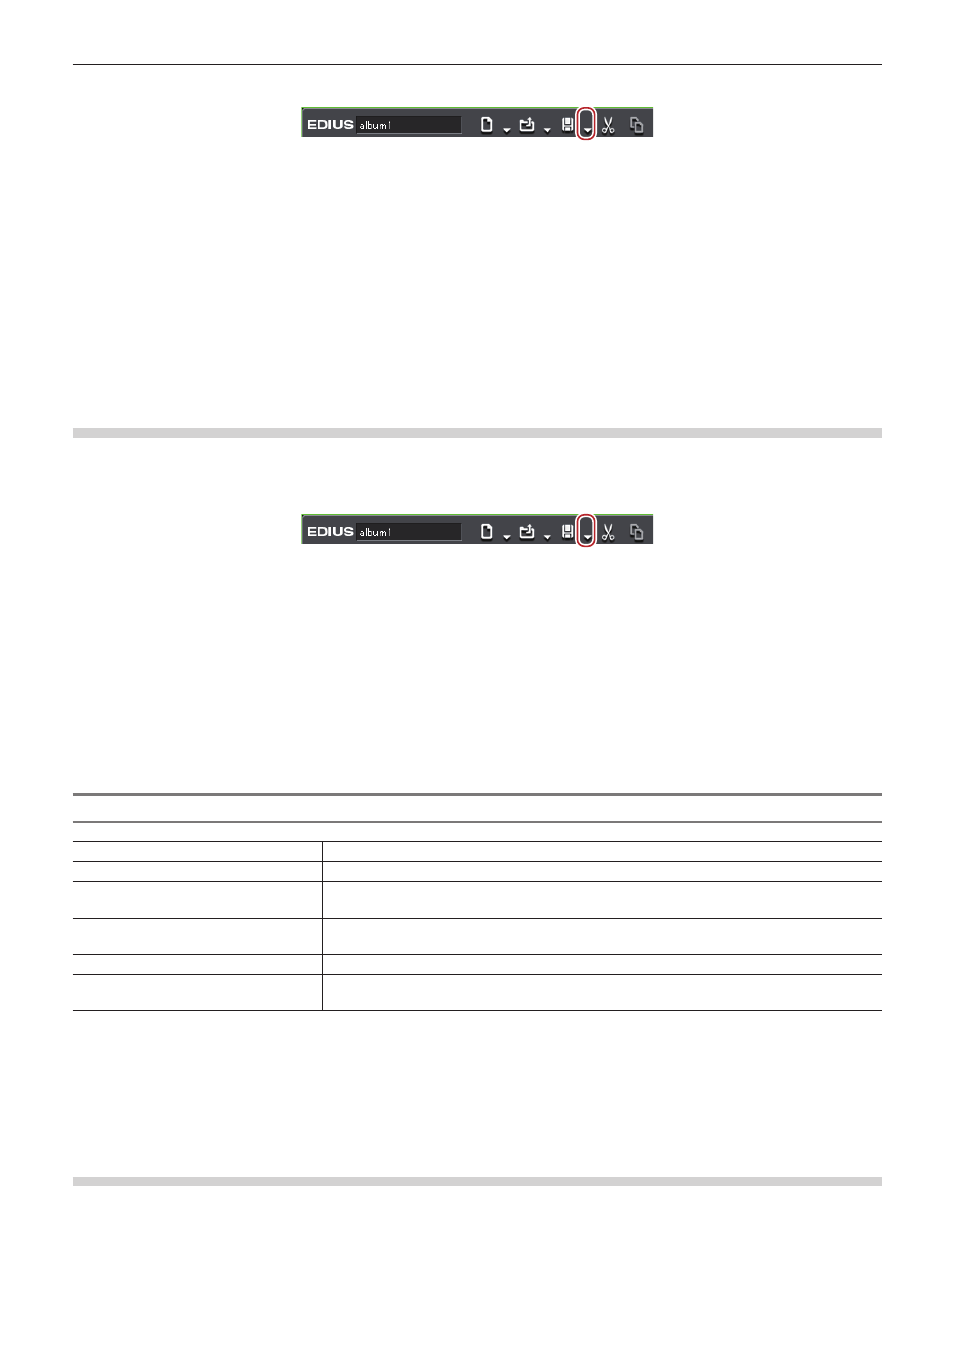
Click the [Save Project] list button on the timeline.
2)
Click [Project Settings].
1
Alternative
f
Click [Settings] on the menu bar, and click [Project Settings].
3)
Select a project preset, and click [Change current setting].
f
The [Project Settings] (Detailed Settings) dialog box appears.
“[Project Settings] (Detailed Settings) Dialog Box” (w page 44)
4)
Change the settings, and click [OK].
Sequence Settings
You can change the settings of the sequence settings in the [Sequence settings] dialog box.
1)
Click the [Save Project] list button on the timeline.
2)
Click [Sequence settings].
f
The [Sequence settings] dialog box appears.
“[Sequence settings] Dialog Box” (w page 51)
1
Alternative
f
Click [Settings] on the menu bar, and click [Sequence settings].
f
Right-click the sequence tab, and click [Sequence Settings].
f
Right-click a sequence clip in the bin, and click [Sequence Settings].
3)
Change the settings, and click [OK].
[Sequence settings] Dialog Box
[Sequence name]
Enter the name of the sequence.
[TC preset]
Set the start timecode of the timeline.
[TC Mode]
When NTSC has been selected for the project setting, select either drop frame or non drop
frame timecode display.
[Total Length]
Set the total length of the timeline of sequence by directly entering the value. When the timeline
exceeds this length, the color of the timeline section over the limit changes.
[Preserve Ancillary data]
Check this item to set the sequence to hold ancillary data.
[Channel map]
Set audio output channel for each track.
“Configuring Audio Channel Map” (w page 48)
Creating New Project Presets
Creating a Project Preset
1)
Click [Settings] on the menu bar, and click [System Settings].