Importing p2 sources, Importing from xdcam devices – Grass Valley EDIUS Pro v.7.4 Reference Manual User Manual
Page 161
Chapter 4 Importing Sources — Importing Files from Source Browser
161
3)
Select a GXF file, and click [Open].
f
Multiple GXF files can also be selected.
f
Conversion to the MXF file is started in the background at the same time that the clip is registered to the bin.
“Checking the Progress of Background Jobs” (w page 164)
f
The clip can be edited with EDIUS even during conversion.
Importing P2 Sources
Register P2 sources to the bin at the same time that they are transferred to the PC.
Connect the P2 device to the PC, and check that the power is turned on.
P2 sources copied to the hard disk on the PC also can be imported in the same way. Copy sources with the folder structure in the device
held intact.
2
f
Sources in 3D P2 format can also be imported. Insert two P2 cards into the slot.
“Importing Stereoscopic Sources” (w page 164)
3
Note
f
The drivers provided with the P2 device must be installed in advance.
1)
Click the [P2] tree in the folder view of the source browser.
2)
Click the drive or reference folder.
f
The P2 sources are displayed in the clip view.
2
f
Reference folders can be temporarily added in the folder view of the source browser. Right-click [P2] and click [Open Folder].
f
When references have been temporarily added in the source browser, they can be deleted by right-clicking a folder and clicking [Delete].
Actual folders are not deleted.
f
To update the information of references, right-click [P2] and click [Refresh].
3)
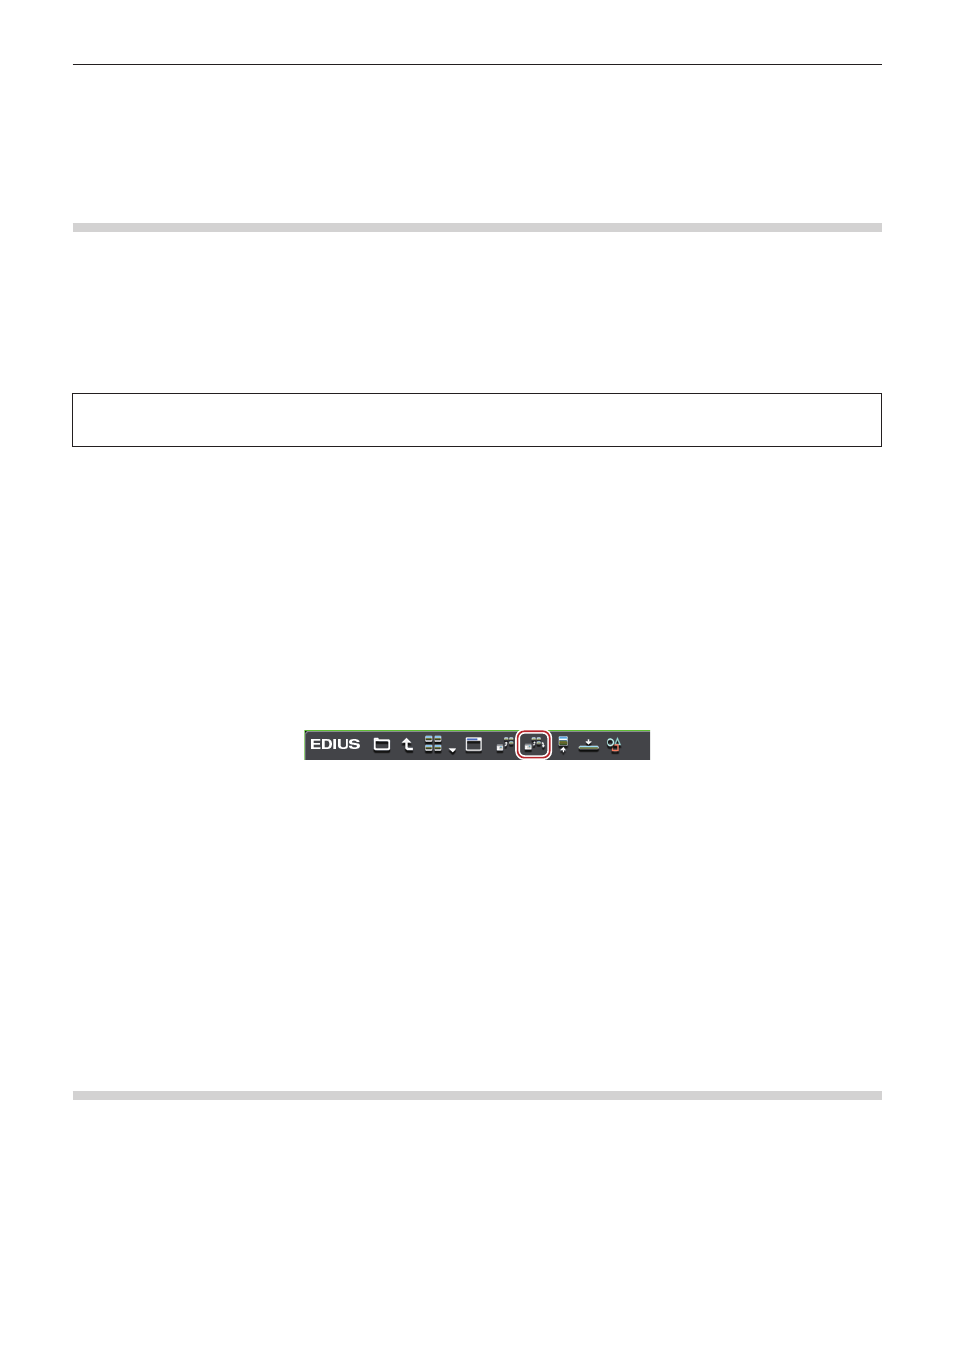
Select the clip to import, and click [Add and Transfer to Bin] in the source browser.
f
Data transfer to the PC is started in the background at the same time that the file is registered to the bin as a clip.
“Checking the Progress of Background Jobs” (w page 164)
1
Alternative
f
Right-click the clip to import, and click [Add and Transfer to Bin].
2
f
Clip names registered to the bin are “user clip name” when a user clip name has been set to the P2 clip, and “clip name” when a user clip
name has not been set.
f
When editing with EDIUS, P2 clips can be used in the same way as AVI clips. When editing from hard disk, realtime performance
becomes the same as that of AVI files of the same format. When editing directly from the P2 drive, performance becomes 2 stream
realtime in the case of DV, and 1 stream realtime in the case of DVCPRO50. (The above performances are based on the measurement by
Grass Valley. CPU performance varies depending on your system.)
f
Partial transfer is available, where In and Out points are set to files on the P2 device and only required parts are transferred to the hard
disk.
“Transferring Only Necessary Parts” (w page 167)
Importing from XDCAM Devices
Register XDCAM sources to the bin at the same time that they are transferred to the PC.
Before importing sources from XDCAM devices, connect the device to the PC via the IEEE1394 interface, and check that the power is
turned on.
XDCAM sources copied to the hard disk on the PC and proxy clips recorded on USB memory also can be imported in the same way. When
copying sources to hard disk on the PC, copy sources with the folder structure in the device held intact.
Import settings can be checked and changed by [Importer/Exporter] in [System Settings] → [XDCAM] → [Browser].
“XDCAM Browser Settings” (w page 88)