Playing back the area around the timeline cursor, Displaying a desired scene immediately, Jumping to in and out points on the timeline – Grass Valley EDIUS Pro v.7.4 Reference Manual User Manual
Page 275: Entering the timecode to jump to

Chapter 6 Editing Timelines — Playing Back Timelines
275
1
Alternative
f
Loop playback:
[Ctrl] + [Space]
3)
Click [Stop] on the Recorder.
f
Playback stops.
Playing Back the Area around the Timeline Cursor
You can play back the area around the timeline cursor.
1)
Move the timeline cursor to the point from which you want to start playing back.
2)
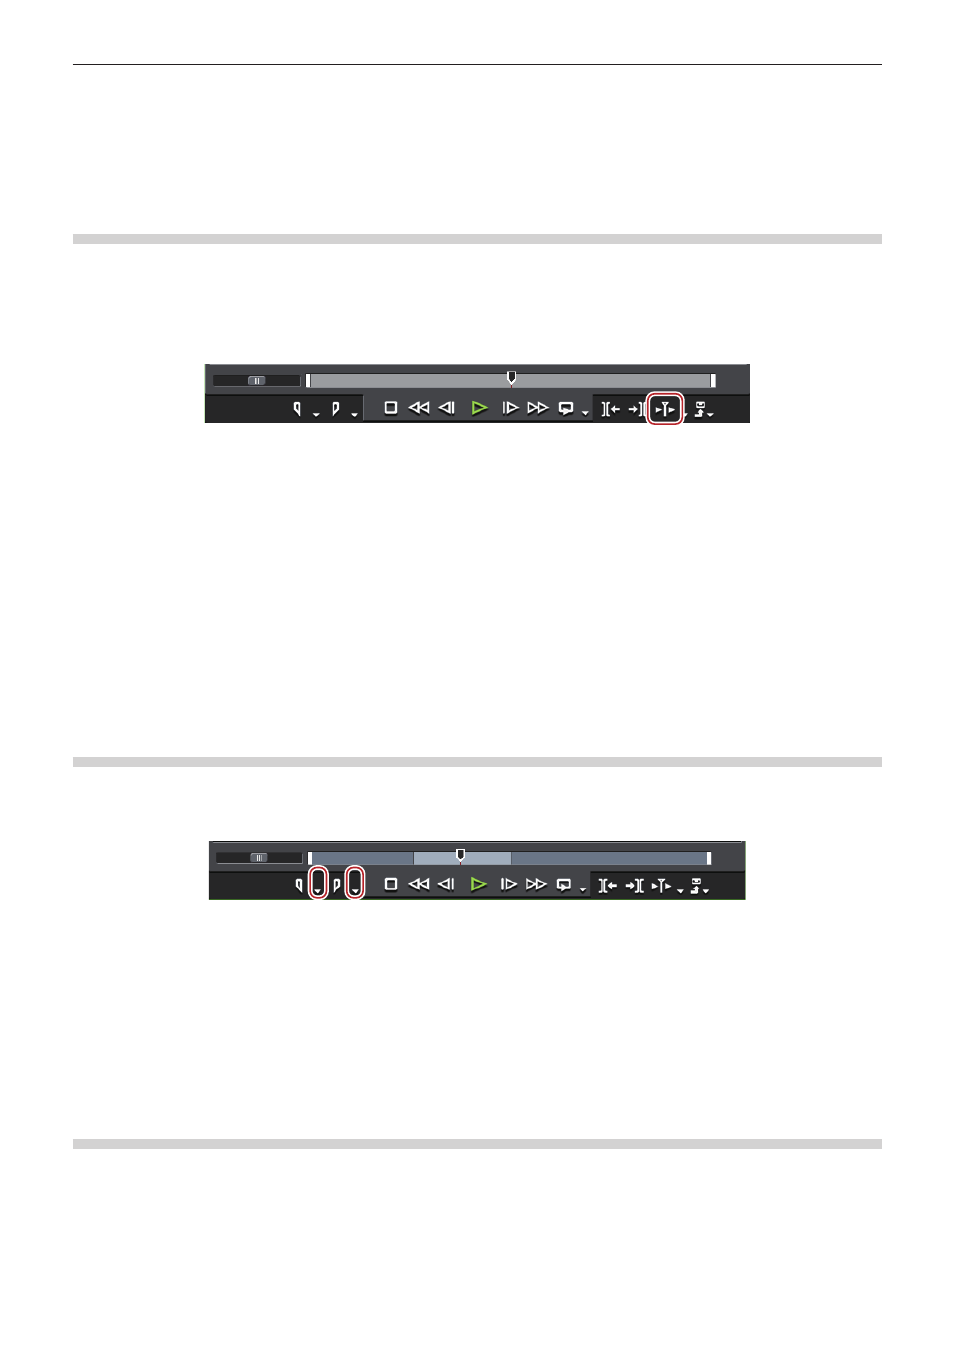
Click [Play the Current Area] on the Recorder.
f
You can repeatedly play back the area around the timeline cursor.
3)
Click [Stop] on the Recorder.
f
Playback stops.
2
f
You can also play back around the nearest cut point placed before the timeline cursor for the specified duration. Click the [Play the
Current Area] list button, and click [Play around Cut Point (1 Sec)], [Play around Cut Point (2 Sec)] or [Play around Cut Point (3 Sec)].
f
You can set the preliminary operation time (Preroll) at [Preview] in [User Settings] → [Playback].
Displaying a Desired Scene Immediately
Jumping to In and Out Points on the Timeline
You can jump to In and Out points on the timeline.
1)
Click the [Set In] ([Set Out]) list button on the Recorder.
2)
Click [Go to In Point] ([Go to Out Point]).
f
“Setting the In and Out Points on the Timeline” (w page 217)
1
Alternative
f
Click [Marker] on the menu bar, and click [Go to In Point] ([Go to Out Point]).
f
Right-click the slider on the Recorder, and click [Go to In Point] ([Go to Out Point]).
f
Right-click the time scale, and click [Go to In Point] ([Go to Out Point]).
f
Right-click the timeline cursor, and click [Go to In Point] ([Go to Out Point]).
f
Jumping to the In and Out points on the timeline:
[Q]/[W]
Entering the Timecode to Jump to
You can jump to a specified position on the timeline by entering the numerical values for the timecode at that position.
1)
Click on the Recorder.
2)
Enter the timecode with the numerical keypad on the keyboard.
