Registering ranges to be exported in a batch list, Exporting multiple ranges together (batch export) – Grass Valley EDIUS Pro v.7.4 Reference Manual User Manual
Page 416
Chapter 10 Export of Edited Contents — Exporting in File Formats
416
Registering Ranges to Be Exported in a Batch List
You can specify exporters and ranges to be exported and register them in a batch list.
1)
Set the In and Out points of a range to be exported.
f
“Setting the In and Out Points on the Timeline” (w page 217)
2)
Select an exporter in the [Print to File] dialog box, and click [Add to Batch List].
f
“Exporting Files with an Exporter” (w page 392)
3
Note
f
If an exporter that does not support batch export has been selected, [Add to Batch List] will become disabled and you cannot add it to
the batch list.
1
Alternative
f
After setting the In and Out points of a range to be exported, right-click the time scale and click [Add to Batch Export].
f
After setting the In and Out points of a range to be exported, click [File] on the menu bar, and click [Export] → [Add to Batch Export].
f
After setting the In and Out points of a range to be exported, right-click in the export list of the [Batch Export] dialog box and click [New].
“[Batch Export] Dialog Box” (w page 417)
3)
After setting the export details, specify a file name and export destination and click [Save] or [OK].
f
Click [Save] or [OK] to register in the batch list.
f
The export contents differ depending on the exporter.
f
If you want to add multiple ranges from within a single project to the batch list, repeat the operations to set In and Out points and add to
the batch list.
2
f
After setting the In and Out points of a range to be exported, if you right-click the time scale you can select [Add to Batch Export (Default
Exporter)]. In this case, the file name and destination are set automatically as shown below: ([Add to Batch Export (Default Exporter)]
cannot be selected when no default exporter has been set or when [Export] is invalid.)
g
File name: Exp MonthDay_000 (3-digit sequential number) + extension
g
Save destination: Project folder
“[Print to File] Dialog Box” (w page 393)
f
After setting the In and Out points of a range to be exported, if you right-click the time scale and click [Add to Batch Export (Project
format)], the specified range is added to the batch list with the format specified in [Render format] of the [Project Settings] (Detailed
Settings) dialog box. In this case, the file name and destination are set automatically as shown below: [Add to Batch Export (Project
format)] cannot be selected when [Export] is disabled.
g
File name: Exp MonthDay_000 (3-digit sequential number) + extension
g
Save destination: Project folder
“[Project Settings] (Detailed Settings) Dialog Box” (w page 44)
f
The content of the batch list can be changed in the [Batch Export] dialog box.
Exporting Multiple Ranges Together (Batch Export)
You can export multiple ranges registered in the batch list together.
1)
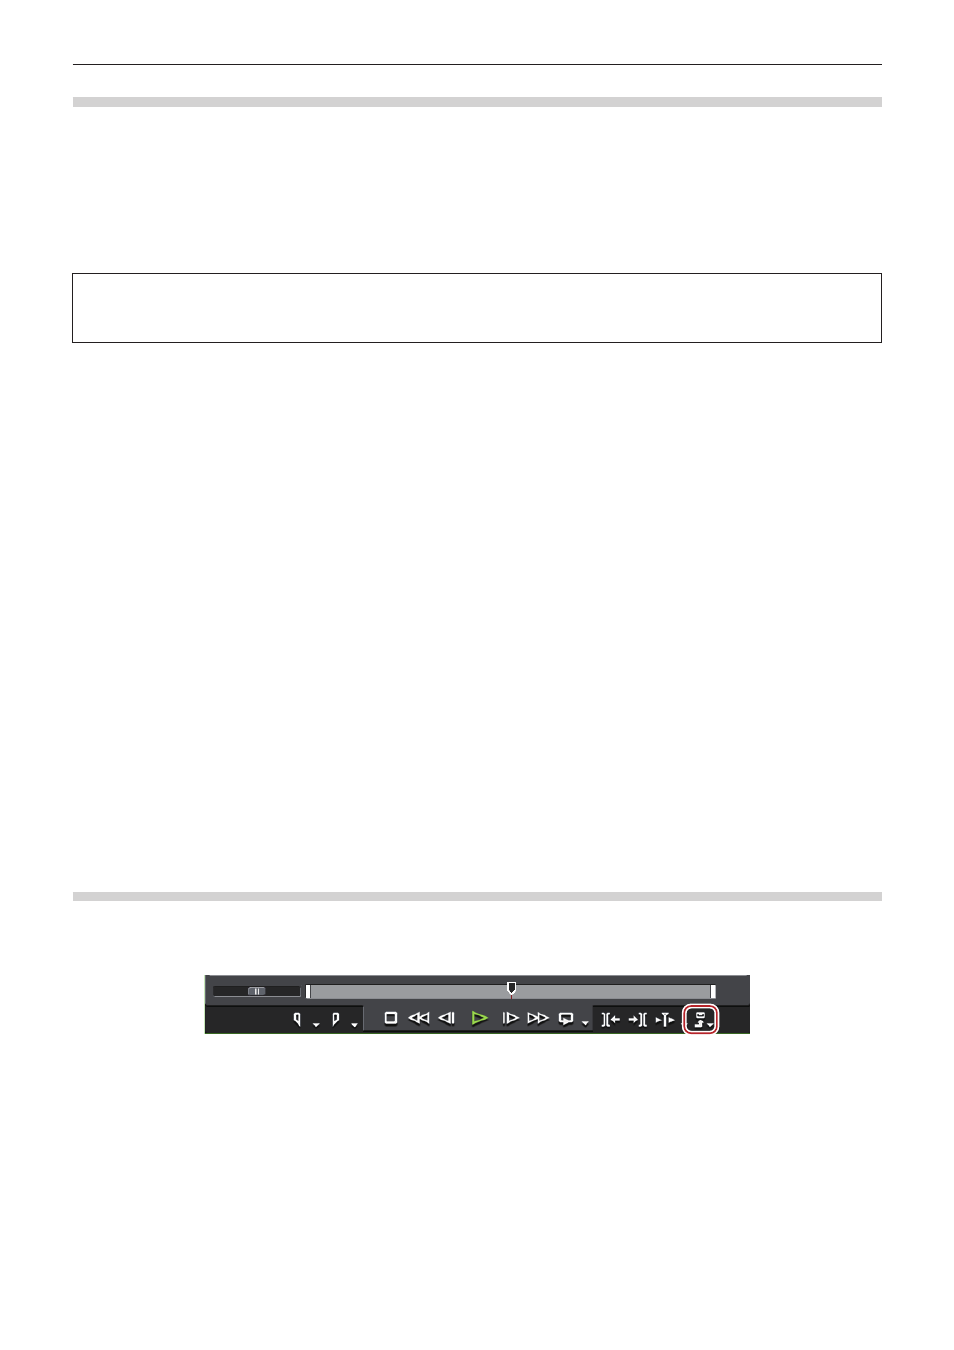
Click [Export] on the Recorder.
2)
Click [Batch Export].
f
The [Batch Export] dialog box appears.
“[Batch Export] Dialog Box” (w page 417)
1
Alternative
f
Click [File] on the menu bar, and click [Export] → [Batch Export].
3)
Check the item to be exported, and click [Export].
f
The export is started and its progress is displayed in [Status].
f
The exported files are registered in the bin.