Grass Valley EDIUS Pro v.7.4 Reference Manual User Manual
Page 327
Chapter 7 Applying Effects — Setting Effects
327
3)
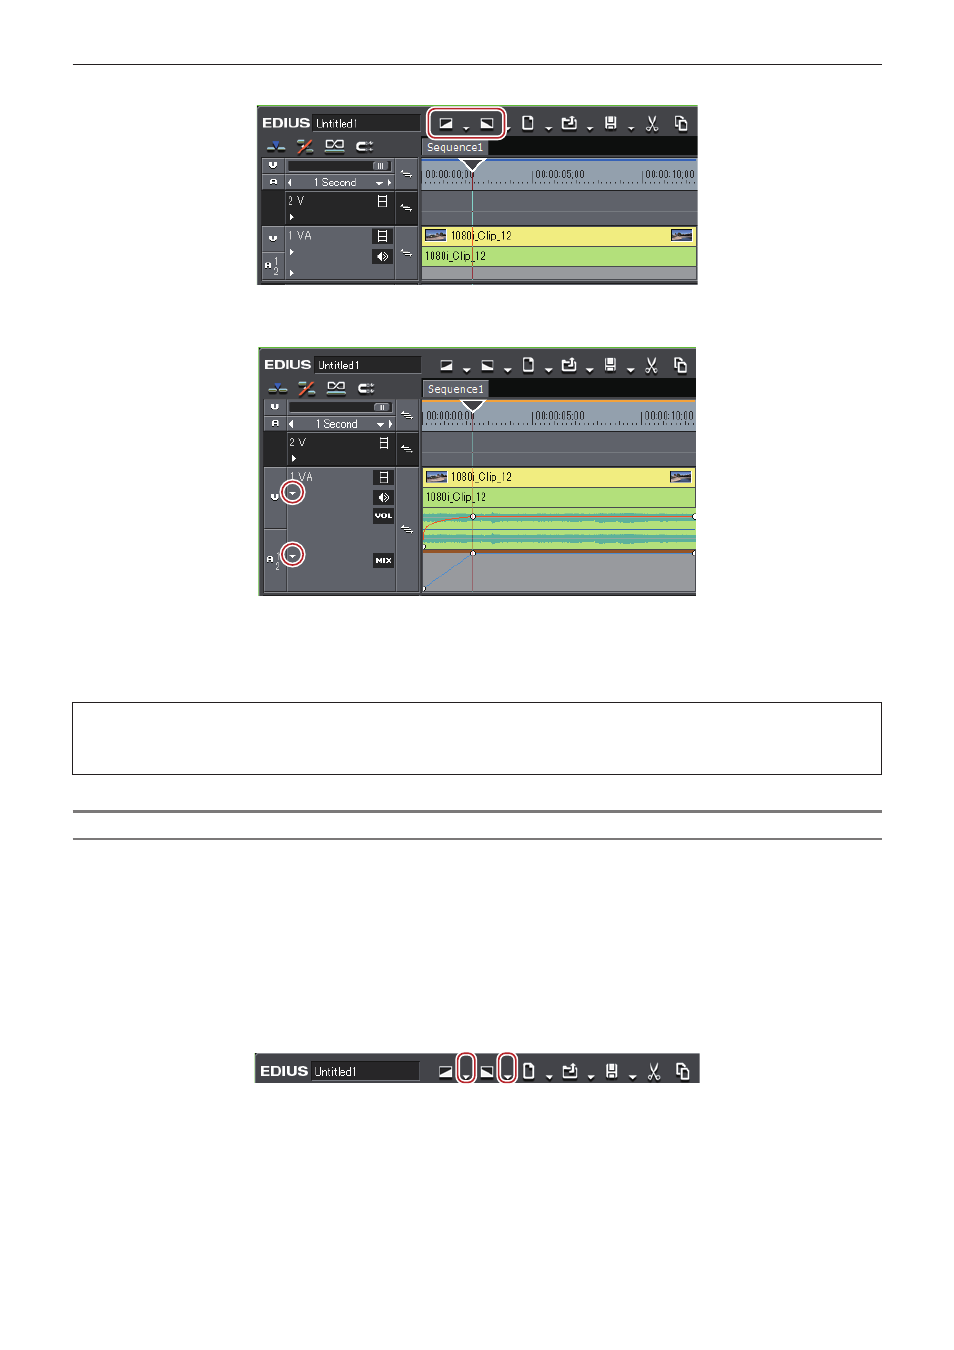
Click [Fade In] or [Fade Out] on the timeline.
f
The mixer area with [Fade In] or [Fade Out] applied is displayed with an orange line.
f
You can check the settings of the audio and video parts by clicking [Audio] and [Mixer] on the track panel. A key frame is added to the
position to which [Fade In] or [Fade Out] is set.
2
f
To delete the [Fade In] or [Fade Out] effect, delete both the audio part and the video parts.
g
To delete the video part, select and right-click a clip, and click [Delete Parts] → [Mixer] → [Transparency].
g
To delete the audio part, select and right-click a clip, then click [Delete Parts] → [Audio Rubber Band] → [Volume].
3
Note
f
[Fade In] or [Fade Out] is not shown in the default setting. Define the setting to display the button on the timeline in advance.
“Operation Button Settings” (w page 121)
Setting Fade-in/Fade-out to Video or Audio Parts Individually
You can set fade in or fade out effects to the video or audio parts individually.
1)
Select a clip to set fade in/fade out.
f
You can select multiple clips on separate tracks.
2)
Move the timeline cursor to the end position of the fade in effect (or the start position of the fade out
effect).
3)
Click the [Fade In] or [Fade Out] list button on the timeline.
4)
Click [Video clip only] or [Audio clip only].
1
Alternative
f
Release the link mode and specify fade in/fade out.