Grass Valley EDIUS Pro v.7.4 Reference Manual User Manual
Page 440
Chapter 11 Interaction with GV STRATUS — Interaction Function with GV STRATUS
440
1
Alternative
f
Click [Capture] on the menu bar, and click [Batch Capture].
f
Displaying the [Batch Capture] dialog box:
[F10]
3)
From the [Input Settings] list, select a device preset that supports capturing in K2 Clip format.
f
The [K2 Ingest Setting] dialog box appears.
“[K2 Ingest Setting] Dialog Box” (w page 439)
4)
Configure the settings including the save destination and reel name for the source to be captured,
and then click [OK].
5)
Play back the source to capture, and set the In and Out points.
f
When the In point is placed ahead of the Out point on the timeline, the text in that row is displayed in red. This area will not be captured.
2
f
The In point and duration can also be specified as the capture range. After setting the In point, click the [Dur] timecode on the Player to
enter the duration and then press [Enter] on the keyboard.
6)
Click [Add to Batch Capture List] in the [Batch Capture] dialog box.
1
Alternative
f
Click [Add to Batch Capture List] on the Player.
f
Click the [Add to Batch Capture List] list button on the Player, and click [Video and Audio].
f
Adding to batch capture list:
[Ctrl] + [B]
7)
Repeat steps 5) to 6).
f
If you want to change the device preset or change the save destinations/reel names for the sources to be captured, repeat the operations
in steps
8)
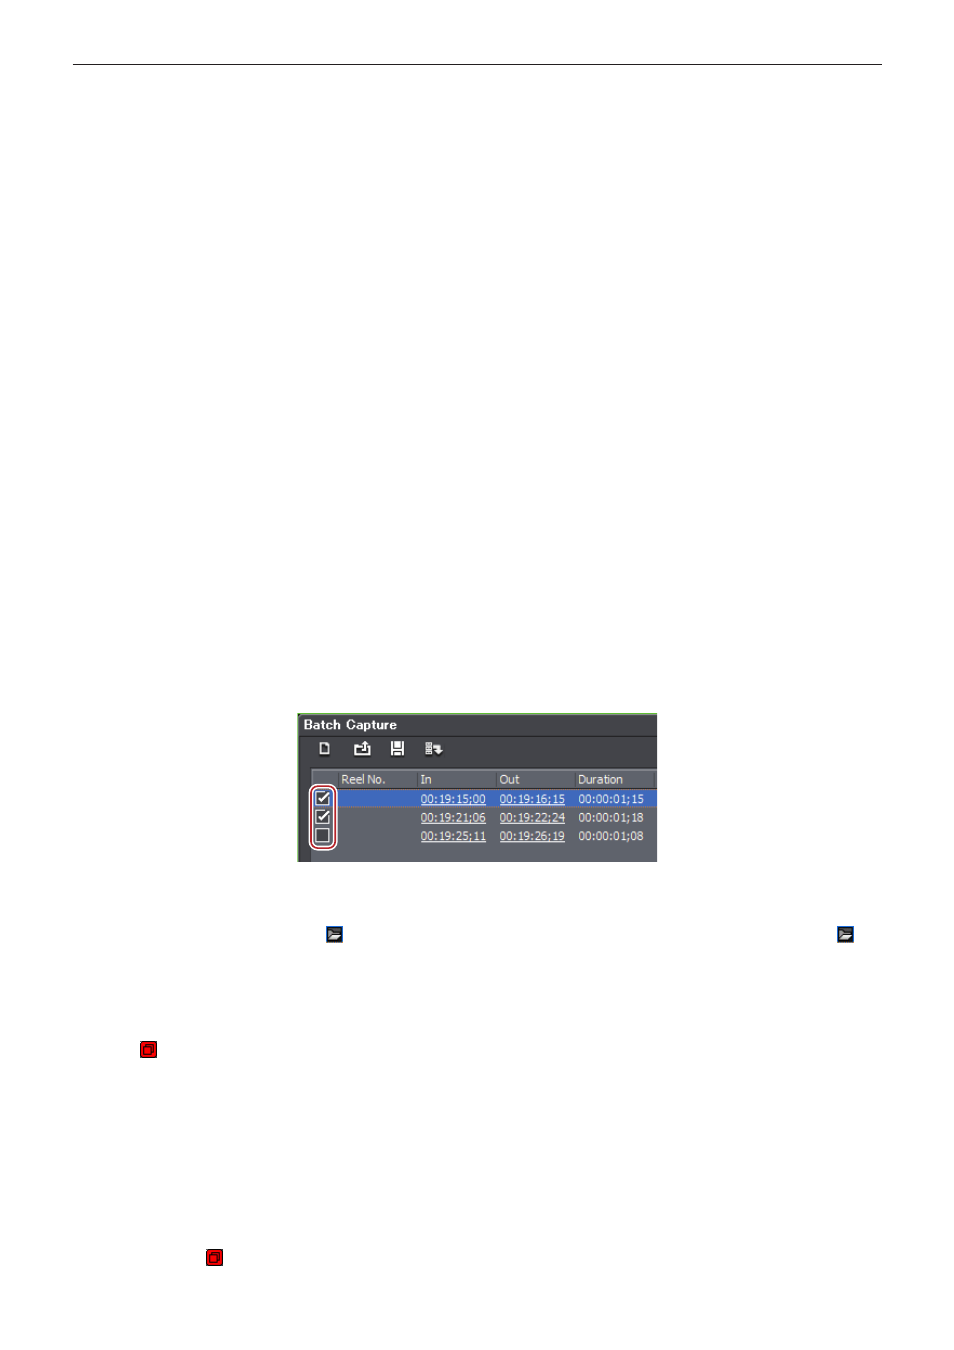
Turn on the check buttons for the sources to capture from the list in the [Batch Capture] dialog box.
f
The check buttons are turned on immediately after the sources are added to the list.
2
f
The [File Name] column in the [Batch Capture] dialog box shows the save destination addresses of the captured clips. To rename a file,
click it and enter any characters. Clicking displays the [K2 Ingest Setting] dialog box. You can select multiple sources and click to
change the save destinations for a group of sources.
“[K2 Ingest Setting] Dialog Box” (w page 439)
9)
Click [Capture].
f
If a reel name is not set in step
4), capturing starts and the progress is displayed in [Status] of the [Batch Capture] dialog box.
f
The icon indicating that the system is generating a file is displayed on the clip that is being captured in the source browser.
f
The captured clip is registered in the bin.
f
If you set a reel name in step
10)
Insert a tape in your camera, and select the corresponding reel name from the [Please insert the
tape, and select the reel name.] list.
f
The time required for capturing is indicated next to the reel name.
11)
Click [OK].
f
Capture of the source corresponding to the selected reel name starts, and the progress is displayed in [Status] of the [Batch Capture]
dialog box. The icon indicating that the system is generating a file is displayed on the clip that is being captured in the source browser.
f
The captured clip is registered in the bin.