Adding effects between clips, Margin of clip, Chapter 7 applying effects — setting effects – Grass Valley EDIUS Pro v.7.4 Reference Manual User Manual
Page 318
Chapter 7 Applying Effects — Setting Effects
318
(11)
[Inside]/[Outside]
Set video filters for outside and inside the path.
[Opacity]
Use these settings to configure the transparency inside and outside of the path.
[Filter]
Check this item to enable the video filters set inside and outside the path.
: Click this button to select a video filter.
: Click this button to configure the video filter setting for outside and inside the path.
[Strength]
The strength of video filter effects can be set.
(12)
[Edge]
Use these settings to specify colors and blur to the path. If there are multiple paths, the edge
settings are applied to all the paths. Individual setting is not allowed.
[Color]
Check this item to enable the color edge. Enter an edge width in [Width] in pixels. Click Color
box to specify the edge color.
“[Color Select] Dialog Box” (w page 186)
Enter the edge transparency in percentage.
[Soft]
Check this item to blur the edge. Enter a blur width in [Width] in pixels.
[Side]
Apply the color and soft (blur) widths for outside and inside (or both) the path.
(13)
[Shape]
For the selected path, change the various settings including the position by entering a value.
You can select multiple paths to change in batch. To select multiple paths, click the paths or
drag the mouse with [Shift] on the keyboard held down to enclose the paths.
[Anchor]
Specify the reference position of the path. With the path center as the origin, specify the
anchor position by entering values to X and Y.
[Position]
Specify the path position. With the frame center as the origin, specify where to place the
anchor position by entering values to X and Y.
[Scale]
Enter a zoom factor for zoom in and out. Click
to enable or disable the fixed aspect ratio.
[Rotation]
Enter an angle to rotate the image.
(14)
Key frame timeline
Set a key frame to apply a movement to the mouse position.
“Key frame setting” (w page 311)
(15)
Window layout
Toggle the window layouts between [Normal], [Preview], and [Multi]. Select [Preview] to hide
the parameters and key frame timeline to enlarge the preview. Select [Multi] for a multi-monitor
view.
* [Multi] option is not displayed for a single monitor system.
2
f
You can resize the [Mask] dialog box by moving the cursor to a corner or an edge of the dialog box and dragging the mouse when the
cursor shape changes. You can also click [Maximize] to maximize the window size.
f
Move the cursor to the bottom of the preview window and drag the mouse when the cursor shape change to adjust the display area.
f
Right-click the preview to display a menu to select a tool or change the zoom factor. Right-click and click [Zoom] → [Fit] to fit the frame
to the preview window. When you move the frame using the pan tool, right-click the frame and click [Centering] to place the frame to the
center.
f
When the selected path or anchor is dragged while [Shift] on the keyboard held down, it can be moved limiting to X or Y axis.
f
Double-click the preview to add a key frame on the timeline cursor position when the parameter of the key frame setting is enabled.
Adding Effects between Clips
The following explains the transition and audio cross face between clips.
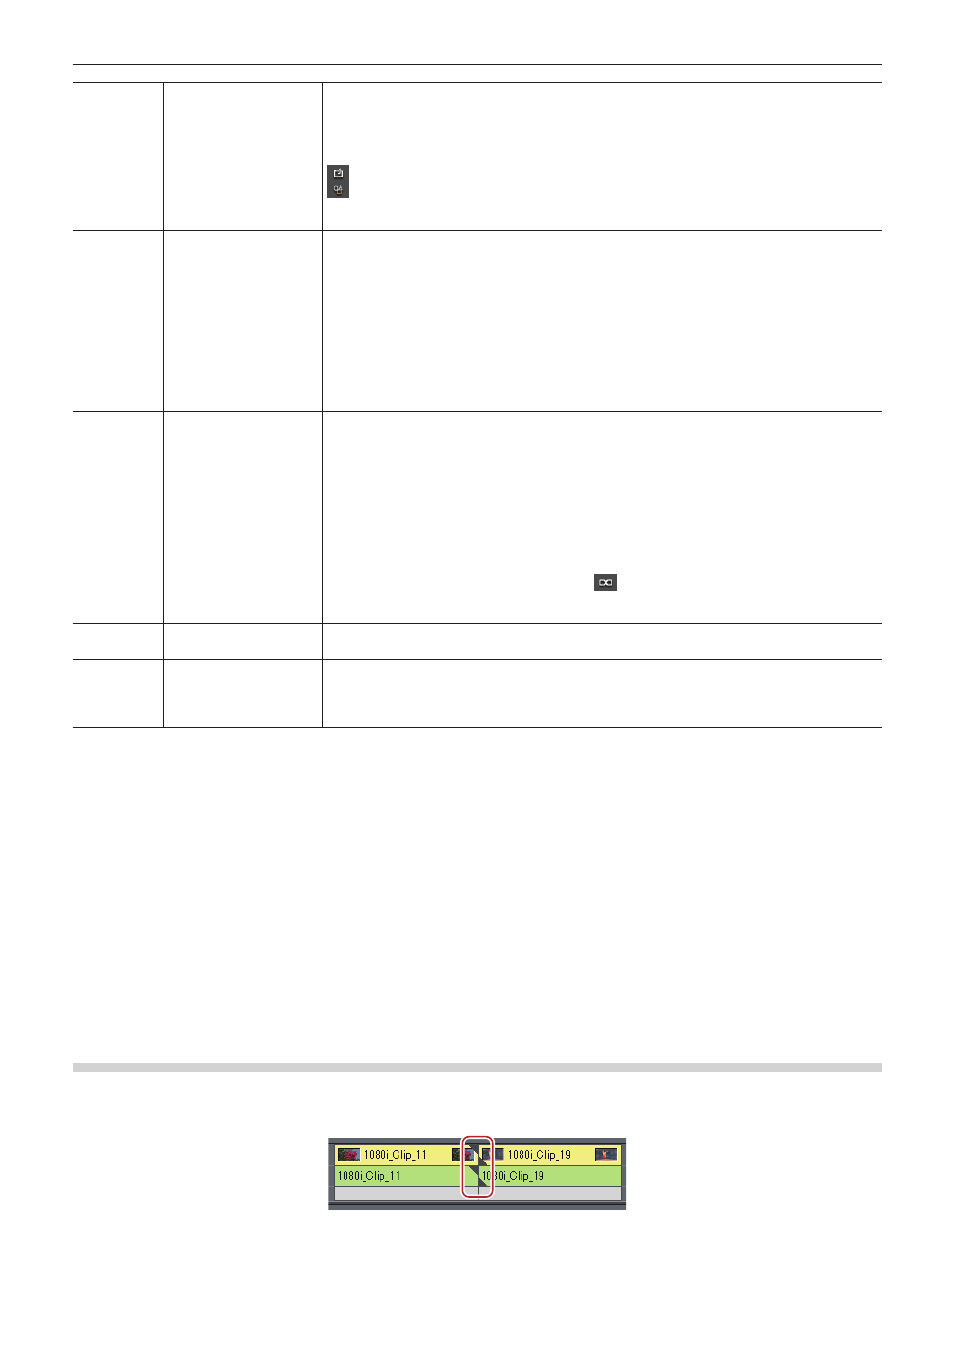
Margin of Clip
The margin of the clip is the video outside the range between In and Out points. Black triangular mark at both ends of the clip means the top
(end) of each clip.
When both clips have no margin