Setting in/out points and placing clips – Grass Valley EDIUS Pro v.7.4 Reference Manual User Manual
Page 220
Chapter 6 Editing Timelines — Placing Clips
220
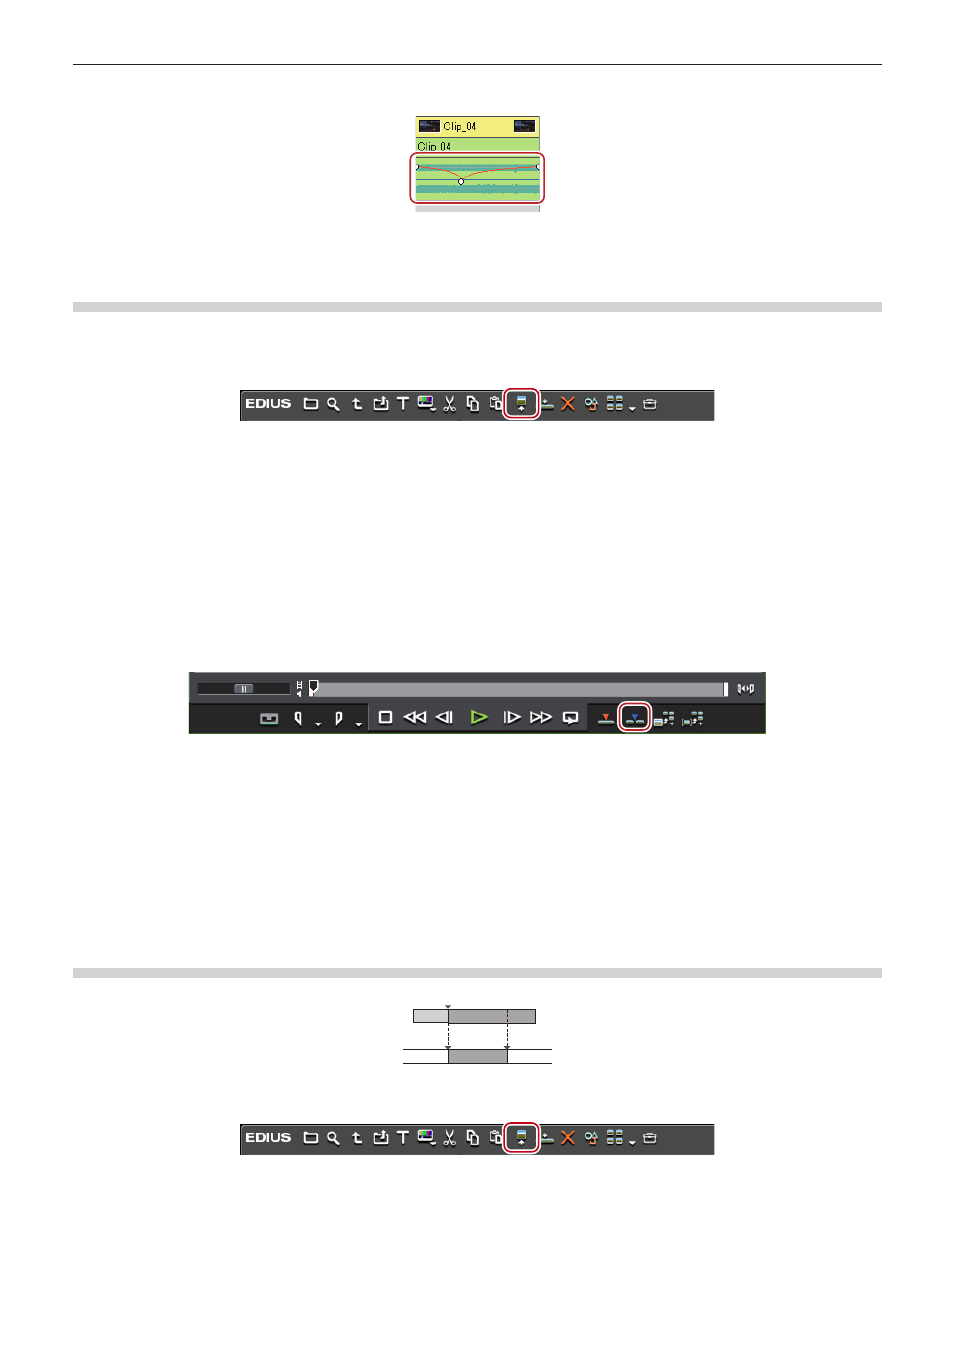
Clicking the audio expand button displays a rubber band and waveform for the volume, and clicking the mixer expand button displays a
rubber band for the transparency.
“Adjusting the Volume and Pan of a Clip” (w page 373)
“Transparency” (w page 326)
Setting In/Out Points and Placing Clips
You can set In and Out points to clips, and place only the required part on a track.
1)
Select a clip from the bin, and click [Show in Player].
f
The same operations can also be performed in the source browser.
2)
Set the In and Out points to the clip.
f
“Setting the In and Out Points” (w page 171)
3)
Set the source channel mapping.
f
“Setting Channel Mapping” (w page 215)
4)
Move the timeline cursor to the position to place the clip.
5)
Click [Insert to Timeline] on the Player.
f
The clip is placed on the track with the position of the timeline cursor set as the In point.
f
When [Overwrite to Timeline] is clicked, the clip is placed in the overwrite mode.
1
Alternative
f
After setting the In and Out points to the clip, drag and drop the clip from the Player to place it on the timeline.
f
Placing the clip displayed on the Player on the timeline:
[E]
2
f
Divided and placed video and audio clips are set in groups.
Placing Clips between In and Out Points on the Timeline (3 Point Editing)
Place clips between In and Out points on the timeline. Clips are placed by the length between In and Out points on the timeline.
1)
Select a clip from the bin, and click [Show in Player].
f
The same operations can also be performed in the source browser.
f
Check the video on the Player, and set the In and Out points, if necessary.
“Setting the In and Out Points” (w page 171)
2)
Set the source channel mapping.
f