Importing xf sources – Grass Valley EDIUS Pro v.7.4 Reference Manual User Manual
Page 163
Chapter 4 Importing Sources — Importing Files from Source Browser
163
1
Alternative
f
Right-click the clip to import, and click [Add and Transfer to Bin] → a clip type.
2
f
Partial transfer is available, where In and Out points are set to XDCAM files on the server and only required parts are transferred to the
hard disk. A message will appear if no connection has been made to the directory where the high-resolution data is saved when partial
transfer is performed on the XDCAM clip. Set up the FTP connection, and click [OK].
“Transferring Only Necessary Parts” (w page 167)
Downloading XDCAM Sources and Simultaneously Placing Them on the Timeline
Data transfer to the hard disk on the PC is started at the same time that XDCAM clips on the FTP server or clips on XDCAM devices are
placed directly on the timeline without being registered to the bin. The data (proxy/high-resolution) transferred at this time can be checked
and changed by [Importer/Exporter] in [System Settings] → [XDCAM] → [Download] in [Browser].
“XDCAM Browser Settings” (w page 88)
3
Note
f
Downloading XDCAM sources simultaneously with placement on the timeline is possible only by operating the buttons in the source
browser or by right-clicking a clip and operating from the displayed menu.
Also, If clips are placed on the timeline by drag-and-drop operation, the proxy of XDCAM devices is referenced directly without being
transferred to the hard disk on the PC.
1)
Set the channel mapping for the tracks on which clips are placed.
f
“Setting Channel Mapping” (w page 215)
2)
Move the timeline cursor to the position to place the clip.
3)
Click the [XDCAM] tree in the folder view of the source browser.
4)
Click the drive or connection destination.
5)
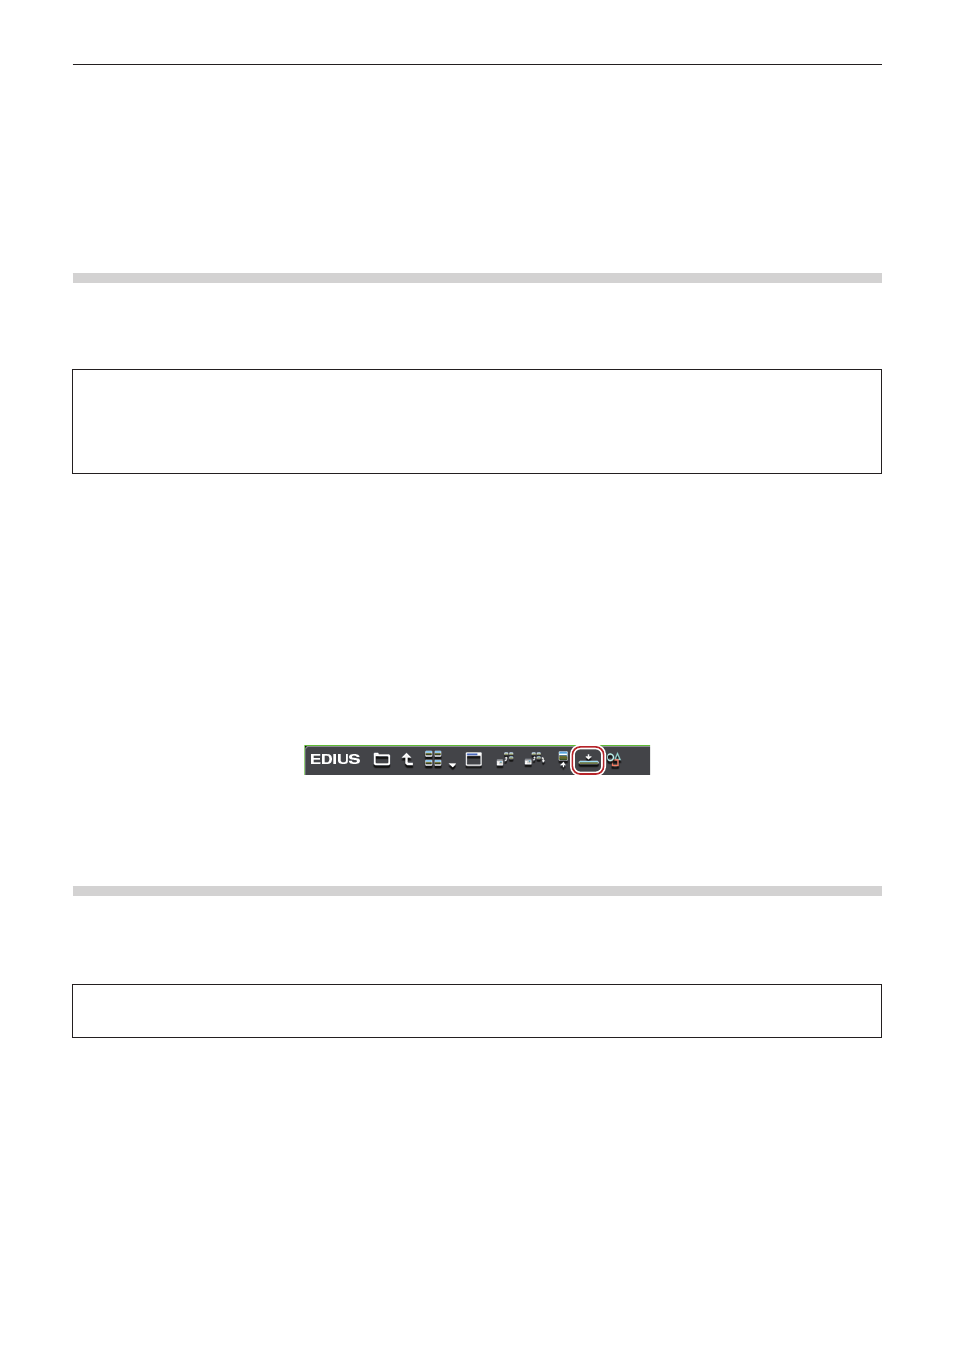
Select a clip, and click [Add to Timeline] in the source browser.
1
Alternative
f
Right-click the clip to import, and click [Add to Timeline] → an item.
Importing XF Sources
Register XF sources to the bin at the same time that they are transferred to the PC.
Connect the XF device to the PC, and check that the power is turned on.
XF sources copied to the hard disk on the PC also can be imported in the same way. Copy sources with the folder structure in the device
held intact.
3
Note
f
The drivers provided with the XF device must be installed in advance.
1)
Click the [XF] tree in the folder view of the source browser.
2)
Click the drive or reference folder.
f
The XF sources are displayed in the clip view.
2
f
Reference folders can be temporarily added in the folder view of the source browser. Right-click [XF] and click [Open Folder].
f
When references have been temporarily added in the source browser, they can be deleted from the tree display by right-clicking a folder,
and clicking [Delete]. Actual folders are not deleted.
f
To update the information of references, right-click [XF] and click [Refresh].