Grass Valley EDIUS Pro v.7.4 Reference Manual User Manual
Page 142
Chapter 4 Importing Sources — Capturing and Importing
142
g
Click [Capture] on the menu bar, and click [Video Capture] or [Audio Capture].
2
f
Files can be automatically divided at capture.
f
During capture, you can add a marker with a comment to the source clip.
“Setting Clip Markers at Capture” (w page 261)
f
The batch capture function is supported only on models that can acquire the timecode. Some models may not support timecodes.
f
To change a reel name midway, for example, when swapping tapes, click [Capture] on the menu bar, and click [Reel No. Settings].
f
For EDIUS Elite, another EDIUS client on the same network can perform edit while recording by importing the captured data, when
capturing sources in AVI or MXF format.
3
Note
f
When the source has been captured in MPEG TS format, the information of the preset clip marker will not be recorded to the captured
source file but to the project file. The information of the clip marker set at capture will not be reflected even if that source file is opened
in another project file after EDIUS is restarted.
“Setting Clip Markers at Capture” (w page 261)
How to Specify the Capture Range
There are six ways as follows to specify the capture range (between In and Out points) in steps
The timecode that is given priority at capture from among the timecodes at [In], [Out] and [Dur] on the Player is underlined.
r
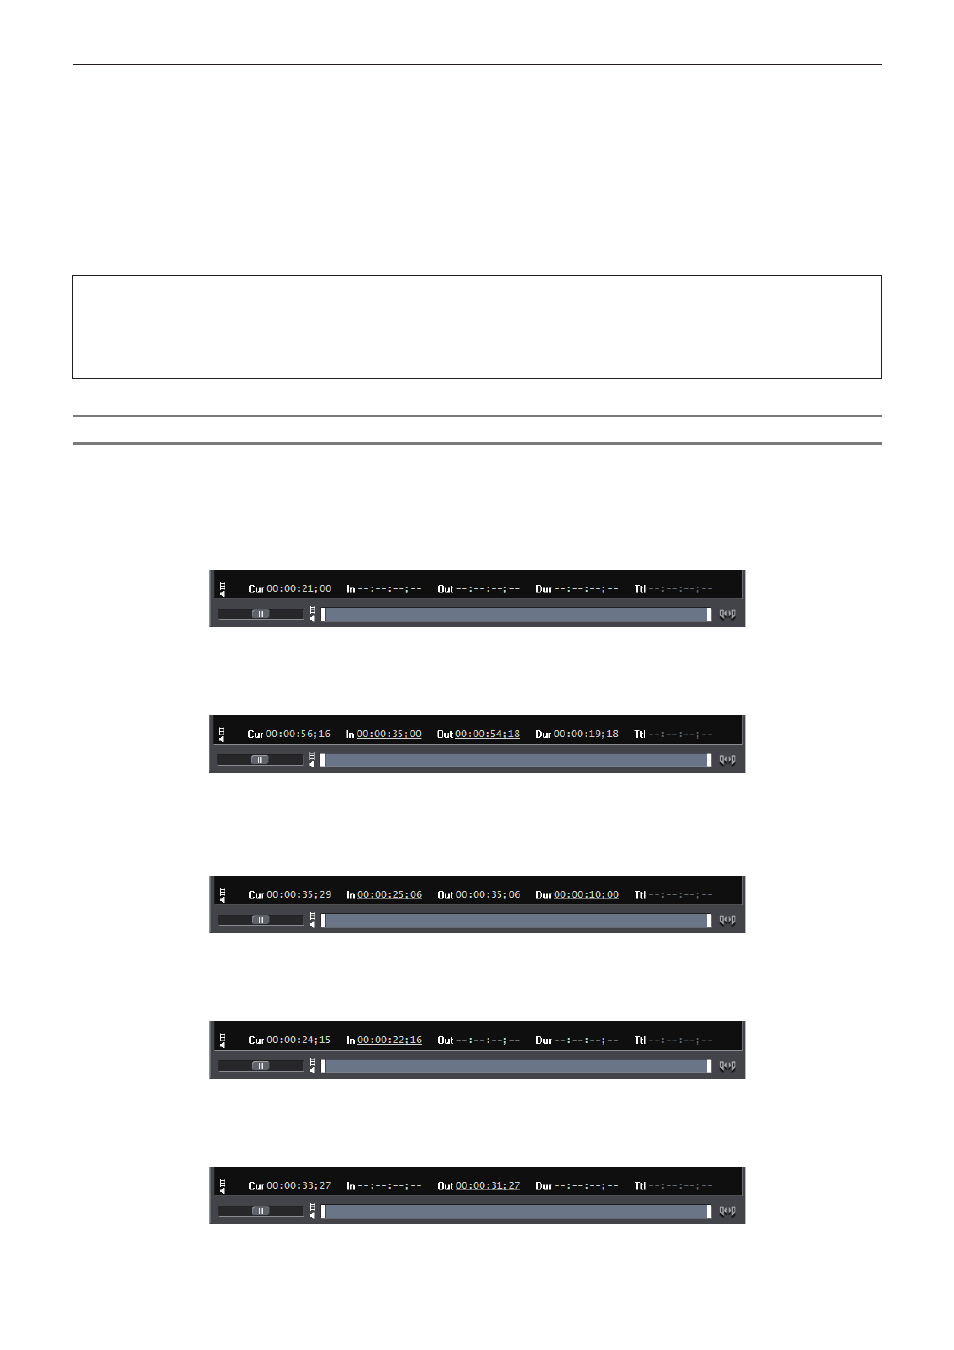
Open end capture
Capture starts when [Capture] is clicked without specifying the In and Out points, and ends when [Stop] is clicked.
Timecode display on the Player:
r
In/Out capture
Specify the In/Out points.
Timecode display on the Player:
r
In/Dur capture
Specify the In point, then click the timecode in [Dur] on the Player, enter the duration, and press [Enter] on the keyboard.
* This method is used, for example, to capture from a tape of free run recordings with non-continuous timecodes.
Timecode display on the Player:
r
In capture
Capture ends when [Stop] is clicked after only the In point is specified.
Timecode display on the Player:
r
Out capture
Specify only the Out point, rewind to the capture start position, and click [Capture].
Timecode display on the Player: