Smooth playback, Color coding of time scale – Grass Valley EDIUS Pro v.7.4 Reference Manual User Manual
Page 278
Chapter 6 Editing Timelines — Playing Back Timelines
278
f
The cursors of the Player and the timeline are synchronized based on the current cursor position. The cursor positions to be synchronized
can be changed by the following operation. After unchecking [Cursor] and moving the cursor of the Player or the timeline, check [Cursor]
again.
Synchronizing the In and Out Points
1)
Set the In (Out) point on the Player to the position to be synchronized.
2)
Set the In (Out) point on the timeline to the position to be synchronized.
3)
Click the [Set Gang Mode] list button on the Player.
4)
Click [In] ([Out]) to check the item.
5)
Switch to the gang mode.
f
“Switching to the Gang Mode” (w page 277)
f
The In (Out) points of the Player and the timeline are synchronized based on the current In (Out) point position. The In (Out) point
positions to be synchronized can be changed by the following operation. After unchecking [In] ([Out]) and changing the In (Out) point of
the Player or the timeline, check [In] ([Out]) again.
Smooth Playback
Judge which part of clips require rendering, and perform rendering on only required parts.
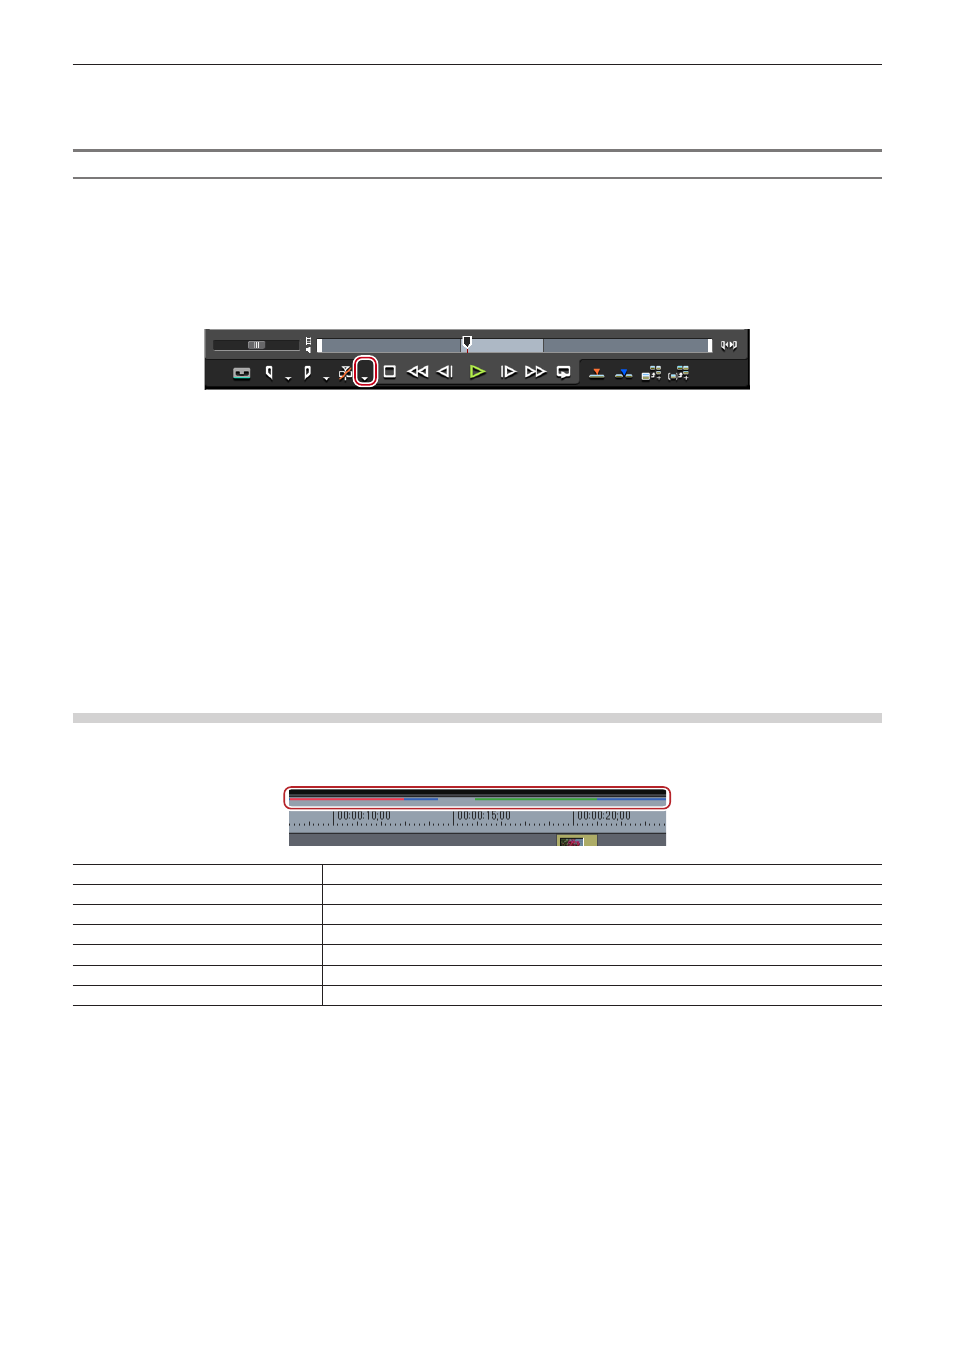
Color Coding of Time Scale
Realtime processing sometimes cannot keep up when playing back a timeline. The line of the part judged as requiring rendering when
playing back changes color.
The line colors indicate the following states.
Line color
Timeline state
No line
No clip exists.
Blue
A clip matching the project settings is placed.
Light blue
Playback is keeping up. (Rendering is sometimes required.)
Yellow
Rendering option (load area)
Red
Rendering is required (overload area).
Green
Already rendered
2
f
Rendering is judged based on the remaining buffer set by [Application] in [System Settings] → [Render], and a red line is displayed for
overload areas when the remaining buffer is less than the preset value.
f
When data such as CG animation has been placed one frame at a time as consecutive still images on the timeline, rendering the area will
not lighten the load of playback processing. In this case, use the [Render and Add to Timeline (Between In/Out)] function to replace with
the exported clip.
“Exporting Video Clips from Timeline” (w page 281)
f
Rendering is enabled even if the clip becomes out-of-position by a ripple delete, for example.