Rendering overload areas of the entire sequence, Rendering overload areas in the entire project, Rendering only overload/load areas – Grass Valley EDIUS Pro v.7.4 Reference Manual User Manual
Page 279: Rendering overload areas between in and out points
Chapter 6 Editing Timelines — Playing Back Timelines
279
3
Note
f
Tracks with mute set to video parts cannot be rendered.
f
It is recommended to export the file using the exporter if you need to use rendered clips.
“Exporting in File Formats” (w page 390)
f
When rendering is performed, a temporary file is created in the “rendered” folder. Make sure that there is enough disk space for
temporary files before starting rendering.
“Manually Deleting Temporary Files” (w page 282)
Rendering Overload Areas of the Entire Sequence
Render all the areas that are judged as overload (red) in the entire sequence.
1)
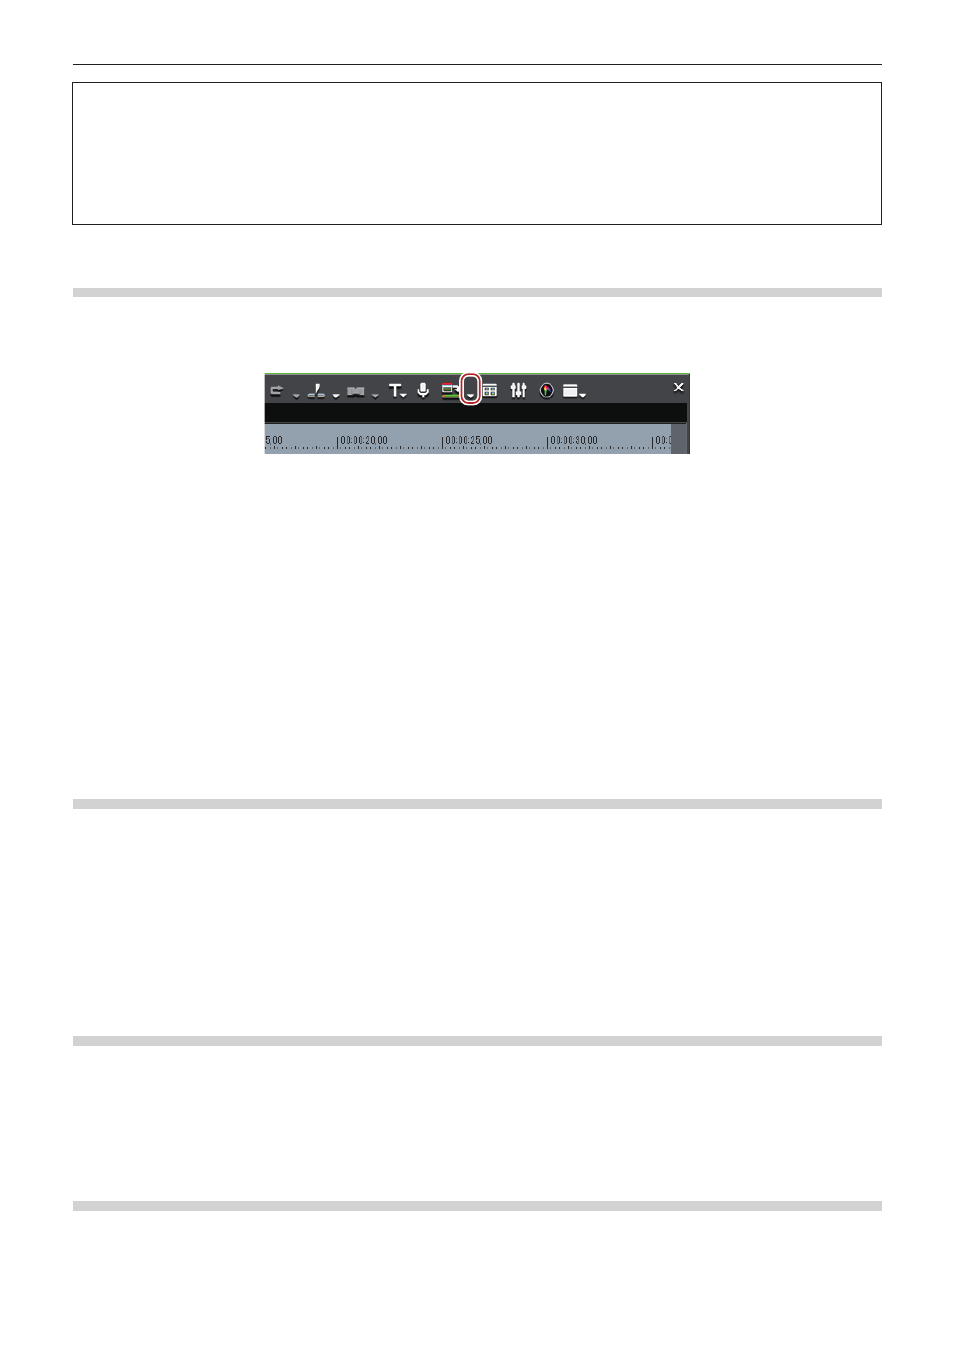
Click the [Render In/Out (Render Overload Area)] list button on the timeline.
2)
Click [Render Sequence] → [Render Overload Area].
f
To cancel rendering, click [Cancel] in the [Render] dialog box.
f
Lines in the rendered areas on the time scale change color to green.
1
Alternative
f
Click [Render] on the menu bar, and click [Render Sequence] → [Render Red Area].
f
Rendering overload areas on the entire sequence:
[Shift] + [Ctrl] + [Q]
2
f
Overload areas (red) and load areas (yellow) on the entire sequence can be rendered in a single operation by the following operation.
g
Click the [Render In/Out (Render Overload Area)] list button, and click [Render All] → [Render Loaded Area].
g
Click [Render] on the menu bar, and click [Render Sequence] → [Render Orange Area].
g
Rendering (load areas) on the entire sequence:
[Shift] + [Ctrl] + [Alt] + [Q]
f
When the In and Out points are set on the timeline, only the range between In and Out points is rendered.
“Rendering Overload Areas between In and Out Points” (w page 279)
Rendering Overload Areas in the Entire Project
Render all areas that are judged as overload (red) in the entire project that comprises multiple sequences.
1)
Click [Render] on the menu bar, and click [Render Entire Project] → [Render Red Area].
f
To cancel rendering, click [Cancel] in the [Render] dialog box.
f
Lines in the rendered areas on the time scale change color to green.
2
f
You can render the overload (red) and load (yellow) areas in the entire project in a single operation. Click [Render] on the menu bar, and
click [Render Entire Project] → [Render Orange Area].
Rendering only Overload/Load Areas
Render only the areas that are judged as overload (red) or load (orange).
1)
Right-click the overload area (red) or load area (yellow) on the time scale, and click [Render].
f
To cancel rendering, click [Cancel] in the [Render] dialog box.
f
Lines in the rendered areas on the time scale change color to green.
Rendering Overload Areas between In and Out Points
Render areas judged as overload (red) between In and Out points on the timeline.