Selecting a codec to export in avi format, Exporting audio – Grass Valley EDIUS Pro v.7.4 Reference Manual User Manual
Page 398
Chapter 10 Export of Edited Contents — Exporting in File Formats
398
Item
Original screen →
Converted screen
Description
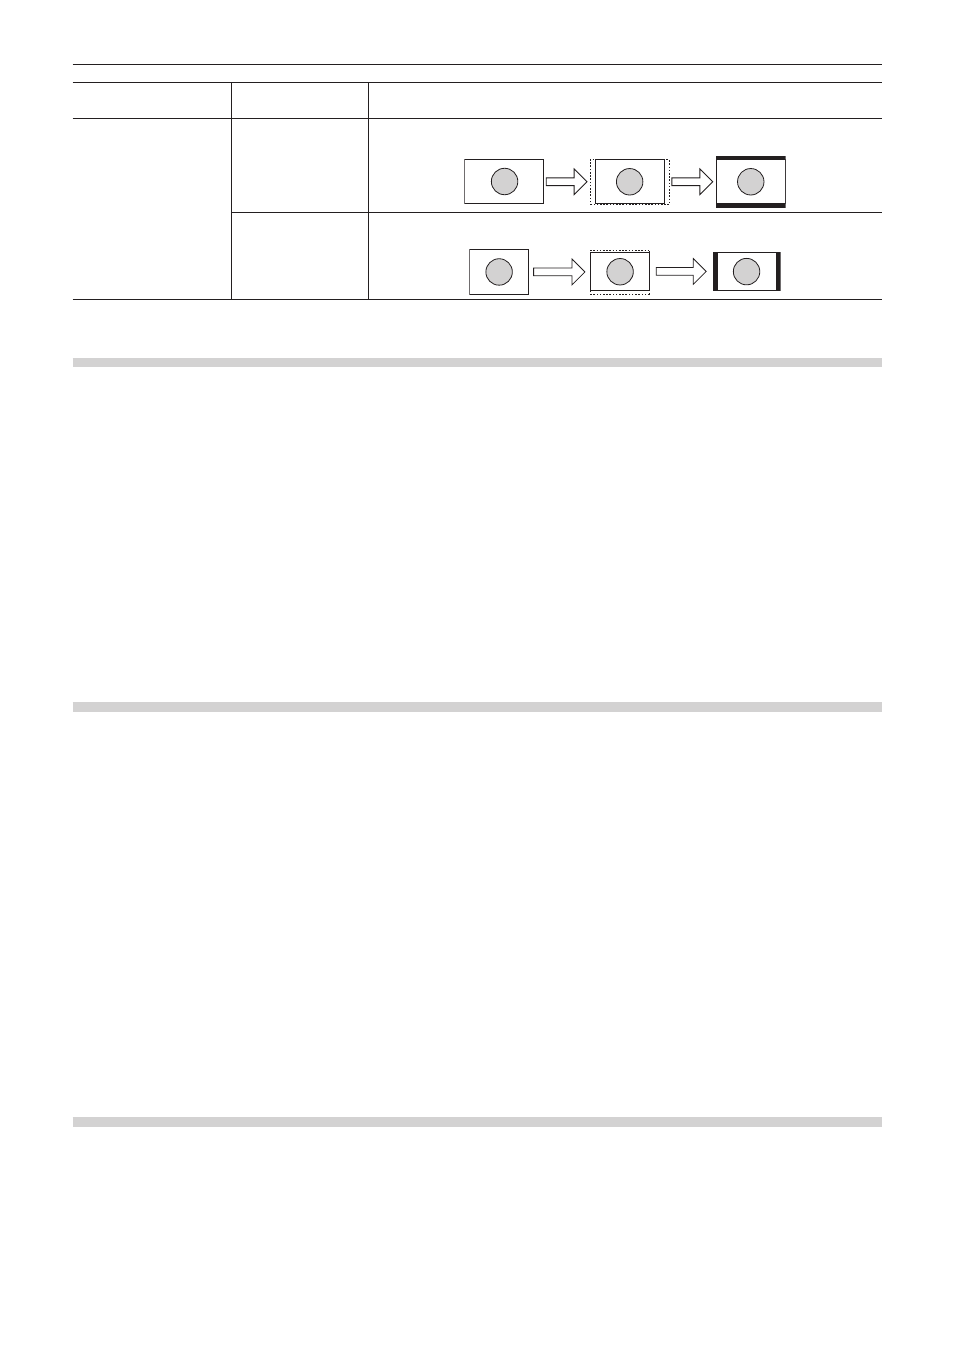
Semi-letter box
(14:9/13:9)
16:9 → 4:3
The 16:9 screen is cropped to a 14:9 or 13:9 screen size, displayed in the center of a
4:3 screen and a letter box effect is added above and below.
4:3 → 16:9
The 4:3 screen is cropped to a 14:9 or 13:9 screen size, displayed in the center of a
16:9 screen and side panels are added at the edges.
Selecting a Codec to Export in AVI Format
The compression format can be selected to export a project as an AVI file.
1)
Click a codec of [AVI] in the [Print to File] dialog box category tree.
f
“Exporting Files with an Exporter” (w page 392)
2)
Select an exporter, and click [Export].
2
f
For the items for the Grass Valley HQ AVI and Grass Valley HQX AVI codec settings, see the description given for the [Settings - Grass
Valley HQ]/[Settings - Grass Valley HQX] dialog box in [System Settings].
“[Settings - Grass Valley HQ]/[Settings - Grass Valley HQX] Dialog Box” (w page 111)
f
If [Use MSDV codec] is checked when the [DV AVI] exporter has been selected, it will export as AVI with the MSDV codec.
3)
Set a file name and save destination, and click [Save].
Exporting Audio
You can export just the audio of a project.
f
If [Dolby Digital Professional (AC-3)] exporter/[Dolby Digital Plus (E-AC-3)] exporter is selected, see “Exporting in Dolby Digital
1)
Click [Audio] in the [Print to File] dialog box category tree.
f
“Exporting Files with an Exporter” (w page 392)
f
To export as Windows Media Audio, click [Windows Media] in the category tree.
2)
Select an exporter, and click [Export].
3)
Set a file name and save destination, and click [Save].
2
f
If the [Dolby Digital (AC-3)] exporter has been selected, select a bitrate from the [Format] list.
f
If the [WindowsMediaAudio] exporter has been selected, select the transfer mode. If [CBR] (fixed transfer mode) has been selected,
select a bitrate from the [Bitrate] list. If [VBR (quality based)] (variable transfer mode) has been selected, select a bitrate from the [Quality]
list.
Exporting in Dolby Digital Professional or Dolby Digital Plus Format
Projects can be exported as Dolby Digital Professional or Dolby Digital Plus format files.
f
An optional license is required to operate on EDIUS Pro.
f
On EDIUS Elite or EDIUS Pro where an optional license is added, [Dolby Digital Professional (AC-3)] exporter can be used instead of
[Dolby Digital (AC-3)] exporter. As Dolby Digital Professional (AC-3) is compatible with Dolby Digital (AC-3), saved presets can be used
as they are.
1)
Click [Audio] in the [Print to File] dialog box category tree.
f