Simple creation of project presets – Grass Valley EDIUS Pro v.7.4 Reference Manual User Manual
Page 52
Chapter 2 Project Settings — Project Operations
52
2)
Click the [Application] tree, and click [Project Preset].
f
The [Project Preset] screen appears.
“[Project Preset] Screen” (w page 52)
3)
Click [New Preset].
f
The [Project Settings] dialog box (for creating new project presets) appears.
“[Project Settings] Dialog Box (for creating new project presets)” (w page 52)
3
Note
f
Clicking the [Default Icon Folder] checkbox in the [Select Icon] dialog box does not uncheck the item while default icon folder is
displayed. The display returns to the default icon folder display by clicking [...] and checking the item while a different folder is
displayed.
4)
Set each item and click [OK].
f
The newly created preset is displayed as an icon in [Presets List].
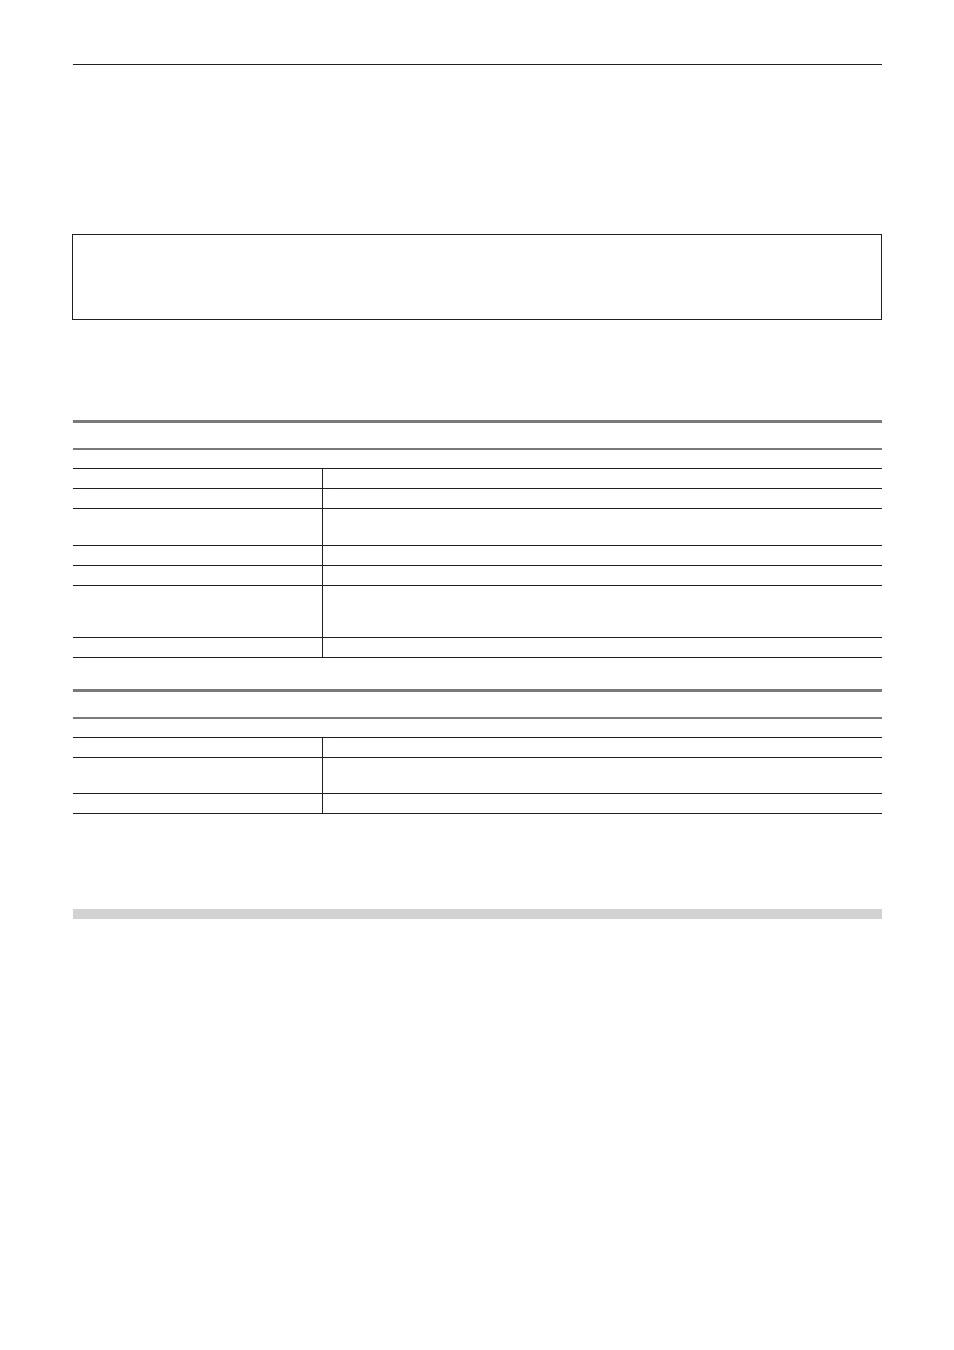
[Project Preset] Screen
[Presets List]
Display registered project presets in a list. The list can be resorted by dragging the icons.
[Description]
Display the settings of the project preset selected in [Presets List].
[Preset Wizard]
Start up the [Create Project Presets] wizard so that new project presets can be easily created.
“Simple Creation of Project Presets” (w page 52)
[New Preset]
Create new project presets.
[Copy]
Duplicate the selected project preset.
[Modify]
Change the settings of the selected project preset. Click this item to display the [Project
Settings] dialog box (for creating new project presets).
“[Project Settings] Dialog Box (for creating new project presets)” (w page 52)
[Delete]
Delete the selected project preset.
[Project Settings] Dialog Box (for creating new project presets)
[Name]
Enter the name of the project preset.
[Select Icon]
Displays the [Select Icon] dialog box to select the preset icons.
To use any image you like, click [...] in the [Select Icon] dialog box, and select a file.
[Preset]
Click this item to call up existing project presets.
Setting items other than the above are the same as those for the project presets (Detailed Settings).
“[Project Settings] (Detailed Settings) Dialog Box” (w page 44)
Simple Creation of Project Presets
1)
Click [Settings] on the menu bar, and click [System Settings].
2)
Click the [Application] tree, and click [Project Preset].
3)
Click [Preset Wizard].
4)
Check more than one item for [Size], [Frame Rate], [Bit] (in this order), and click [Next].
f
Configure the video size and frame rate, and video quantization for the project format to create with EDIUS. Multiple check boxes can be
selected for each item.
2
f
Set a video quantization bitrate to 10 bits to edit with 10 bit precision retained. However, it may turn out to be the 8 bit precision depending
on the effects you use. The formats that can be imported with 10 bit precision are Grass Valley, HQX AVI, uncompressed AVI, AVC-Intra,
QuickTime, Grass Valley HQX MOV, and XAVC. The formats that can be exported with 10 bit precision are Grass Valley HQX AVI, AVC-
Intra and uncompressed (v210) AVI.