Setting clip markers with range – Grass Valley EDIUS Pro v.7.4 Reference Manual User Manual
Page 262
Chapter 6 Editing Timelines — Markers
262
1)
Display the source on the Player.
f
“Displaying Clips on the Player” (w page 171)
2)
Move the slider on the Player to the clip marker setting position.
f
“Playing Back with Shuttle/Slider” (w page 170)
3)
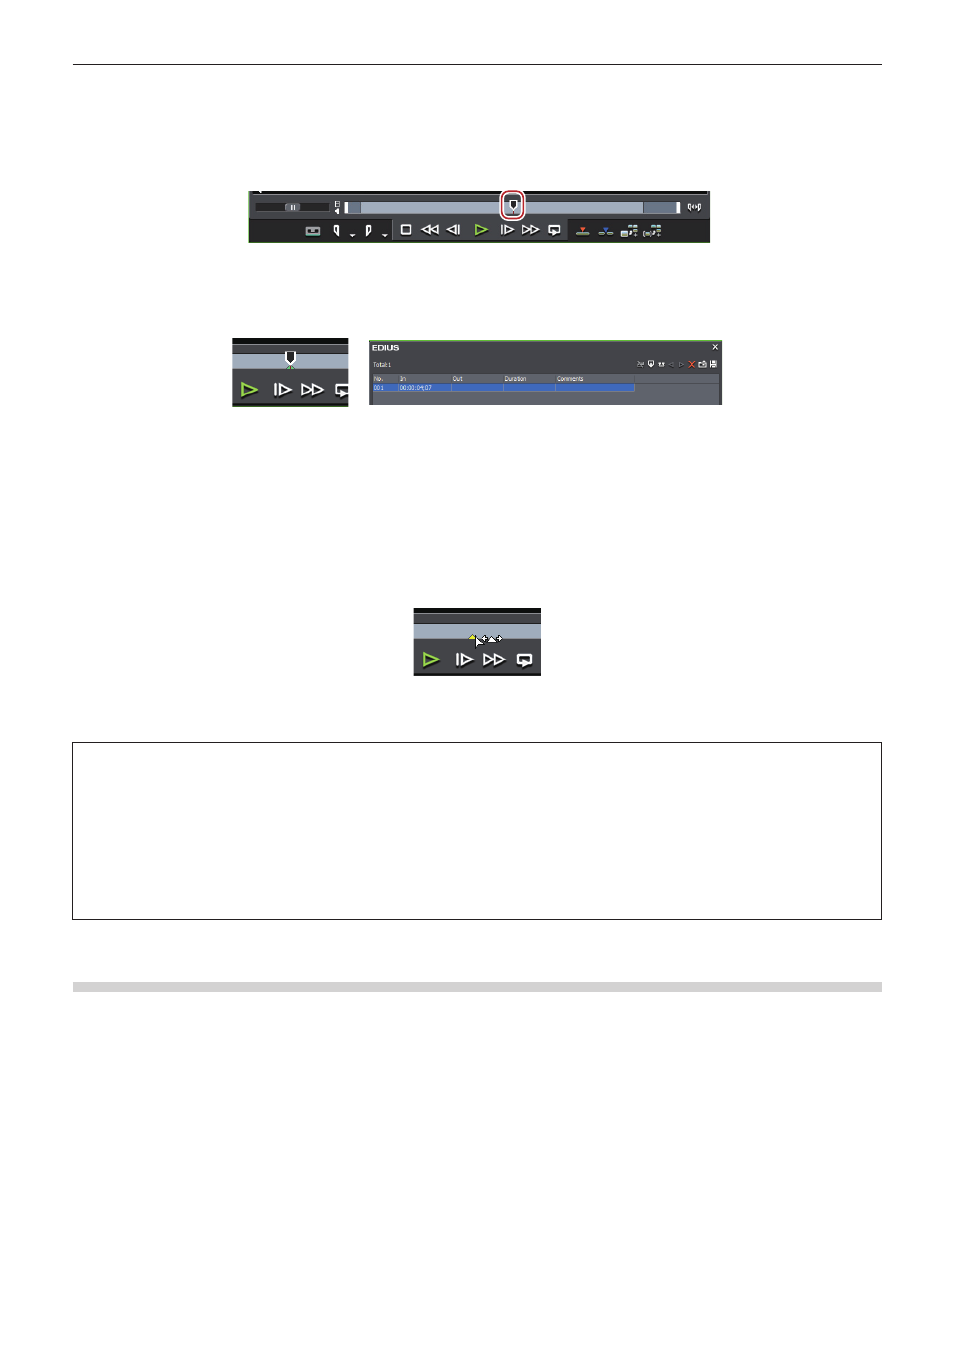
Click [Set Marker] in the [Clip Marker] list.
f
“[Clip Marker] List” (w page 261)
f
The clip marker is displayed for slider on the Player, and the timecode of the clip marker is displayed in the [Clip Marker] list.
1
Alternative
f
Click [Marker] on the menu bar, and click [Add Mark].
f
Right-click the clip marker list, and click [Set Mark].
f
Right-click the slider on the Player, and click [Set clip marker/Clear clip marker (Toggle)].
f
Setting clip markers:
[V]
2
f
You can move marker positions by the following operation.
g
Click the timecode at [In] in the [Clip Marker] list, and enter the desired numerical value.
g
Drag the clip marker on the slider with [Ctrl] on the keyboard held down.
f
You can enter comments at the same time you are setting clip markers.
Click [Marker] on the menu bar, and click [Edit Mark] to enter the comment.
“Entering Comments to Clip Markers” (w page 264)
3
Note
f
When the focus is on the Recorder, clip markers cannot be set.
f
Additions, deletions and edits made to clip markers are automatically reflected on clips in the bin. To leave behind the information of a
clip before it is edited, register that clip to the bin as a different clip in advance.
“Registering between In and Out Points to the Bin As a Separate Clip (Subclip)” (w page 175)
When you add, delete, and edit the clip marker with a clip on the timeline displayed on the Player, register it to the bin as another clip, if
necessary.
“Registering Clips on the Player to the Bin” (w page 174)
f
Clip markers cannot be set in the [Sequence Marker] list.
Setting Clip Markers with Range
You can set clip markers with range to source clips registered to the bin and to the source currently displayed on the Player.
1)
Display the source on the Player.
f
“Displaying Clips on the Player” (w page 171)
2)
Set the In and Out points to source clips.
f
“Setting the In and Out Points” (w page 171)
3)
Click [Set Mark In/Out] in the [Clip Marker] list.
f