Creating the web connection in lns mode, Creating the web connection in standalone mode – Echelon SmartServer 2.2 User Manual
Page 421
422
Scheduling
Creating the Web Connection in LNS Mode
To create a Web connection with the SmartServer running in LNS mode, follow these steps:
1. Add an OpenLNS Server to the LAN in the SmartServer Web interface following Adding an
OpenLNS Server to the LAN in Chapter 3.
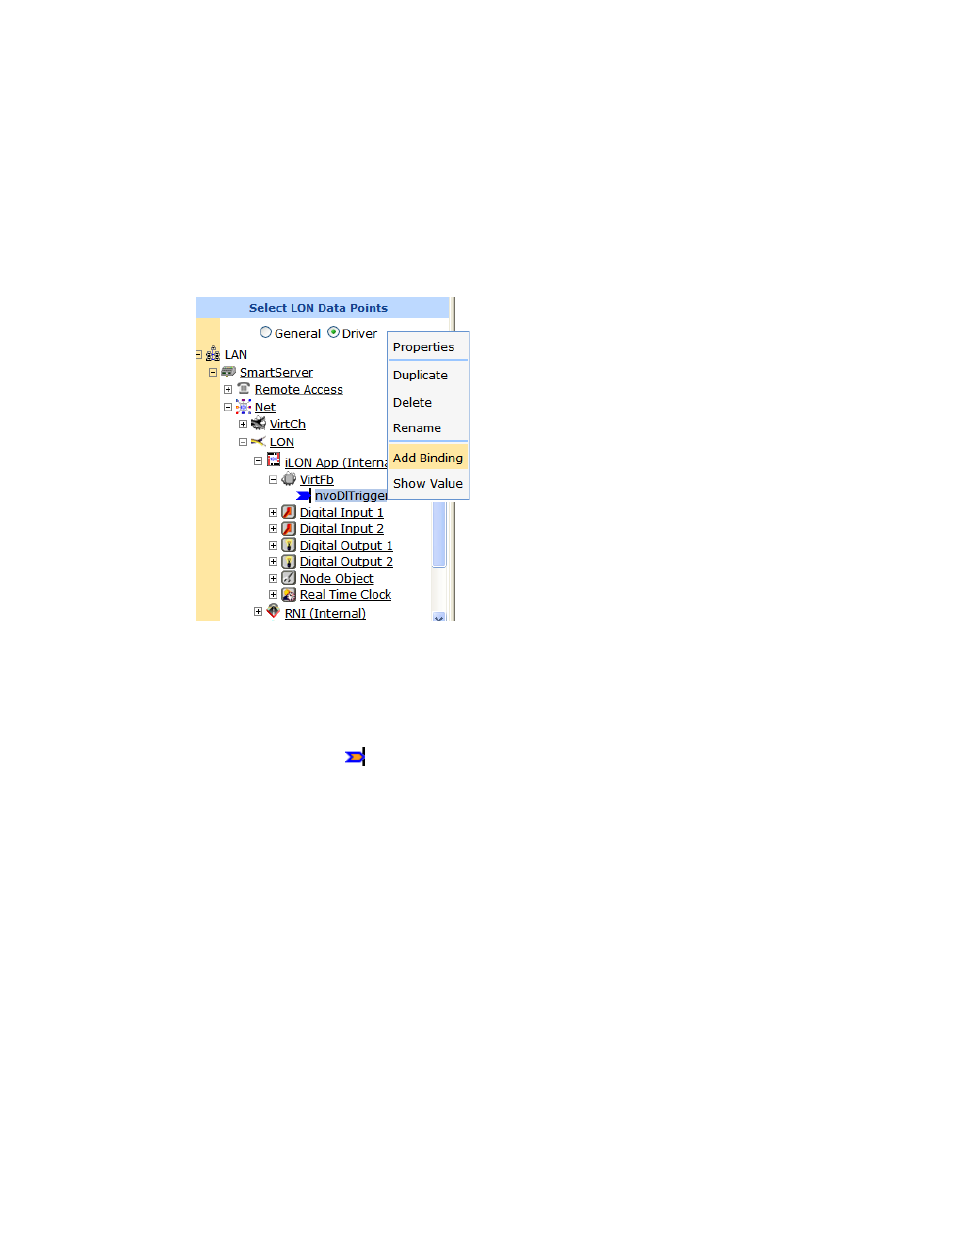
2. From the navigation pane in the left frame of the SmartServer Web interface, right-click a source
data point in the SmartServer tree and then click Add Connection in the shortcut menu. This
example adds a SNVT_switch dynamic data point to the SmartServer i.LON App device’s Virtual
Functional Block (Net/LON/iLON App/VirtFB/nvoDlTrigger).
3. The Configure – Web Connection Web page opens and the hostnames of the local SmartServer
and the OpenLNS Server or Web Connection Target Server you added to the LAN appear in the
application frame to the right. The host devices in the right frame are collectively referred to as
Web-Connection Destinations.
4. From the Web-Connection Destinations tree on the right frame, expand the LNS Server icon,
expand a network, channel, device and functional block, and then click a data point. A reference
to the target data point (
) is added underneath the source data point in the SmartServer tree in
the navigation pane.
Creating the Web Connection in Standalone Mode
To create a Web connection with the SmartServer running in standalone mode, follow these steps:
1. Add a Web Connection Target Server to the LAN in the SmartServer Web interface. To do this,
follow these steps:
a. Right-click the LAN entry at top of navigation pane, point to Add Host, click Server.
b. Click the Host option, and then enter IP address of your computer, which must be running the
LNS Proxy Web service and OpenLNS Server.
c. Right-click the server icon, point to Add Service, then and click Web Connection Target on
the shortcut menu.