Echelon SmartServer 2.2 User Manual
Page 220
SmartServer
2.2 User’s Guide
221
pane on the left side of the SmartServer Web interface, then you must drag the SmartServer device
shape to Channel 1 in your OpenLNS CT drawing.
5. Click Driver at the top of the navigation pane, and then click the network icon. The Setup –
LON Network Driver Web page opens.
6. If the target OpenLNS network database is located on a different OpenLNS Server, proceed with
the following steps; otherwise, skip to step 7.
a. Add that OpenLNS Server to the LAN containing the target OpenLNS network database if it
has not already been added.
b. In the LNS Server property, select the IP address of the target OpenLNS Server.
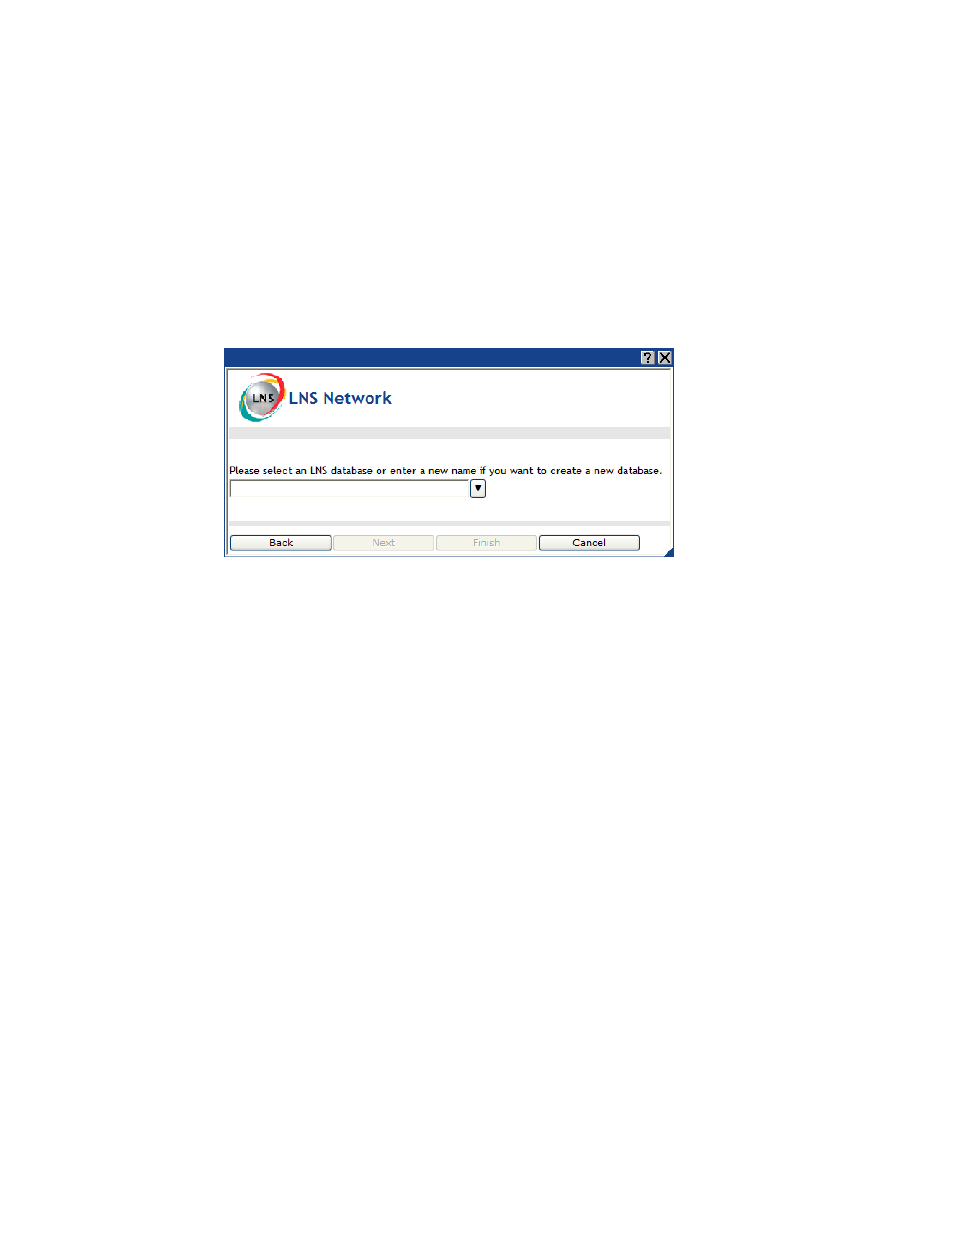
c. The LNS Network dialog opens.
d. Select an existing OpenLNS network database or create a new one.
To select an existing OpenLNS network database, select the name of the OpenLNS
network database from the list and then click Finish.
To create a new OpenLNS network database, enter a descriptive name (maximum 14
characters) that is unique to the selected OpenLNS Server, click Next, and then click
Finish in the Create LNS DB? dialog. The new OpenLNS network database is created
in the ilon\db folder on your computer.
7. In the OpenLNS Network property, either select an existing OpenLNS network database to be
updated with the network configuration stored in the SmartServer’s internal database (XML files
in the /config/network folder on the SmartServer flash disk), or create a new OpenLNS network
database.
To select an existing OpenLNS network database, select the name of the OpenLNS network
database from the list and then click Submit.
To create a new OpenLNS network database, enter a descriptive name (maximum 14
characters) that is unique to the selected OpenLNS Server. The new OpenLNS network
database is created in the ilon\db folder on your computer. Click Submit. A dialog appears
prompting you to confirm the creation of the new OpenLNS network database on the
OpenLNS Server. Click OK. After the dialog closes, click Submit.