Creating events in the daily schedule – Echelon SmartServer 2.2 User Manual
Page 371
372
Scheduling
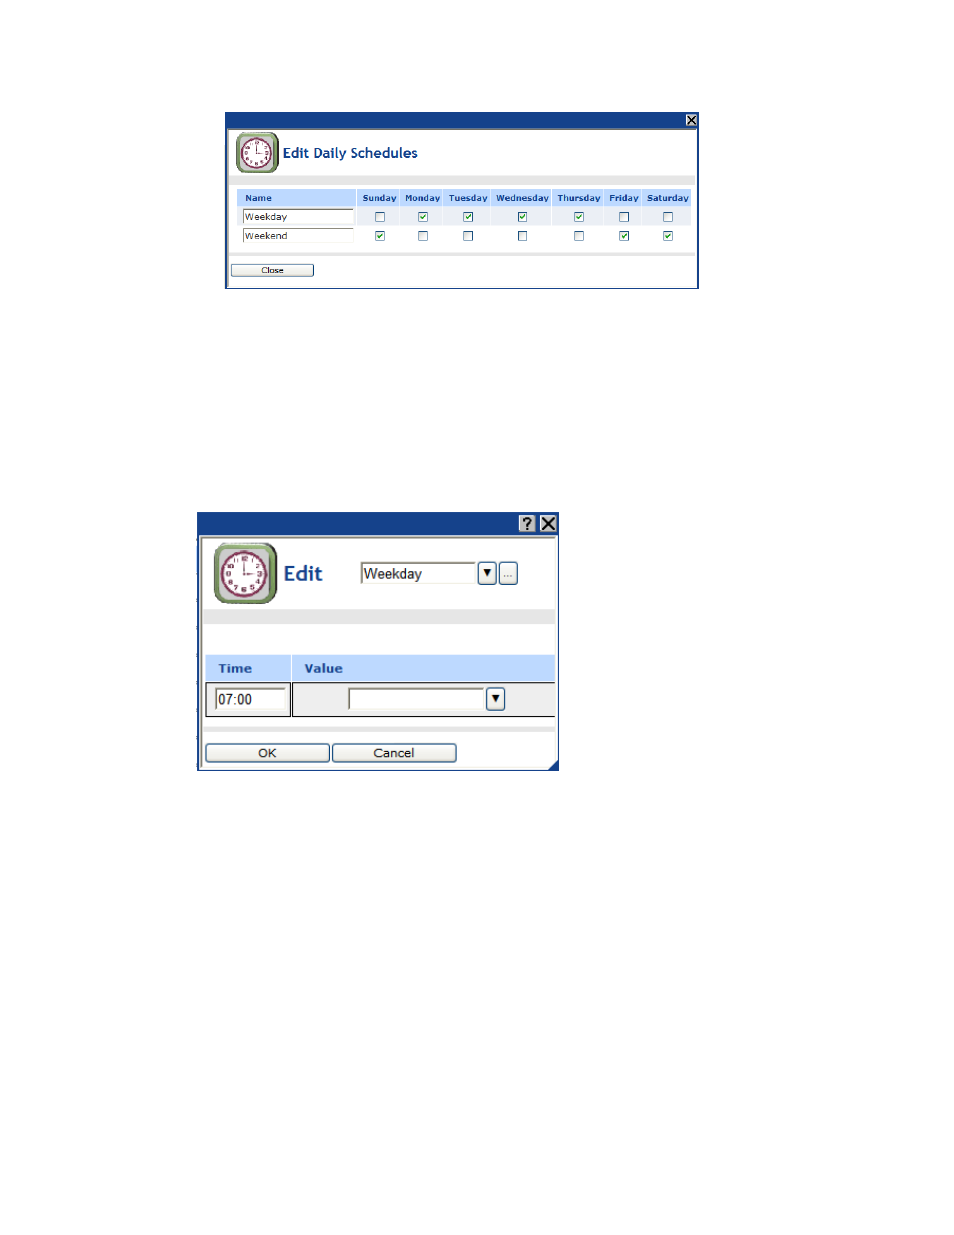
You can also re-name any of the daily schedules. When you are done editing and re-naming
the daily schedules, click Close to return to the Scheduler: Daily Schedules Web page.
4. Click Submit.
Creating Events in the Daily Schedule
You can add and edit events from the Scheduler: Daily Schedules Web page. To do this, follow these
steps:
1. Click the box corresponding to the day and time for which an event is to be created. For example,
to schedule an event at 7:00 on Monday, click the box that is in the 7:00 row and under the
Monday column. The Edit dialog opens.
2. By default, the daily schedule in which the selected day is a member is displayed at the top of the
dialog (for example, Weekday, Weekend, or some other user-defined daily schedule). You can
select a different daily schedule from the list to add events to that daily schedule. In addition, you
can click the box to the right of the daily schedule list to open the Edit Daily Schedules dialog
and configure the scope of the daily schedules. See the previous section, Defining Schedules, for
more information on configuring the daily schedules.
3. In the Time box, enter the exact time the event is to occur if it is different than the default time,
which is on the hour of the selected time. For example, to create an event that occurs at 7:15 A.M.
instead of the default 7:00 A.M, enter 07:15. Note that you can create up to one event per minute.
4. In the Value box, do one of the following:
Select the preset to be used to update the values of all the data points added to the Scheduler
that have that preset defined for them. Alternatively, you can enter a new preset and then go
back to the Scheduler: Data Points Web page and define the value (or values) for the preset.
Enter a valid value to be written to all the data points. To enter a value, all the data points
added to the Scheduler must have the same network variable type (for example,
SNVT_switch).