Echelon SmartServer 2.2 User Manual
Page 376
SmartServer
2.2 User’s Guide
377
If you are creating an event based on a specific time of day, select the Clock icon (
), which is
selected by default. This hides the Offset box and enables you to enter a time in the Time box.
See Creating Sunrise and Sundown Events later in this chapter for creating schedules based on
sunrise and sundown times.
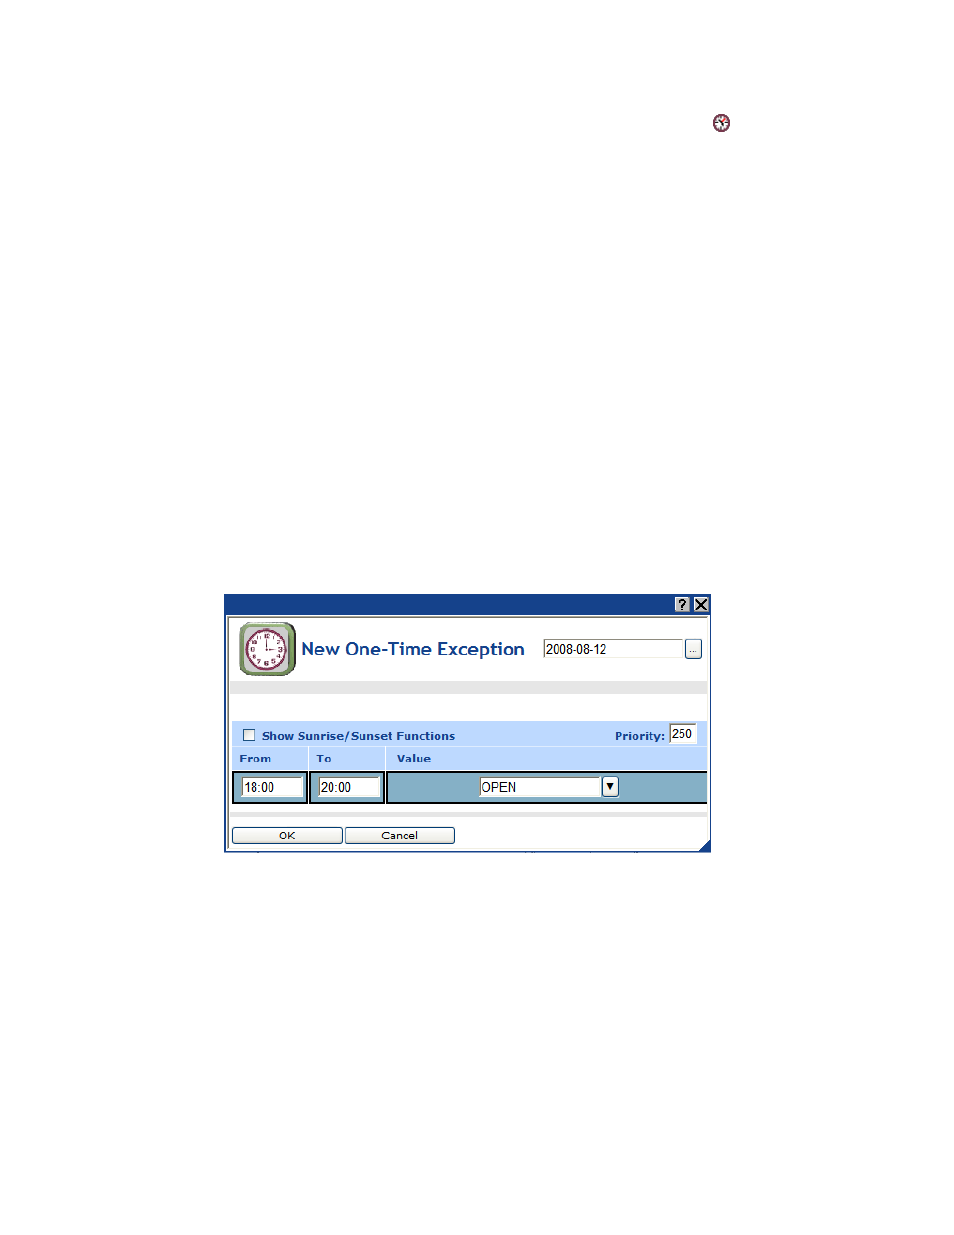
6. Specify the start and end time of the one-time exception following these steps:
a. In the Time box under the From property, enter the exact time the event is to start.
b. In the Time box under the To property, enter the exact time the event is to end.
c. In the Value box, do one of the following:
Select the preset to be used to update the values of all the data points added to the
Scheduler that have that preset defined for them. Alternatively, you can enter a new
preset and then go back to the Scheduler: Data Points Web page and define the value (or
values) for the preset.
Enter a valid value to be written to all the data points. To enter a value, all the data points
added to the Scheduler must have the same network variable type (for example,
SNVT_switch).
d. In the Priority box, enter a priority for the event between 0 to 255 (highest to lowest priority).
The default priority for an event in an exception schedule is five more than the priorities of
events in the daily schedule. For example, if you created an event with a priority of 255 in the
daily schedules, the events in the exception schedule will have a priority of 250. This priority
essentially locks out events with lower priorities so that they cannot update the data points
written to by this event. When the event ends, lower priority events can update the data
points.
e. To create additional events in the one-time exception, right-click anywhere in the Time or
Value boxes, and then click Add in the shortcut menu. A new row for the event is added to
the dialog. Follow steps a–c to specify the Time and Value of the new event in the one-time
exception.
f.
Click OK to save your events and return to the Scheduler: Exception Schedules Web page
Web page. Click Cancel to delete all changes and return to the Scheduler: Exception
Schedules Web page.
7. The date on which the one-time exception is to occur is highlighted teal (or dark blue) in the
calendar.