Echelon SmartServer 2.2 User Manual
Page 390
SmartServer
2.2 User’s Guide
391
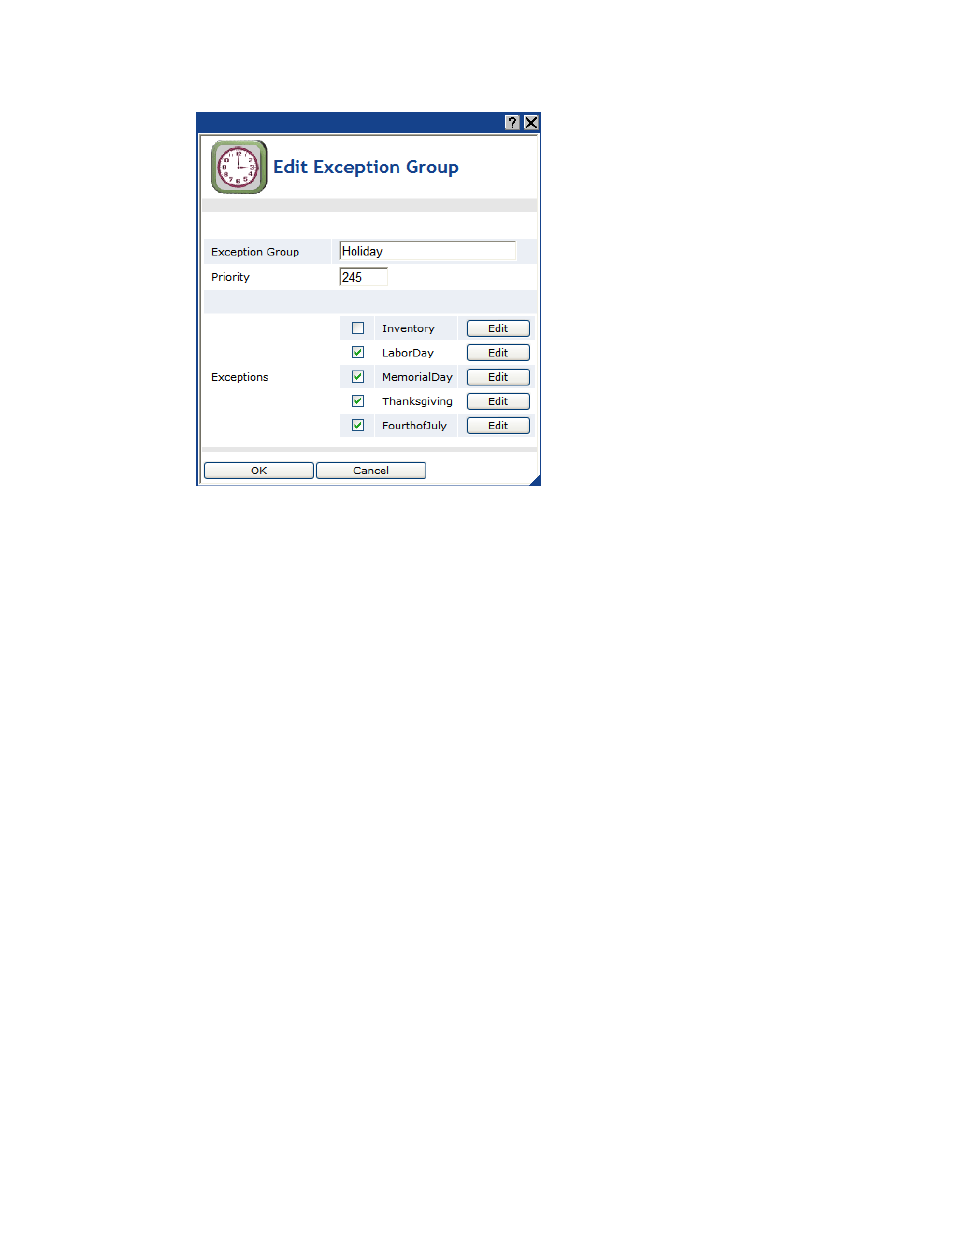
3. You can rename the exception group, change the priorities of the events in the exception group,
add and remove exceptions to and from the exception group, and edit the individual exceptions.
To add an exception to the exception group, select its check box. The selected exception will
adopt the exception group’s schedule.
To remove an exception from the exception group, clear its check box. The schedule of the
cleared exception is reset to the default exception schedule.
To edit an exception, click Edit. The Edit Exception dialog opens. You can modify the
name, scope, dates, and recursions of the exception and any other instances created under it.
When you finish editing the exception, click Close.
4. Click Close to return to the Scheduler: Exception Schedules Web page.
5. Click Submit
Deleting Exceptions and Exception Groups
To delete an exception or exception group, follow these steps:
1. Right-click the exception date or one of the dates in a range of exception dates, point to Delete
Exceptions, and then either click the name of the exception to be deleted on the shortcut menu or
point to All and then click the name of the exception to be deleted from the list on the shortcut
menu of all the exceptions in the Event Scheduler.
You can also right-click anywhere in the exception schedule, point to Edit Exceptions, point to
All, and then click the name of the exception to be deleted from the list on the shortcut menu of all
the exceptions in the Event Scheduler.