Move to timeline in/out points, Move by timecode – Grass Valley EDIUS Neo 3 User Manual
Page 466
464
EDIUS NEO — User Reference Guide
Section 5 — Timeline Operations
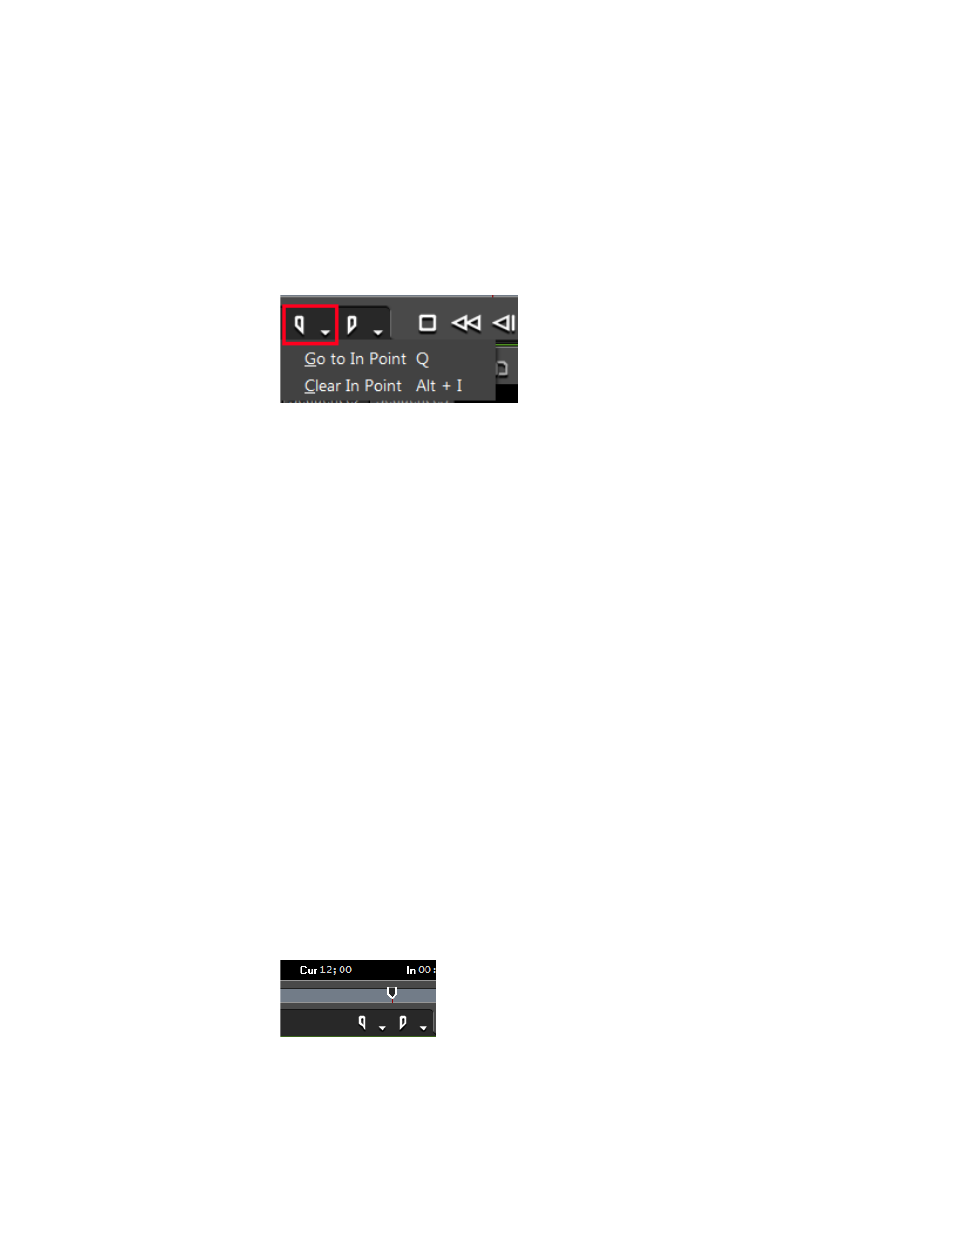
Move to Timeline In/Out Points
To move the Timeline cursor to the In or Out point on the Timeline, do one
of the following:
•
Click the list button [ ] on the
Set In
or
Set Out
button (see
)
and select Go to In Point or Go to Out Point respectively from the menu.
Figure 532. Set In Menu - Go to In Point
•
Select Marker>Go to In Point or Marker>Go to Out Point from the
Preview window menu bar.
Note
If there is no In or Out point set, the respective option is greyed out on the
menu.
•
Press the [
Q
] key on the keyboard to move to the In point.
•
Press the [
W
] key on the keyboard to move to the Out point.
Move by Timecode
To position the Timeline cursor by timecode entry, follow these steps:
1.
Click the Cur timecode in the Recorder.
2.
Using the numeric keypad, enter the desired timecode to which to
move the cursor in HH:MM:SS;FF (Hours:Minutes:Seconds;Frames)
format. See
for an example (1200 is the entered value).
Note
Entering a “+” or a “-” before the timecode entry cause the cursor to move
forward or backward from the current position by the entered value. See
Entering Numeric Data
on page 17
for more information about entering time-
codes.
Figure 533. Recorder Timecode Entry
3.
Press the
[ENTER
] key and the cursor moves to the entered timecode
position as illustrated in
.