Setting in and out points on timeline – Grass Valley EDIUS Neo 3 User Manual
Page 328
326
EDIUS NEO — User Reference Guide
Section 5 — Timeline Operations
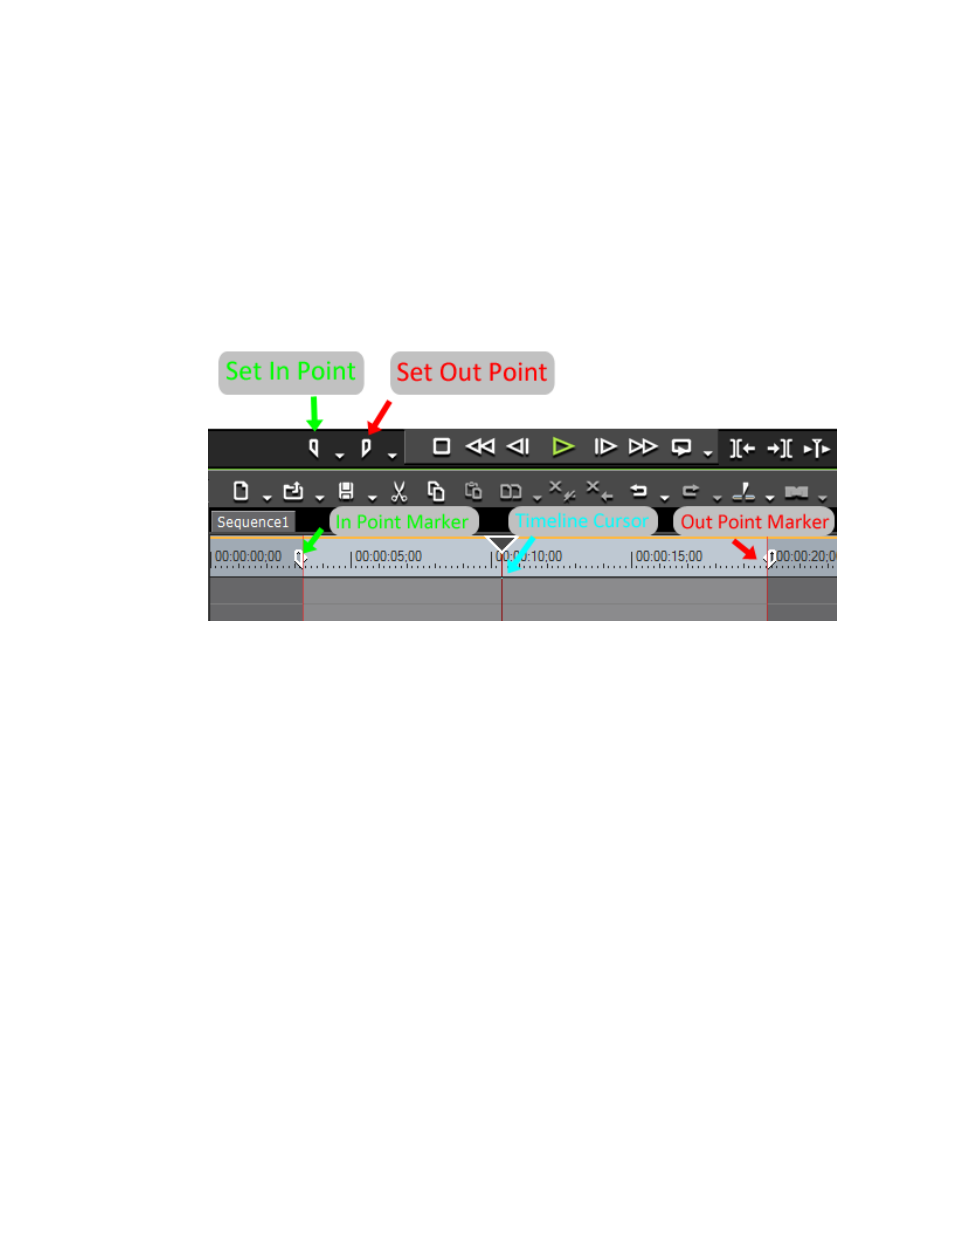
Setting In and Out Points on Timeline
Setting In and Out points on the Timeline allows you to restrict the range
in which certain operations will take place, or to position a clip in the Time-
line based on the In and Out points.
To set In and Out points on the Timeline, do the following:
1.
Move the Timeline cursor to the position at which you wish to set the
In point. Refer to
Figure 358. Set In and Out on Timeline
2.
Click the
Set In
button in the Recorder.
You may also do one of the following to set the In point.
•
Right-click on the time scale, select Set In Point from the menu.
•
Select Marker from the Preview window menu bar and select Set In
Point from the menu.
•
Press
[I]
on the keyboard.
3.
Move the Timeline cursor to the position at which you wish to set the
Out point.
4.
Click
Set Out
in the Recorder.
You may also do one of the following to set the Out point.
•
Right-click on the time scale, select Set Out Point from the menu.
•
Select Marker from the Preview window menu bar and select Set Out
Point from the menu.
•
Press
[0]
on the keyboard.