Grass Valley EDIUS Neo 3 User Manual
Page 205
EDIUS NEO — User Reference Guide
203
Capturing Directly to the Timeline
Figure 194. Capture to Timeline
2.
Move the Timeline cursor to the point at which you wish to insert the
captured clip. In
, the cursor is at the 00:03:05;00 mark.
3.
Playback the source in the Player and set the desired In and Out points.
Note
Setting no In and Out points causes the entire source to be captured (begin-
ning at the current location in the source material) until manually stopped.
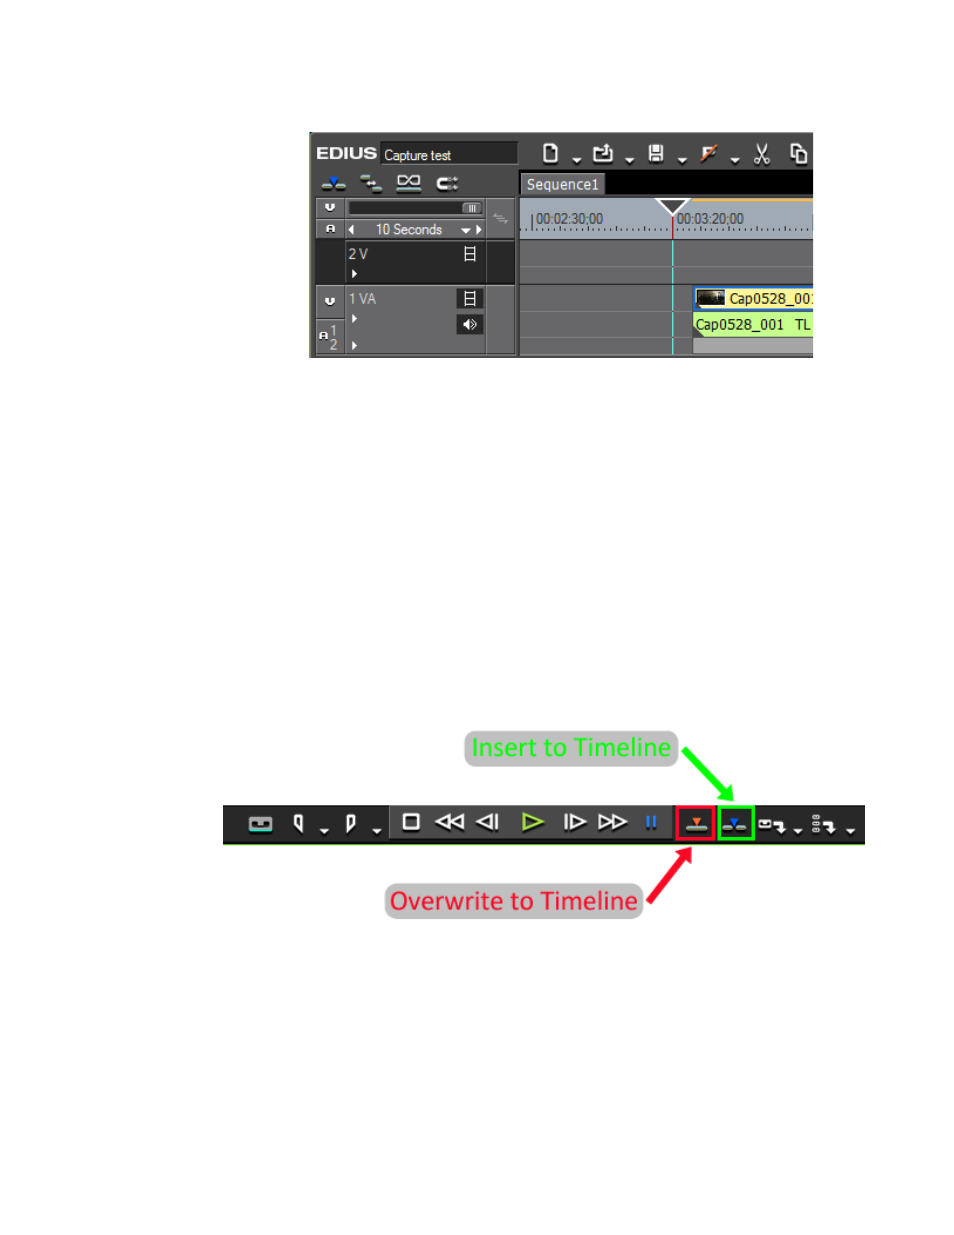
4.
Click the
Insert to Timeline
(or press the
]
key on the keyboard) or
Overwrite
to Timeline
(or press the
[
key on the keyboard) button. See
.
Note
The Insert to Timeline and Overwrite to Timeline buttons are not active in
the Player unless the Video and Audio track patches are active on the selected
track. See Video and Audio Track Patches
for a discussion of
track patches.
Figure 195. Capture to Timeline Buttons
After capturing, the clip is placed on the selected track with the clip begin-
ning at the cursor position. It is also saved to the Asset Bin.
See also Three-Point Editing
(placing a clip between In and Out
points on the Timeline) and Four-Point Editing
Out points of a clip between the In and Out points on the Timeline).