Dividing clips at cursor position – Grass Valley EDIUS Neo 3 User Manual
Page 355
EDIUS NEO — User Reference Guide
353
Timeline Clip Operations
Alternative Methods:
Use one of the following methods to open the Properties dialog for the
selected clip.
•
Select Clip>Properties on the Preview window menu bar.
•
Press the [
ALT
]+[
ENTER
] keys on the keyboard.
Dividing Clips at Cursor Position
Clips may be divided at the Timeline cursor position. This will create sep-
arate clips that may be treated separately on the Timeline.
To divide clips at the Timeline cursor position, execute the following steps:
1.
Do one of the following:
•
Select all the tracks containing clips you wish to cut at the Timeline
cursor position.
•
Select the clip(s) you wish to cut (regardless of whether or not the tracks
are selected) at the Timeline cursor position.
Note
If tracks are selected, clips do not need to be selected. If clips are selected,
tracks do not need to be selected.
2.
Position the Timeline cursor at the point in the clip at which it will be
divided.
3.
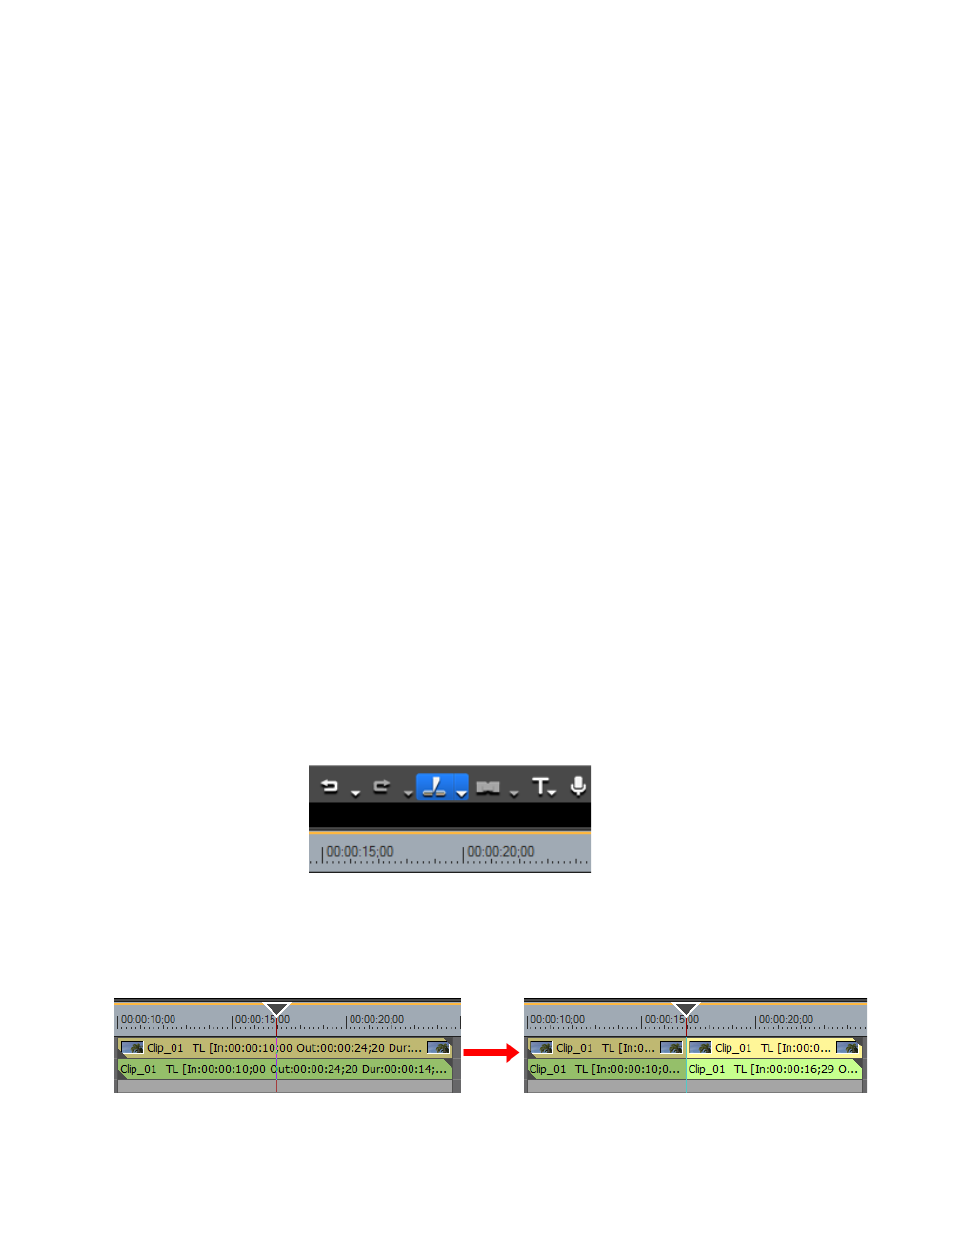
Click the
Add Cut Point (Selected Tracks)
button (highlighted in blue in
) on the Timeline.
Figure 395. Timeline Add Cut Point Button
The clip(s) at the cursor position on selected track(s) or the selected clip(s)
at the cursor position are divided as illustrated in
Figure 396. Clip Divided at Cursor Position