Grass Valley EDIUS Neo 3 User Manual
Page 420
418
EDIUS NEO — User Reference Guide
Section 5 — Timeline Operations
The trimming mode changes according to the selected In and Out points.
For more information on trimming modes, see the following references:
•
•
•
•
•
3.
Enter the desired timecode to trim and press the [
ENTER
] key.
Move the mouse cursor to the timecodes at the bottom of the Preview
window. The mouse cursor shape changes. Click on the timecode to change
and a blue line appears under the timecode allowing entry of values. See
or an example.
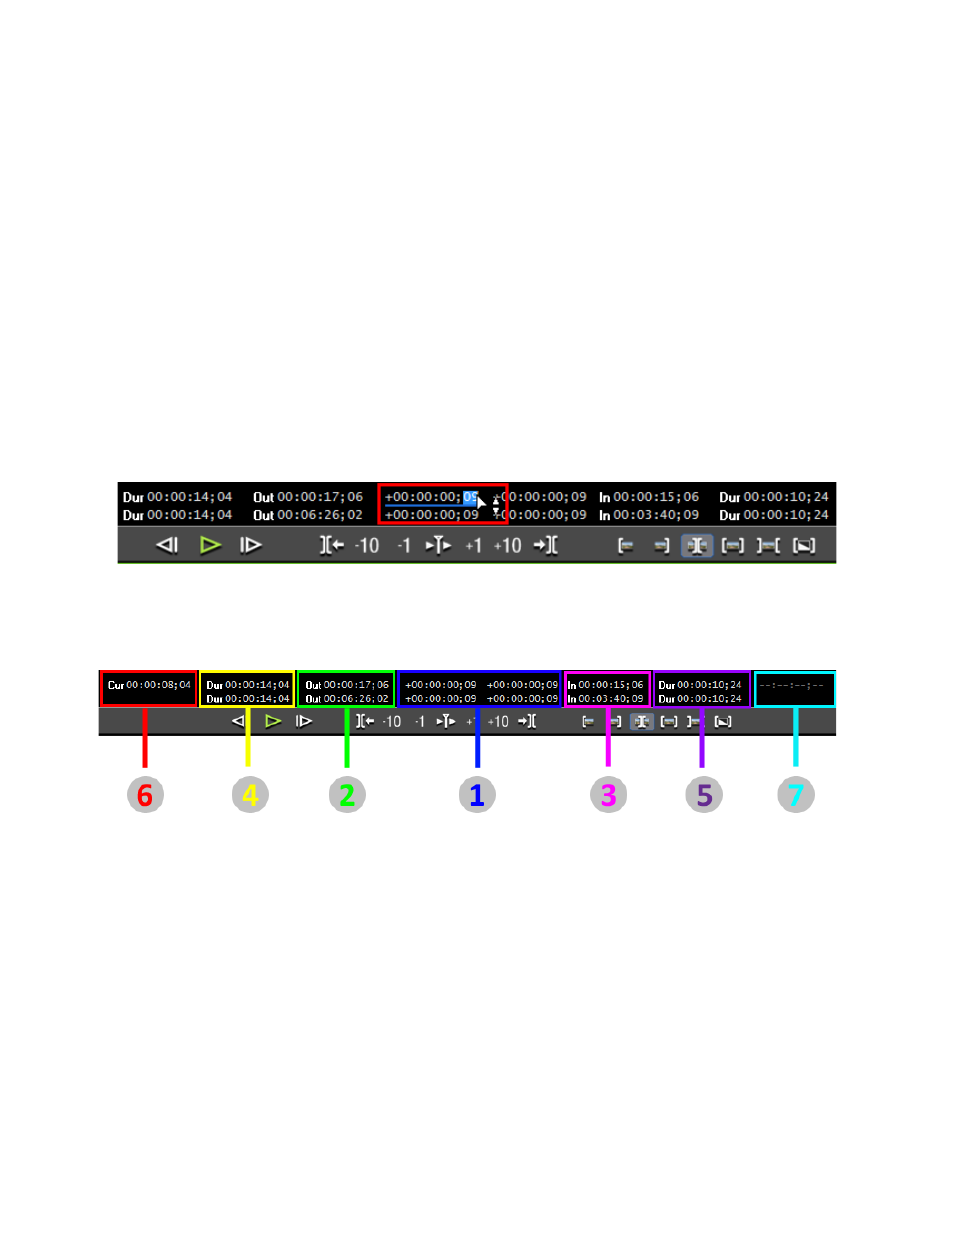
Figure 472. Timecode Trim Entry
The Trim window may contain any of the timecodes shown in
.
Figure 473. Trim Window Timecodes
The upper row displays the sequence timecodes and the lower row dis-
plays the clip timecodes. Trimming can be performed by entering time-
codes in either row.
1 - Frame timecode with focused edit point moved.
2 - Timeline timecode of the focused edit point - Out point side of the clip.
3 - Timeline timecode of the focused edit point - In point side of the clip.
4 - The length of the clip to be trimmed - Out point side of the clip.
5 - The length of the clip to be trimmed - In point side of the clip.
6 - Timeline code of the Timeline cursor.