Maple Systems MAPware-7000 User Manual
Page 86
86
MAPware-7000 Programming Manual
1010-1040, Rev. 02
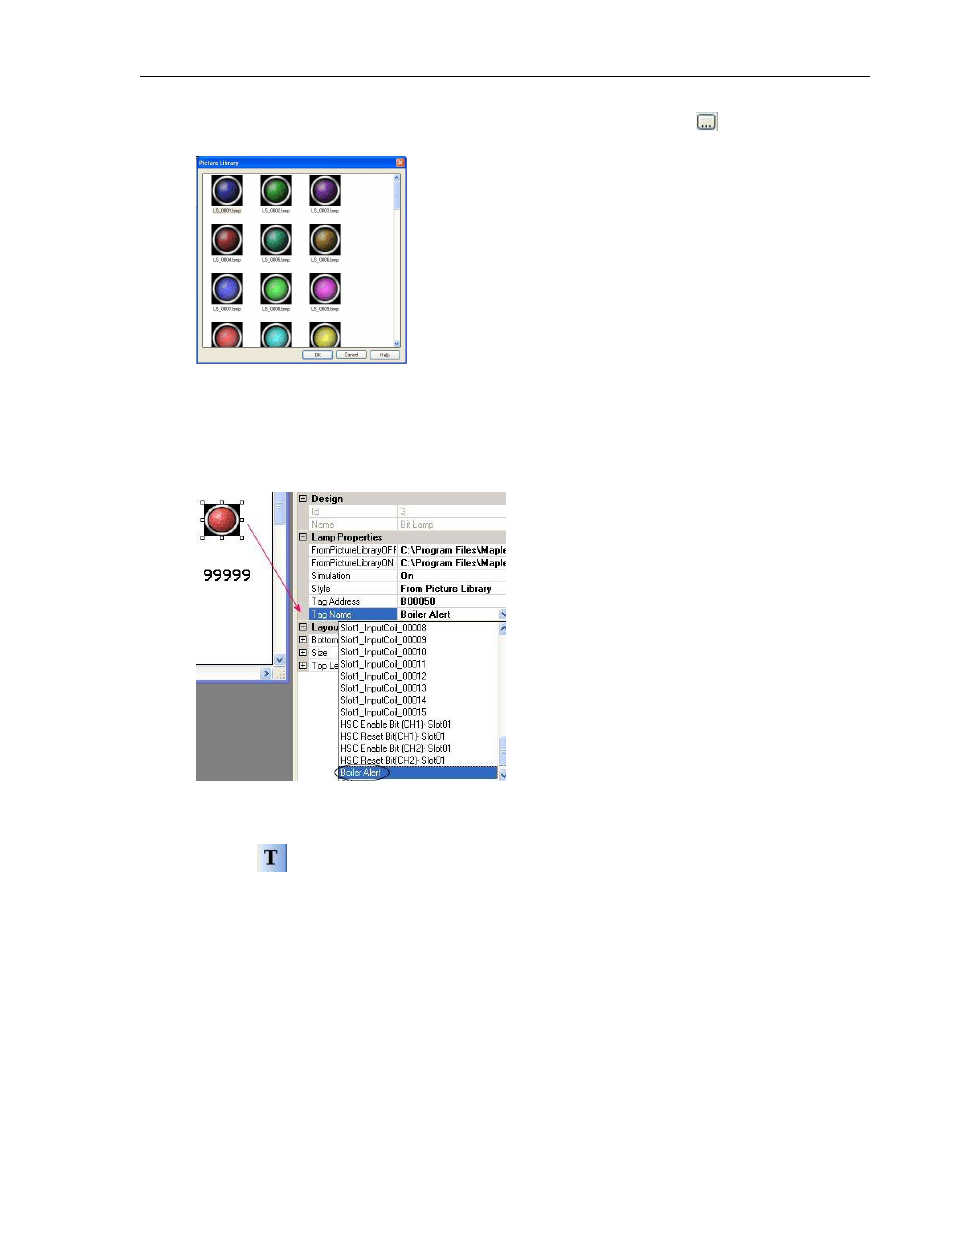
Click on the FromPictureLibraryOff field, and then click on the directory
button. The
Picture Library dialog box displays:
Select one of the lamps (ex. LS_0004.bmp), then click OK.
Notice that MAPware-7000 automatically selects a corresponding image for the ON
state in the FromPictureLibraryOn field. Note that if you are not satisfied with this
image, you can edit this field to select a different image.
Click on the Tag Name field, then click the pull-down box and select ‘Boiler Alert’ tag.
Notice that the Tag Address field updates to ‘B00050’.
If necessary, click and drag the Bit Lamp object to move it to the appropriate location on
Screen #2.
Now, we also want to add a small text label underneath the Bit Lamp object, so click on
the Text
object in the Quick Entry toolbar. Please the object underneath the Bit
Lamp object. Edit the text to ‘Boiler Status’.
Optional step: In order to learn how to use expansion modules in a project, let us add
another Bit Lamp object tagged to the first input contact (X0) of the HMC7-MI-01
expansion module located in Slot 1. To do this, we simply copy the Bit Lamp object and
the underlying text object and place the new objects on the screen.
Then edit the properties of the Bit Lamp object and click on the Tag Name field. Click the
pull-down box and select ‘Slot1_InputCoil_00000’ tag. Notice that the Tag Address field
updates to ‘X01000’.
Now highlight the text box underneath this Bit Lamp object. In the Properties window,
change the Text to ‘X0 Contact-Slot 1’.