Project information window, Properties grid, Tips and tricks when using mapware-7000 – Maple Systems MAPware-7000 User Manual
Page 56: Placing and editing screen objects
56
MAPware-7000 Programming Manual
1010-1040, Rev. 02
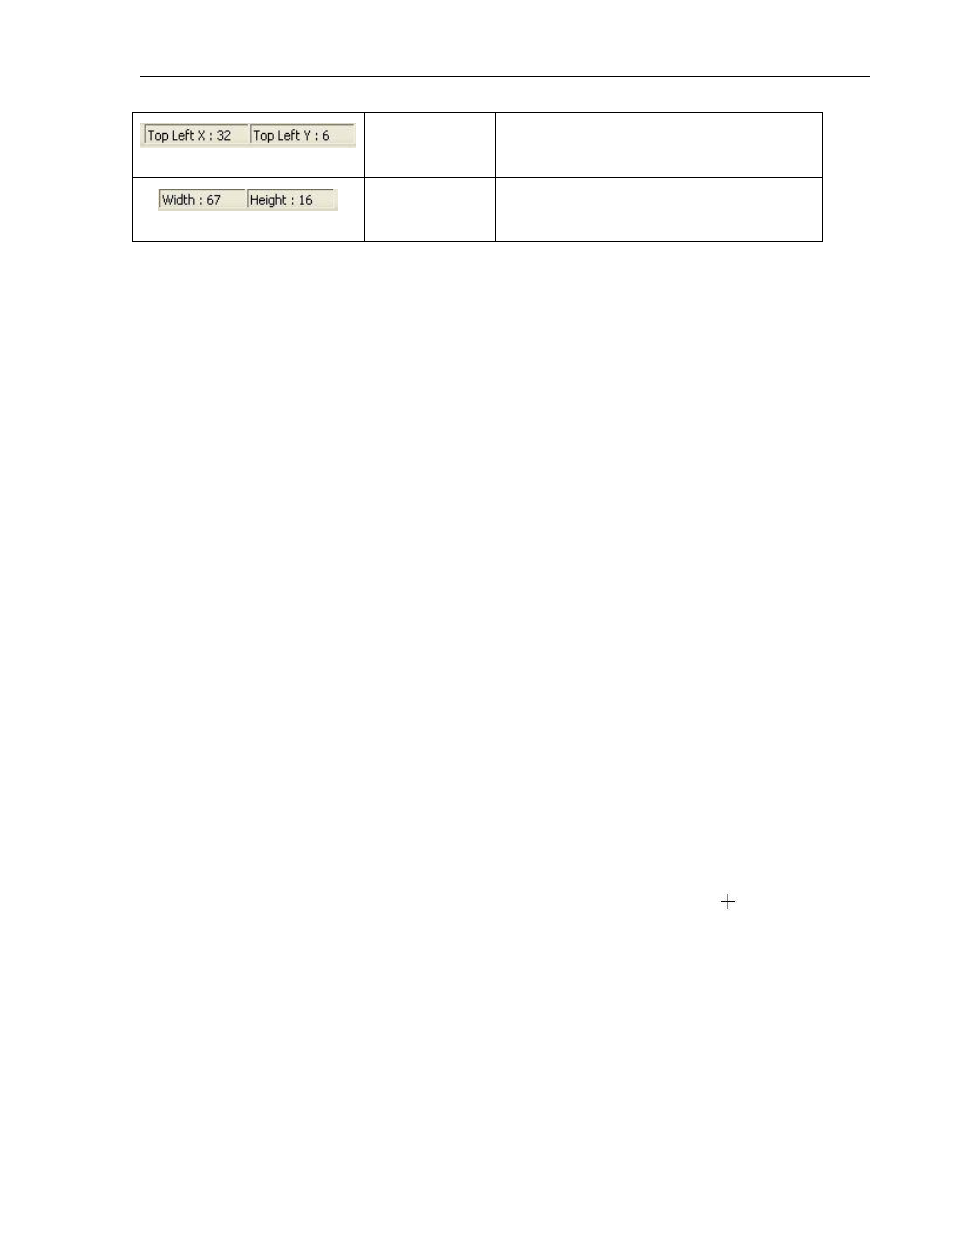
Object Position
Indicates the top left corner coordinates of
the object selected.
Object Size
Indicates the size of the object selected in
pixels.
Project Information Window
This window displays a listing of all projects created in the past and opened with the MAPware-
7000 software. It also displays a detailed feature list of the currently opened project in folder
format. Use this window to easily maneuver and display various aspects of the opened project.
Properties Grid
The Properties Grid is a dialog box that shows the attributes for the screen/object currently
highlighted. To make any changes to an attribute, simply click on the attribute and edit the
setting. More information about objects and the attributes available for each object are found
in Chapter 5 – Data Objects. On the bottom of the Properties Grid is a local help guide. This is a
brief description of the attribute highlighted.
Tips and Tricks when using MAPware-7000
Here are some ‘tools of the trade’ in regards to using the MAPware-7000 software. These are
random suggestions that should make it easier to get around the software.
Placing and Editing Screen Objects
Only three steps are required to place any object onto a screen:
1. Click on the object you wish to place onto a screen.
Most of the screen objects can be accessed via several locations in the MAPware-7000
software. For example, to place a GoTo Screen button on a screen, you can click one of
the following:
a. On the Menu Bar, click Draw...Buttons…Navigation Buttons…Go to Screen.
b. From the Draw toolbar, click Quick Buttons…Go to Screen.
c. From the Draw toolbar, click Advanced Objects…Buttons…Navigation
Buttons…Go to Screen.
d. On the Common Objects toolbar, click on the Go to Screen icon.
2. Move the mouse cursor to the location in the Screen Work Area where you wish to
have the object placed (the mouse cursor changes to the crosshair symbol
).
Note that the point at which you click is where the top left corner of the object is
placed.
3. Click the left mouse cursor to place the object on screen. If you need to move the
object after it is placed on screen, simply click and drag the object to the proper
location.
Once the object is in position, you can easily edit the attributes for that object using the
Properties Grid dialog box located on the far-right hand side of the MAPware-7000 software. To