3 identifying and editing individual bands, A identifying individual bands, Identifying and editing individual bands -10 – Bio-Rad Quantity One 1-D Analysis Software User Manual
Page 127
Quantity One User Guide
5-10
5.3 Identifying and Editing Individual Bands
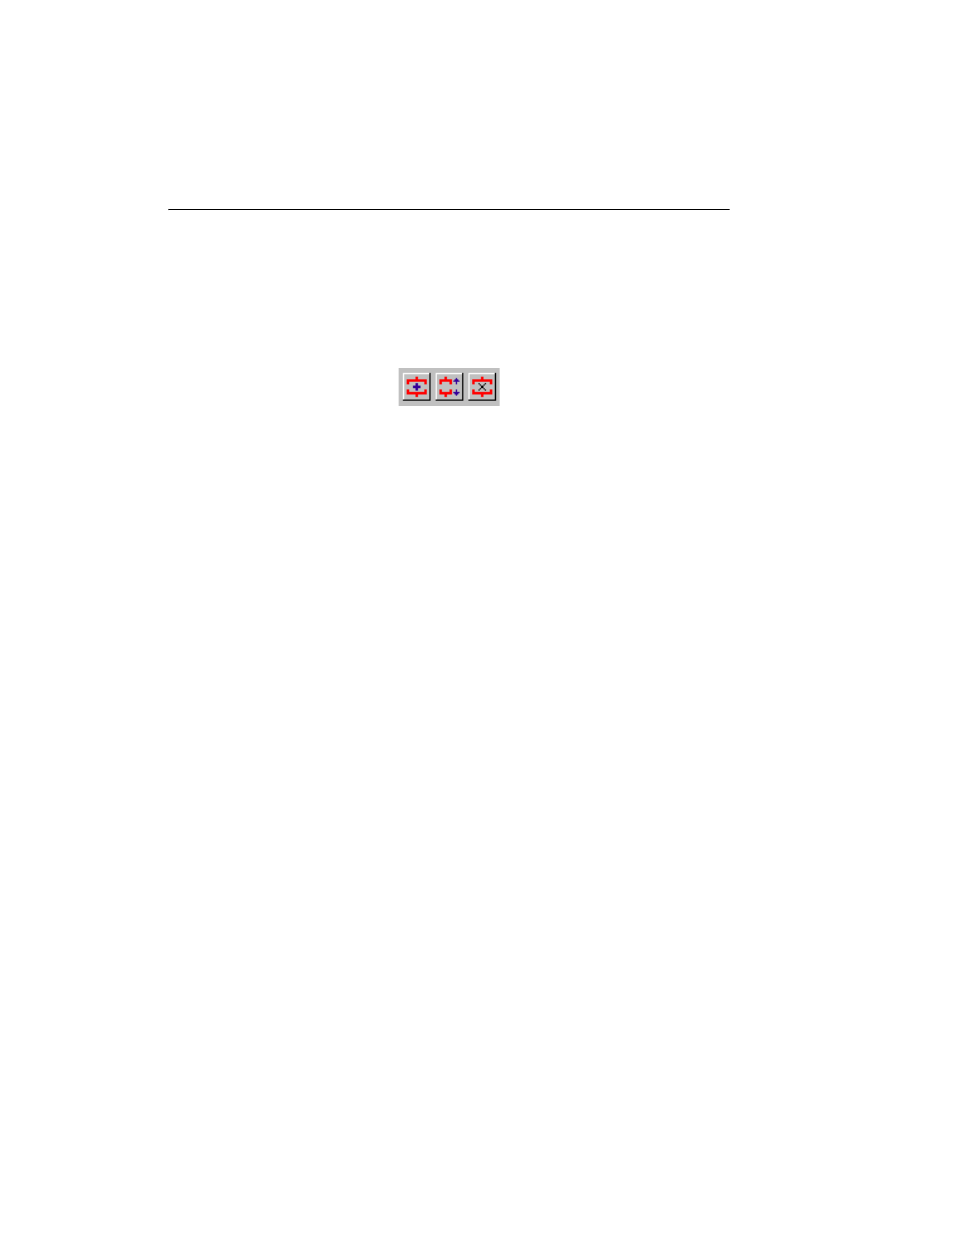
To manually identify and edit individual bands in an image, use the Create Band,
Adjust Band, and Remove Band commands on the Band menu and toolbar. (These
are also included on the toolbar in the Detect Bands dialog.)
Fig. 5-6. Create, Adjust, and Remove Bands buttons.
Note:
When editing individual bands, it is useful to display the band brackets. Select
these in the Band Attributes dialog (see section 5.5, Band Attributes). If your
bands are very closely spaced, defining them in brackets mode gives you greater
control for more precise band definition. It also allows you to define overlapping
bands.
5.3.a Identifying Individual Bands
With the bands displayed as brackets, select Create Band from the menu or toolbar,
then click on either the top or bottom boundary of the band in the gel. An intensity
trace of the lane will pop up next to the band.
Drag the cursor until the area of the band that you want to define—represented by the
peak on the intensity trace—has been completely enclosed. The area of defined band
will be highlighted on the trace.