Applying line (stroke) settings – Adobe InDesign User Manual
Page 603
Applying line (stroke) settings
Note:
Note:
Note:
Miter Limit
Set strokes
Stroke panel options
Add start and end shapes
Define custom stroke styles
Save custom stroke styles
Set strokes
You can apply strokes, or line settings, to paths, shapes, text frames, and text outlines. The Stroke panel provides control over the weight and
appearance of the stroke, including how segments join, start and end shapes, and options for corners. You can also select stroke settings in the
Control panel when a path or frame is selected.
If you frequently use the same stroke settings, you can save the settings in an object style, and quickly apply the same settings to any object.
For more information, see
.
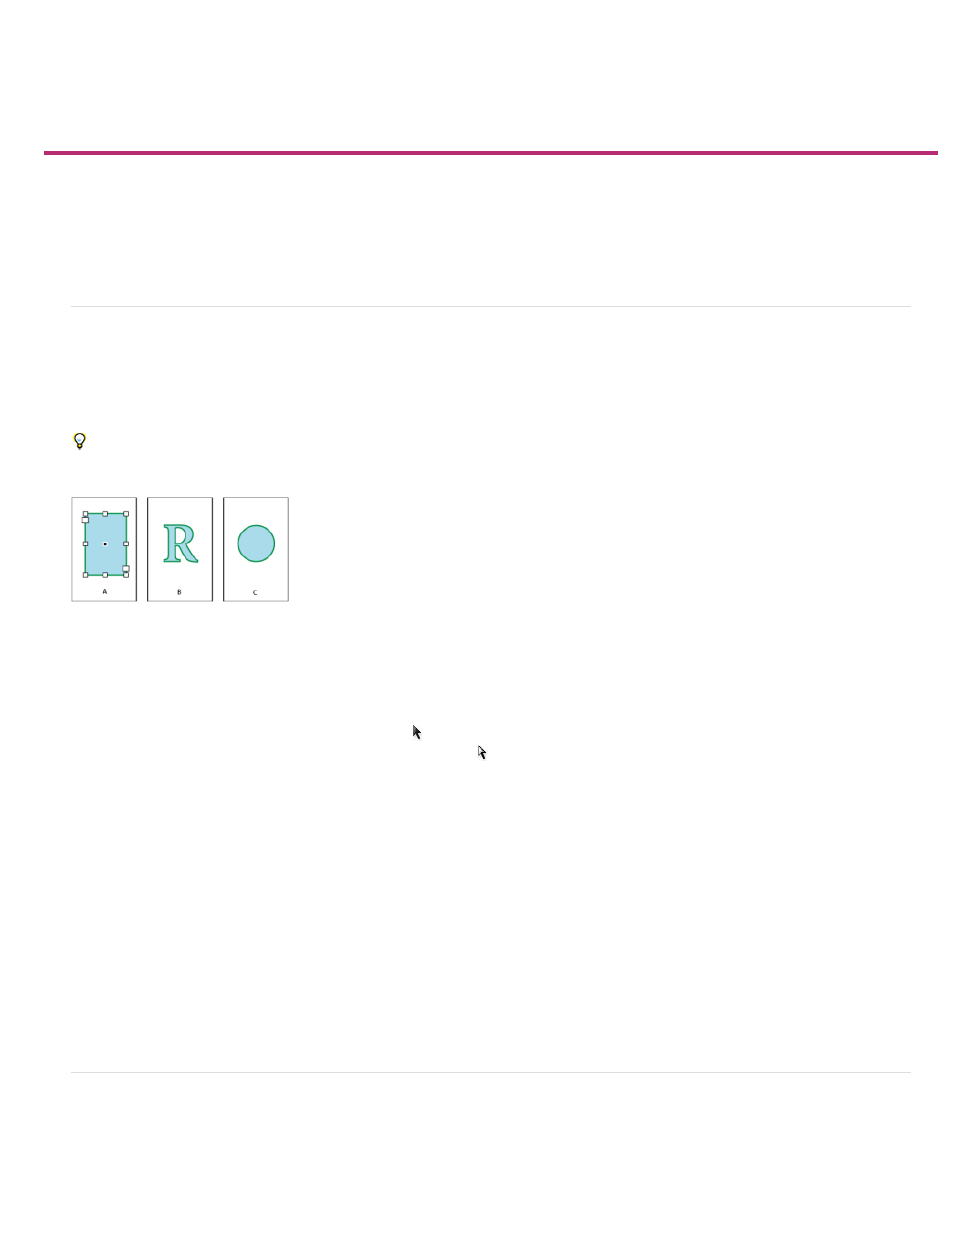
Applying strokes
A. Stroke applied to text frame B. Stroke applied to text outline C. Stroke applied to circle
1. Select the path whose stroke you want to modify.
When you select a path using the Selection tool , you activate a bounding box that encompasses the entire object. If you want to
see the actual path, select the path using the Direct Selection tool instead.
2. Choose Window > Stroke to display the Stroke panel.
3. For Weight, choose a stroke weight in the menu, or type a value and press Enter or Return.
Strokes thinner than 0.25 point may be too thin to see when printed on high-resolution output devices such as an imagesetter. To
remove the stroke, type a value of 0 (zero).
4. If additional options are not visible, choose Show Options from the panel menu to display the other stroke attributes.
5. Change other stroke attributes as desired.
If you want to change the stroke’s color, use the toolbox and Swatches panel. See Apply color.
Stroke panel options
Specifies the limit of point length to stroke width before a mitered join becomes a beveled square join. For example, a value of 9
requires the point length to be 9 times the stroke width before the point becomes beveled. Type a value (between 1 and 500) and press Enter or
598