Smooth out paths – Adobe InDesign User Manual
Page 590
Note:
Fidelity
Smoothness
Keep Selected
2. Select the Scissors tool and click the path where you want to split it. When you split the path in the middle of a segment, the two new
endpoints appear on top of the other, and one endpoint is selected.
3. Use the Direct Selection tool to adjust the new anchor point or path segment.
Open a path using the Pathfinder panel
1. Select the closed path.
2. To open the Pathfinder panel, choose Window > Object & Layout > Pathfinder.
3. Click Open Path in the Pathfinder panel.
Smooth out paths
Use the Smooth tool to remove excess angles from an existing path or a section of a path. The Smooth tool retains the original shape of the path
as nearly as possible. Smoothed paths generally have fewer points, which can make them easier to edit, display, and print.
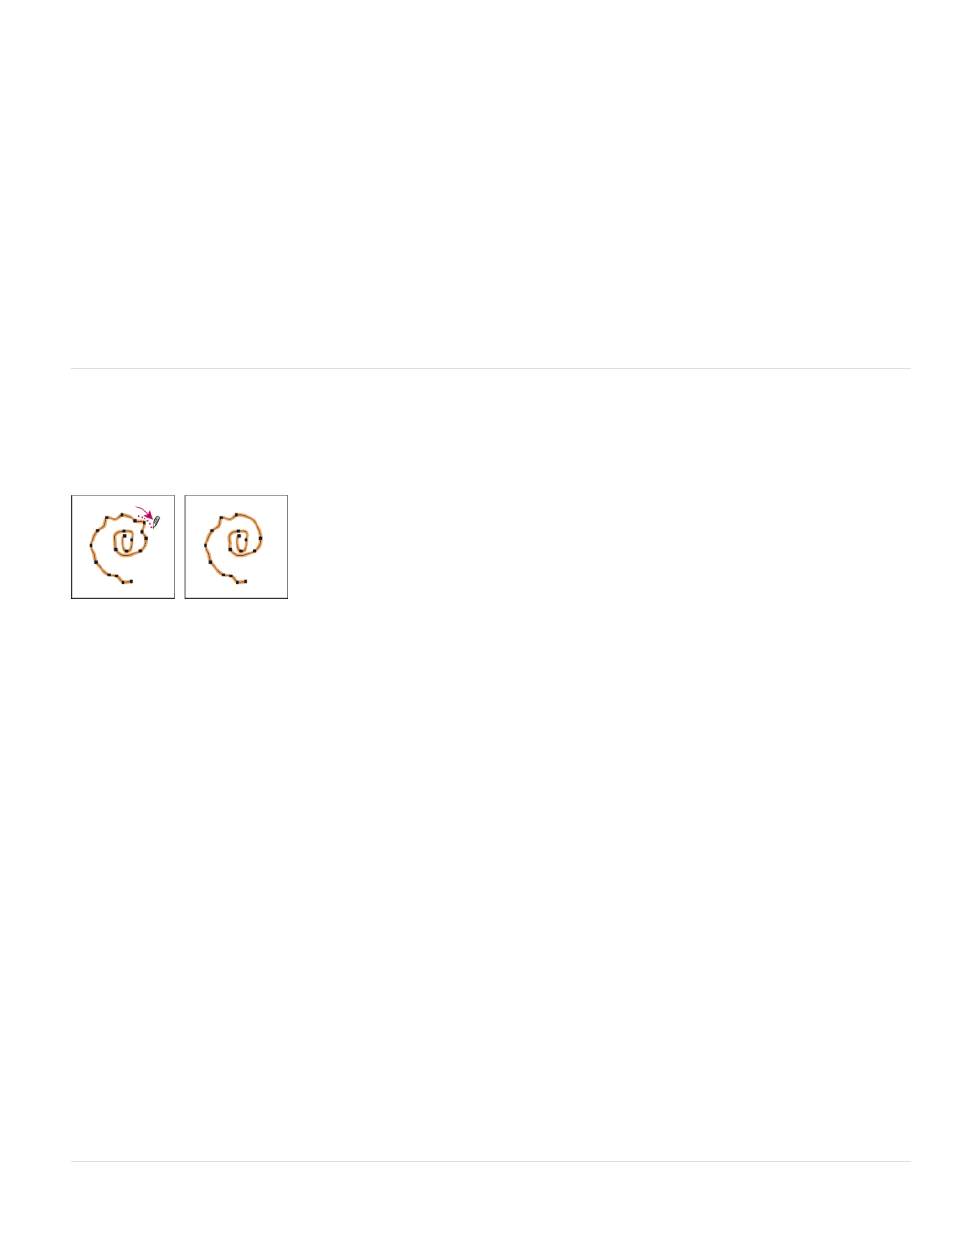
Path before and after using Smooth tool
1. Select the path.
2. Select the Smooth tool.
If the Pencil tool is selected, hold down Alt (Windows) or Option (Mac OS) to temporarily change the Pencil to the Smooth tool.
3. Drag the tool along the length of the path segment you want to smooth out.
4. Continue smoothing until the stroke or path is of the desired smoothness.
5. To change the amount of smoothing, double-click the Smooth tool and set the following options:
Controls how far your curves can stray before you have to modify the path. With lower Fidelity values, the curves will closely match
the pointer’s movement, resulting in sharper angles. With higher Fidelity values, the path will ignore small pointer movements, resulting in
smoother curves. The pixel value range is 0.5 to 20 pixels.
Controls the amount of smoothing applied when you use the tool. Smoothness can range from 0% to 100%; the higher the
value, the smoother the path.
Determines whether to keep the path selected after you smooth it.
585