Change the shape of a text wrap – Adobe InDesign User Manual
Page 250
Detect Edges
Generates the boundary using automatic edge detection. (To adjust edge detection, select the object and choose Object > Clipping Path >
Options.)
Alpha Channel
Generates the boundary from an alpha channel saved with the image. If this option isn’t available, no alpha channels were saved with the
image. InDesign recognizes the default transparency in Adobe Photoshop (the checkerboard pattern) as an alpha channel; you must
otherwise use Photoshop to delete the background or create and save one or more alpha channels with the image.
Photoshop Path
Generates the boundary from a path saved with the image. Choose Photoshop Path, and then choose a path from the Path menu. If the
Photoshop Path option isn’t available, no named paths were saved with the image.
Graphic Frame
Generates the boundary from the container frame.
Same As Clipping
Generates the boundary from the imported image’s clipping path.
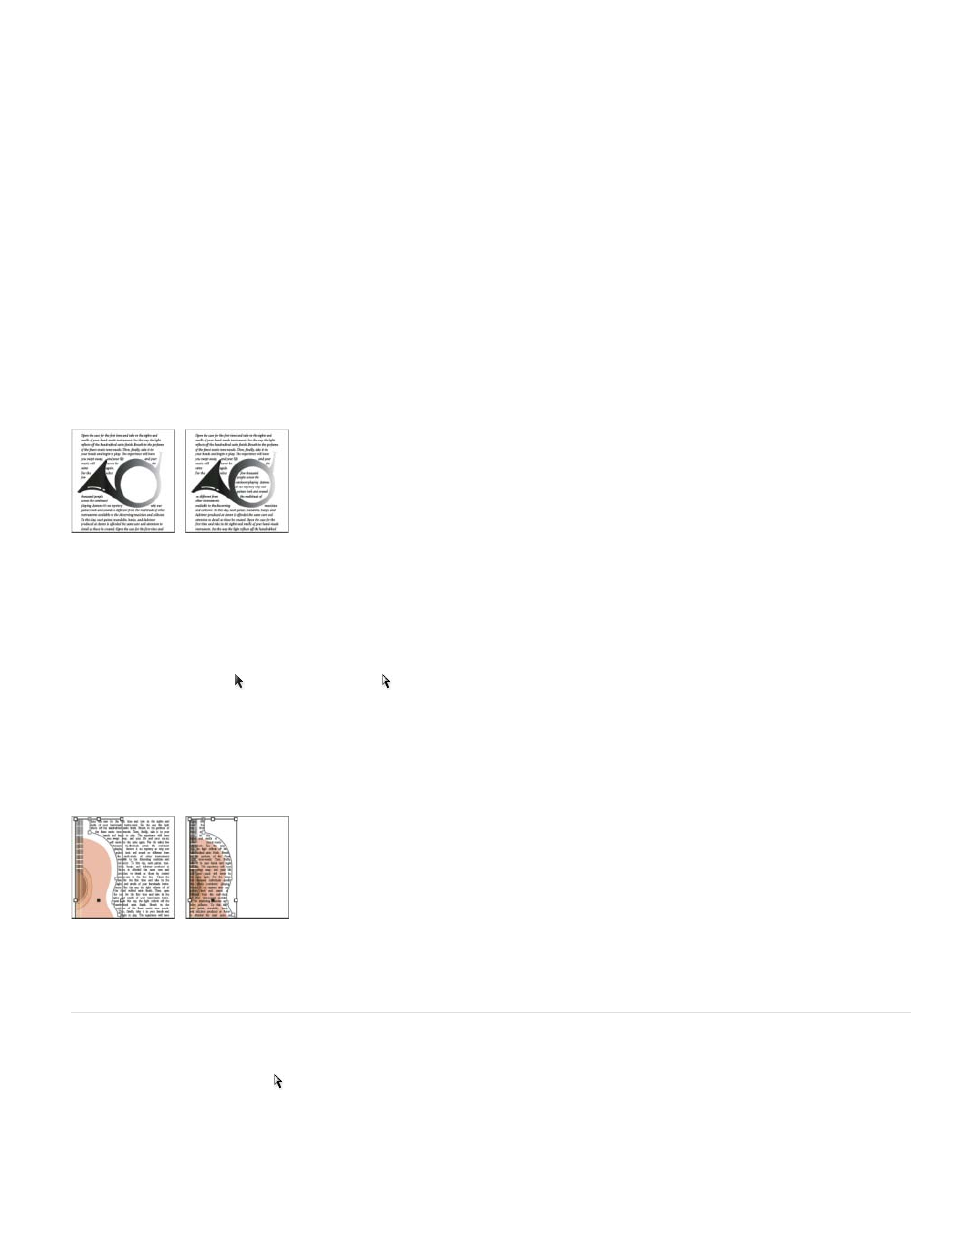
6. To let text appear inside “holes” of an image, such as the inside of a tire image, select Include Inside Edges.
Include Inside Edges off (left) and on (right)
Create an inverted text wrap
1. Using the Selection tool or Direct Selection tool , select an object, such as a compound path, that will allow text to wrap inside it.
2. To display the Text Wrap panel, choose Window > Text Wrap.
3. Apply a text wrap to an object, and select the Invert option. Invert is commonly used with the Object Shape text wrap.
Object Shape text wrap (left) and with Invert option selected (right)
Change the shape of a text wrap
1. Using the Direct Selection tool , select an object that has a text wrap applied to it. If the text wrap boundary is the same shape as the
object, the boundary is superimposed on the object.
2. Do any of the following:
245