Adobe InDesign User Manual
Page 249
Jump To Next Column
Forces the surrounding paragraph to the top of the next column or text frame.
4. From the Wrap To menu, specify whether the wrap is applied to a specific side (such as the right side or largest area) or towards or away
from the spine. (If you don’t see the Wrap To menu, choose Show Options from the Text Wrap panel menu.)
This option is available only if you selected Wrap Around Bounding Box or Wrap Around Object Shape.
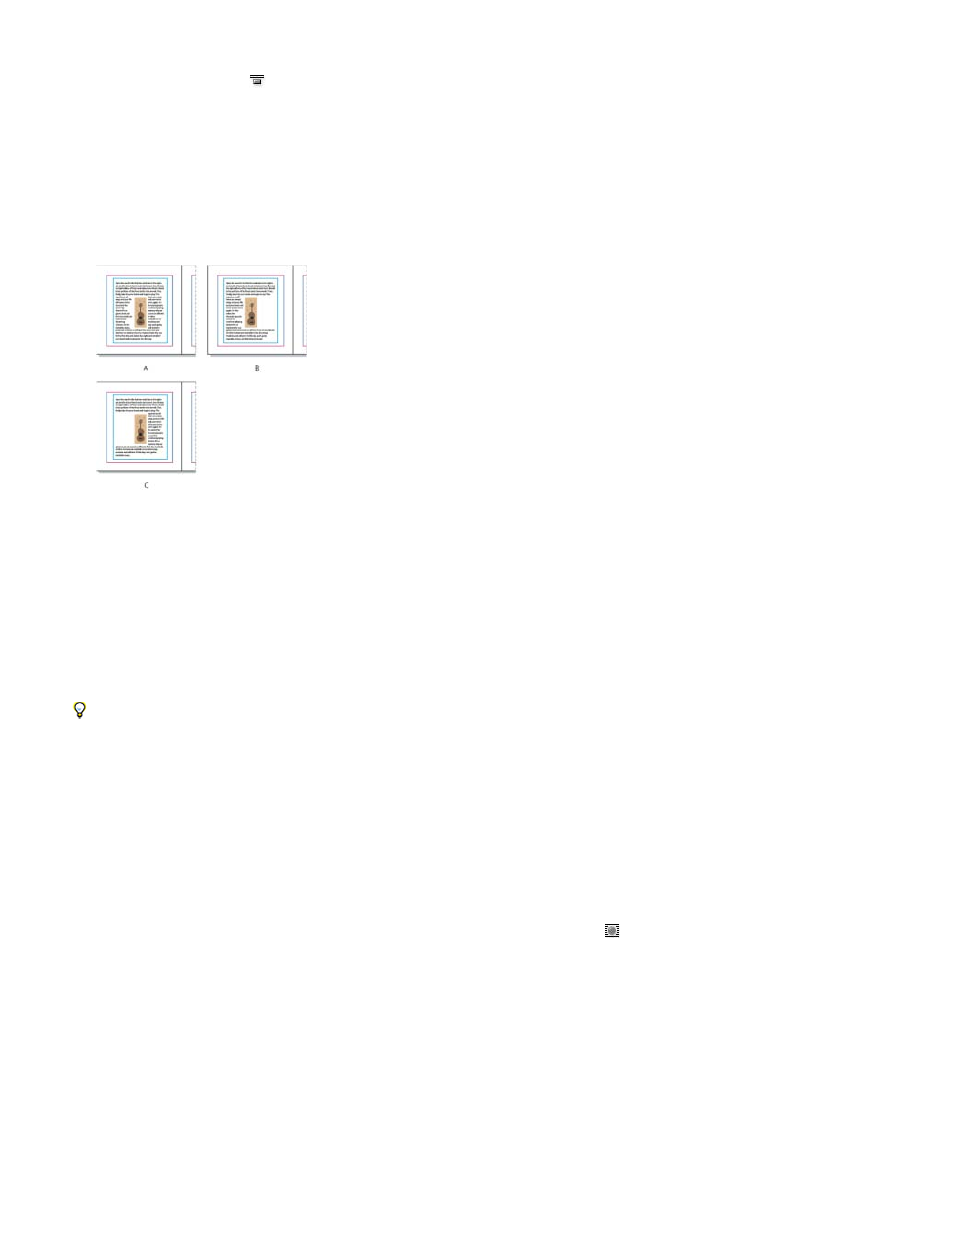
Wrap To options
A. Both right and left sides B. Side towards spine C. Side away from spine
5. Specify offset values. Positive values move the wrap away from the frame; negative values move the wrap within the frame.
If you can’t get the text to wrap around an image, make sure that Ignore Text Wrap isn’t selected for the text frame that doesn’t wrap. Also, if Text
Wrap Only Affects Text Beneath is selected in Composition preferences, make sure that the text frame is beneath the wrap object.
Text frames inside a group aren’t affected by a text wrap you apply to the group.
To set default text wrap options for all new objects, deselect all objects and then specify text wrap settings.
Wrap text around imported images
To wrap text around an imported image, save the clipping path in the application where you created the image, if possible. When you place the
image in InDesign, select the Apply Photoshop Clipping Path option in the Image Import Options dialog box.
1. To display the Text Wrap panel, choose Window > Text Wrap.
2. Select an imported image, and in the Text Wrap panel, click Wrap Around Object Shape
.
3. Specify offset values. Positive values move the wrap away from the frame; negative values move the wrap within the frame.
4. Choose Show Options from the Text Wrap panel menu to display additional options.
5. From the Type menu, choose a contour option:
Bounding Box
Wraps text to the rectangle formed by the image’s height and width.
244