Create and edit custom glyph sets – Adobe InDesign User Manual
Page 352
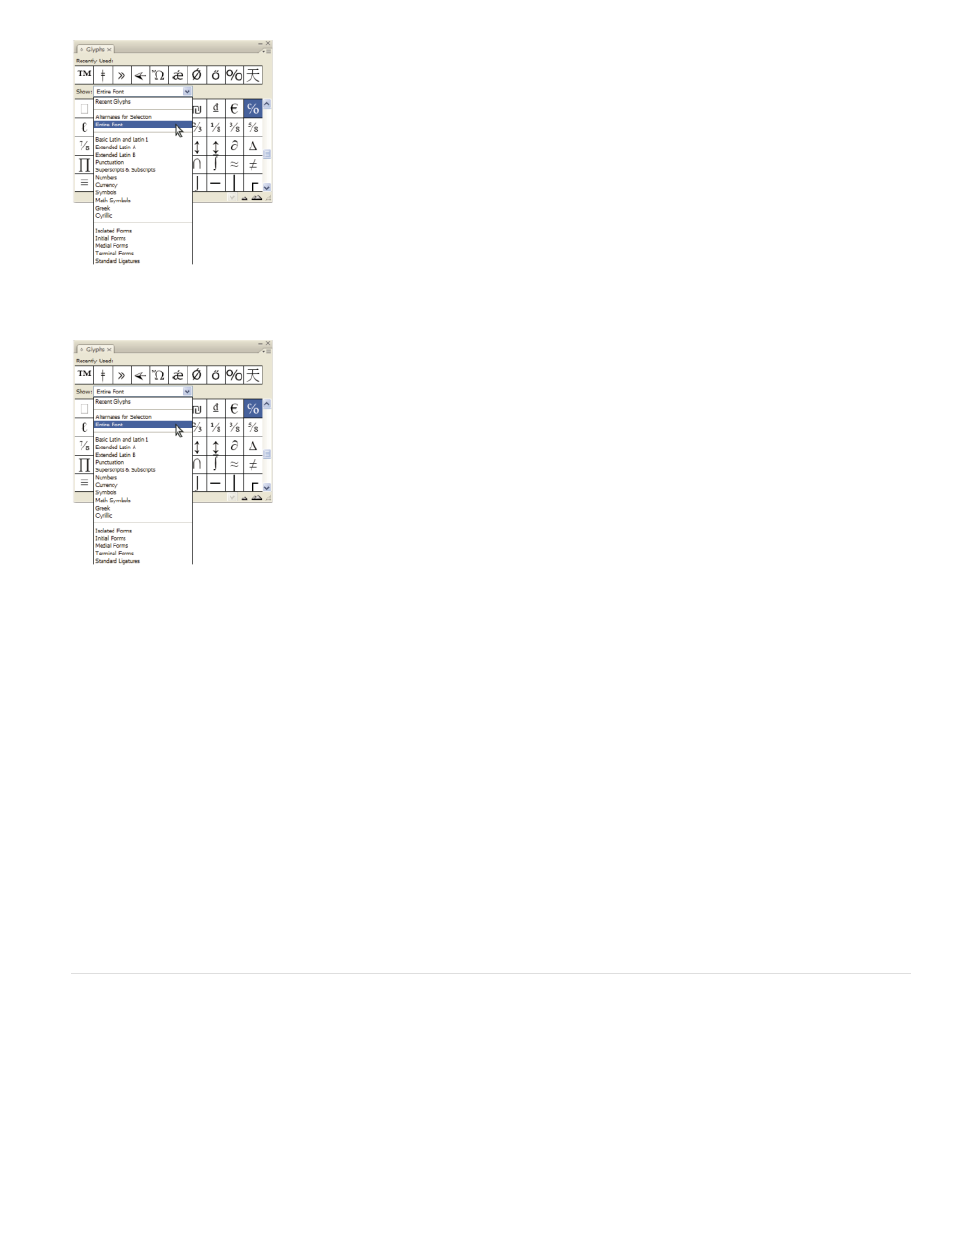
Show menu options in the Glyphs panel
Show menu options in the Glyphs panel
1. In the Glyphs panel, choose an OpenType font from the font list.
2. Choose an option from the Show menu.
The options displayed vary depending on which font is selected. For information on applying OpenType font attributes, see Apply OpenType font
attributes. For more information on OpenType fonts, see
.
Highlight alternate glyphs in the text
1. Choose Edit > Preferences > Composition (Windows) or InDesign > Preferences > Composition (Mac OS).
2. Select Substituted Glyphs, and then click OK. Substituted glyphs in the text are highlighted in nonprinting yellow.
Create and edit custom glyph sets
A glyph set is a named collection of glyphs from one or more fonts. Saving commonly used glyphs in a glyph set prevents you from having to look
for them each time you need to use them. Glyph sets are not attached to any particular document; they are stored with other InDesign preferences
in a separate file that can be shared.
You can determine whether the font is remembered with the added glyph. Remembering fonts is useful, for example, when you are working with
dingbat characters that may not appear in other fonts. If a glyph’s font is remembered, but the font is missing, the font’s square appears in pink in
the Glyphs panel and the Edit Glyph Set dialog box. If a font is not remembered with an added glyph, a “u” appears next to the glyph, indicating
that the font’s unicode value determines the appearance of the glyph.
347