Create hanging punctuation – Adobe InDesign User Manual
Page 426
Facebook posts are not covered under the terms of Creative Commons.
beginning or ending of the paragraph to prevent orphans and widows.
For Start Paragraph, choose an option to force InDesign to push the paragraph to the next column, frame, or page. If Anywhere is
selected, the start position is determined by the Keep Line Settings option. For other options, they will be forced to start from these
positions.
When you create paragraph styles for headings, use the Keep Options panel to make sure that your headings remain with the paragraph that
follows them.
Create hanging punctuation
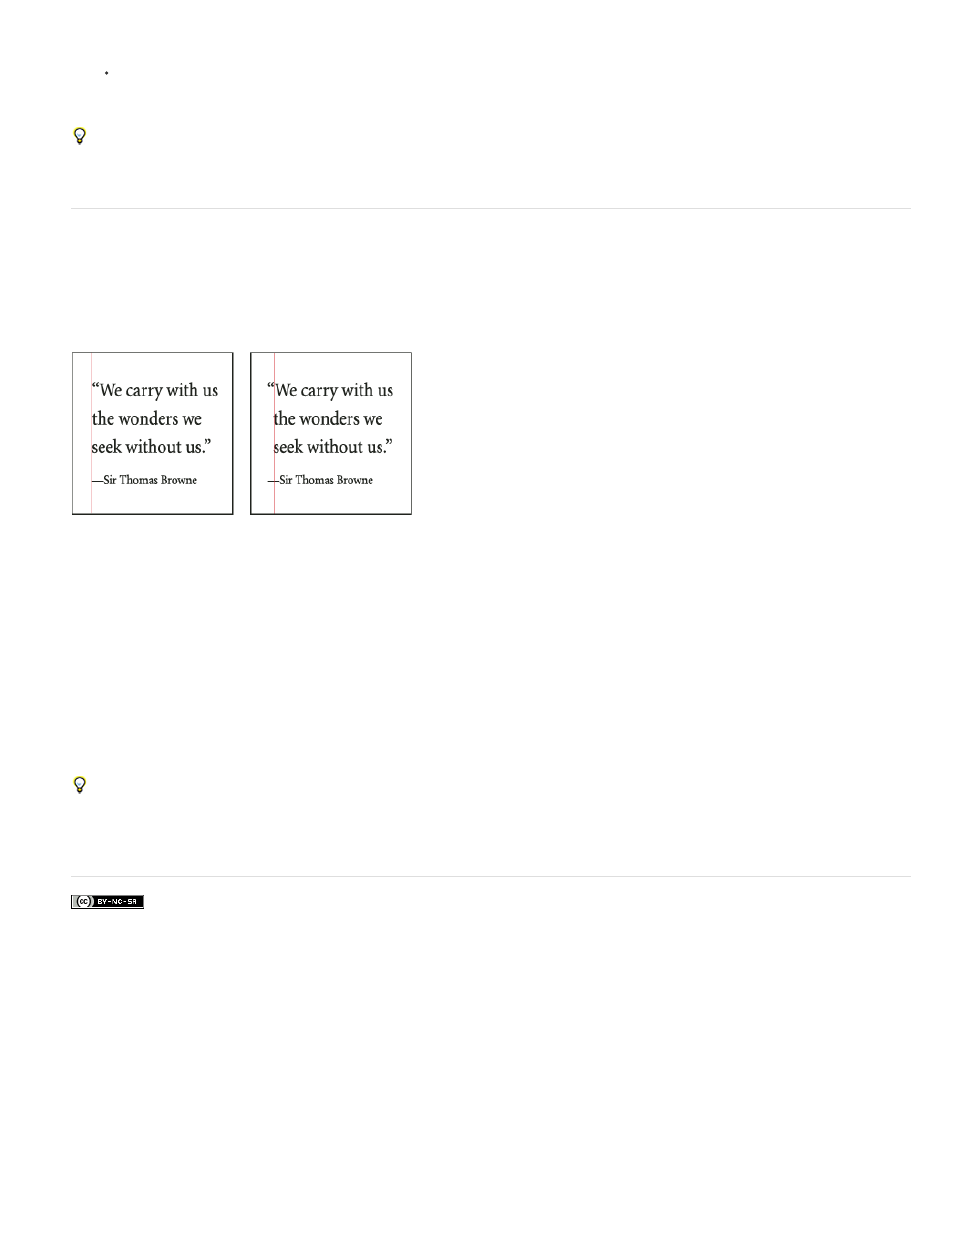
Punctuation marks and letters such as “W” can make the left or right edges of a column appear to be misaligned. Optical Margin Alignment
controls whether punctuation marks (such as periods, commas, quotation marks, and dashes) and edges of letters (such as W and A) hang
outside the text margins, so that the type looks aligned.
Before (left) and after (right) applying Optical Margin Alignment
1. Select a text frame, or click anywhere in the story.
2. Choose Type > Story.
3. Select Optical Margin Alignment.
4. Select a font size to set the appropriate amount of overhang for the size of type in your story. For optimal results, use the same size as the
text.
To turn off Optical Margin Alignment for an individual paragraph, choose Ignore Optical Margin from the Paragraph panel menu or Control
panel menu.
Adobe also recommends
421