Convert a clipping path to a graphics frame – Adobe InDesign User Manual
Page 233
Tolerance
Inset Frame
Invert
Include Inside Edges
Restrict to Frame
Use High Resolution Image
Threshold levels at 25 (left) and 55 (right)
Specifies how similar a pixel’s lightness value can be to the Threshold value before the pixel is hidden by the clipping path. Increasing
the Tolerance value is useful for removing unwanted bumps caused by stray pixels that are darker than, but close to the lightness value of, the
Threshold value. Higher Tolerance values usually create a smoother, looser clipping path, by increasing the range of values near the Tolerance
value within which stray darker pixels are included. Decreasing the Tolerance value is like tightening the clipping path around smaller variations in
value. Lower Tolerance values create a rougher clipping path by adding anchor points, which may make it harder to print the image.
Tolerance levels at 0 (left) and 5 (right)
Shrinks the resulting clipping path relative to the clipping path defined by the Threshold and Tolerance values. Unlike Threshold and
Tolerance, the Inset Frame value does not take lightness values into account; instead, it uniformly shrinks the shape of the clipping path. Adjusting
the Inset Frame value slightly may help hide stray pixels that could not be eliminated by using the Threshold and Tolerance values. Enter a
negative value to make the resulting clipping path larger than the clipping path defined by the Threshold and Tolerance values.
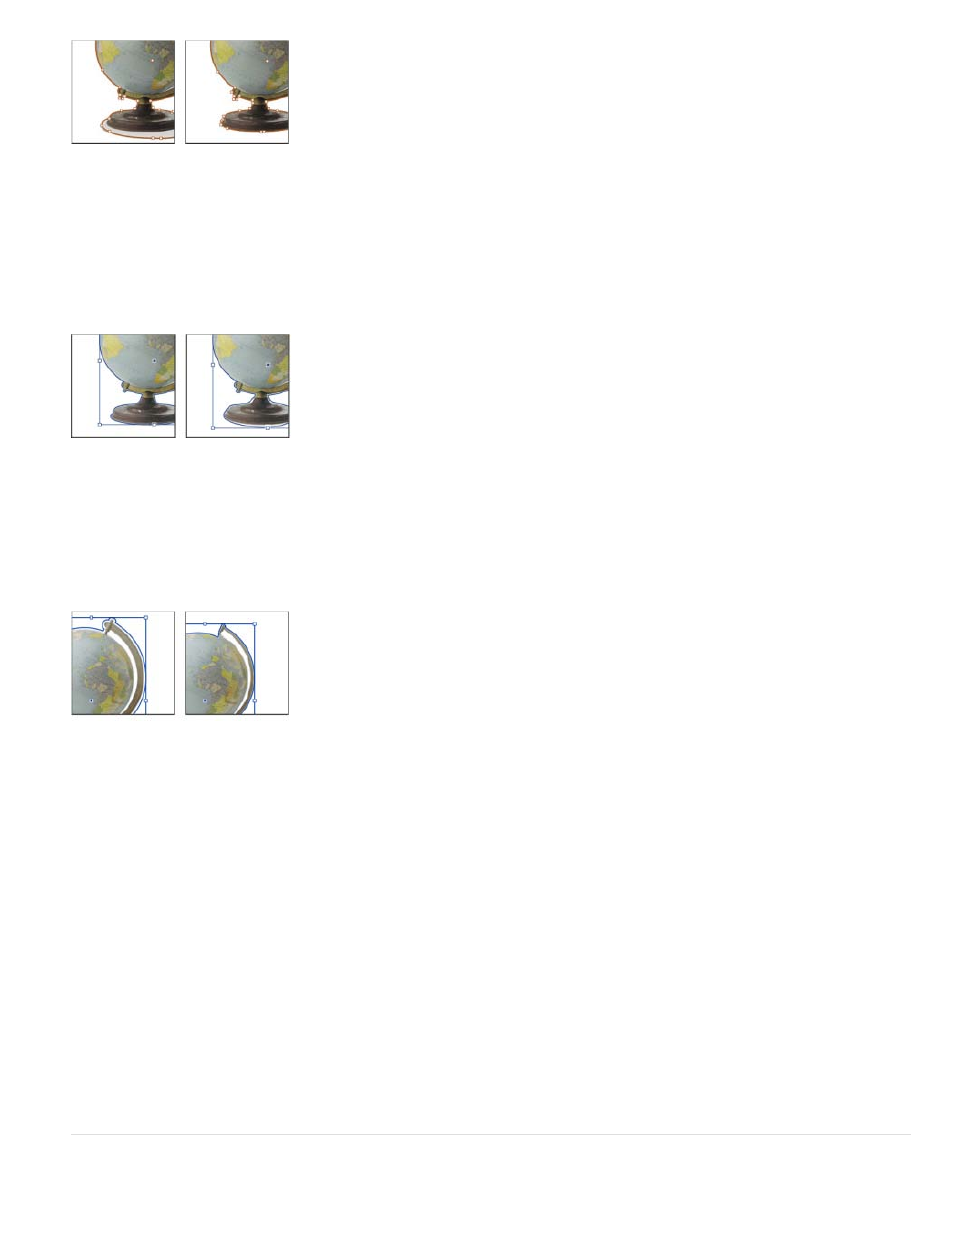
Inset frame at -0p1 (left) and 0p3 (right)
Switches the visible and hidden areas, by starting the clipping path with the darkest tones.
Makes areas transparent if they exist inside the original clipping path, and if their lightness values are within the Threshold
and Tolerance ranges. By default, the Clipping Path command makes only the outer areas transparent, so use Include Inside Edges to correctly
represent “holes” in a graphic. This option works best when the brightness levels of areas you want to make transparent don’t match any areas
that must be visible. For example, if you choose Include Inside Edges for a graphic of silver eyeglasses, and the lenses become transparent, very
light areas of the eyeglass frame may also become transparent. If areas become transparent when that wasn’t your intent, try adjusting the
Threshold, Tolerance, and Inset Frame values.
Creates a clipping path that stops at the visible edge of the graphic. This can result in a simpler path when you use the
graphic’s frame to crop the graphic.
Calculates transparent areas using the actual file, for maximum precision. Deselect this option to calculate
transparency based on the screen display resolution, which is faster but less precise. This option isn’t available if you chose Alpha Channel,
because InDesign always uses an alpha channel at its actual resolution. (See About transparency.)
Convert a clipping path to a graphics frame
228