Consolidating project (consolidate project), Consolidate project] dialog box – Grass Valley EDIUS Pro v.6.5 User Manual
Page 74
Project Settings
52
EDIUS - Reference Manual
1
Note
• You cannot copy files if the project folder is same as the source.
• If the frame rates are different, the merge process fails.
• If you merge projects with different project settings, the original project and video may be changed due to the
differences of the frame size, aspect ratio, and overscan size. In addition, the rendered files cannot be copied.
Consolidating Project (Consolidate Project)
You can remove unnecessary clips from the project folder, and extract a portion to use.
1 Click the [Save Project] list button on the timeline.
2 Click [Consolidate Project].
The [Consolidate Project] dialog box appears.
[Consolidate Project] Dialog Box
2
Alternative
• Click [File] on the menu bar, and click [Consolidate Project].
3 Set each item and click [OK].
When you delete unnecessary files, a confirmation message is displayed, and click [Yes].
3
•
When a message indicating there is not enough disc space for consolidating is displayed, change the
destination.
[Consolidate Project] Dialog Box
0
[Import Bin]
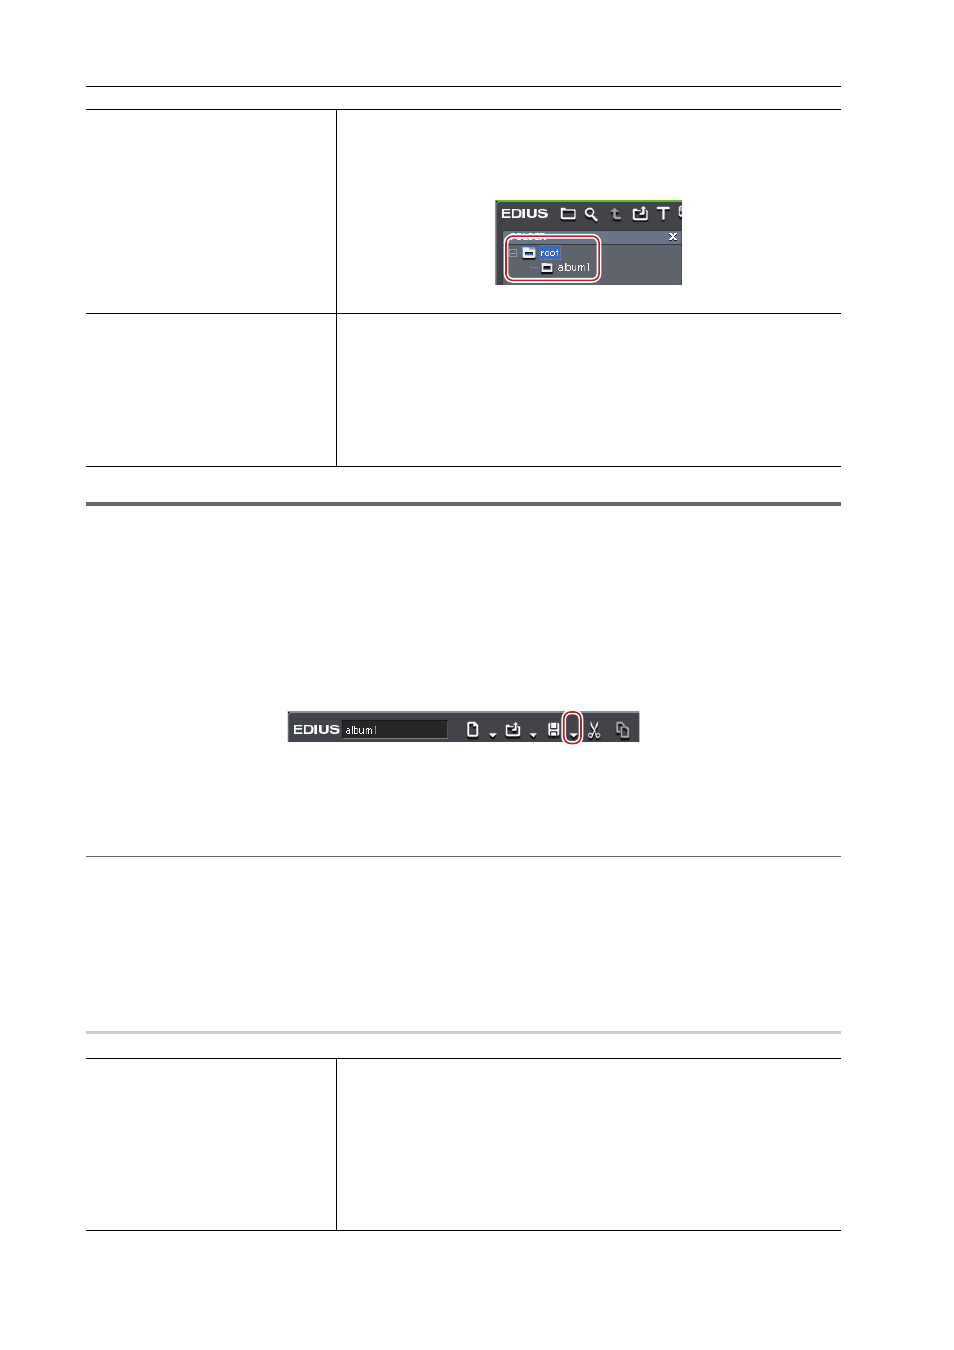
Check this item to merge the bin contents. To [Folder name], enter a folder
name to manage the imported bin clips. The folder will be created under the
[root] folder in the bin.
When imported with the folder name “album1”, the following be displayed.
Uncheck this item to import only the sequence.
[Copy Files]
[Copy clips in project folder]
Copy the files in the source project folder.
[Copy rendered files]
Copy the rendered files.
[Folder name]
Enter a folder name to manage the copied files. The folder is created under
the project folder.
[Project File Location]
[Current Project Location]
Overwrite and save the current project.
[Save Project to Folder]
Specify a folder to save the project.
[Drive Space]/[Required Space]
Display the available disc space of the selected drive and the whole file size
to be created (copied) by consolidating. They are displayed in red when the
required space is larger than the available disc space.