Volume/pan adjustment, Adjusting the volume and pan of a clip, Adding a rubber band point – Grass Valley EDIUS Pro v.6.5 User Manual
Page 421: Volume/pan rubber band, Adjusting the rubber band, P399
399
Volume/Pan Adjustment
EDIUS - Reference Manual
Volume/Pan Adjustment
Adjusting the Volume and Pan of a Clip
Adding a Rubber Band Point
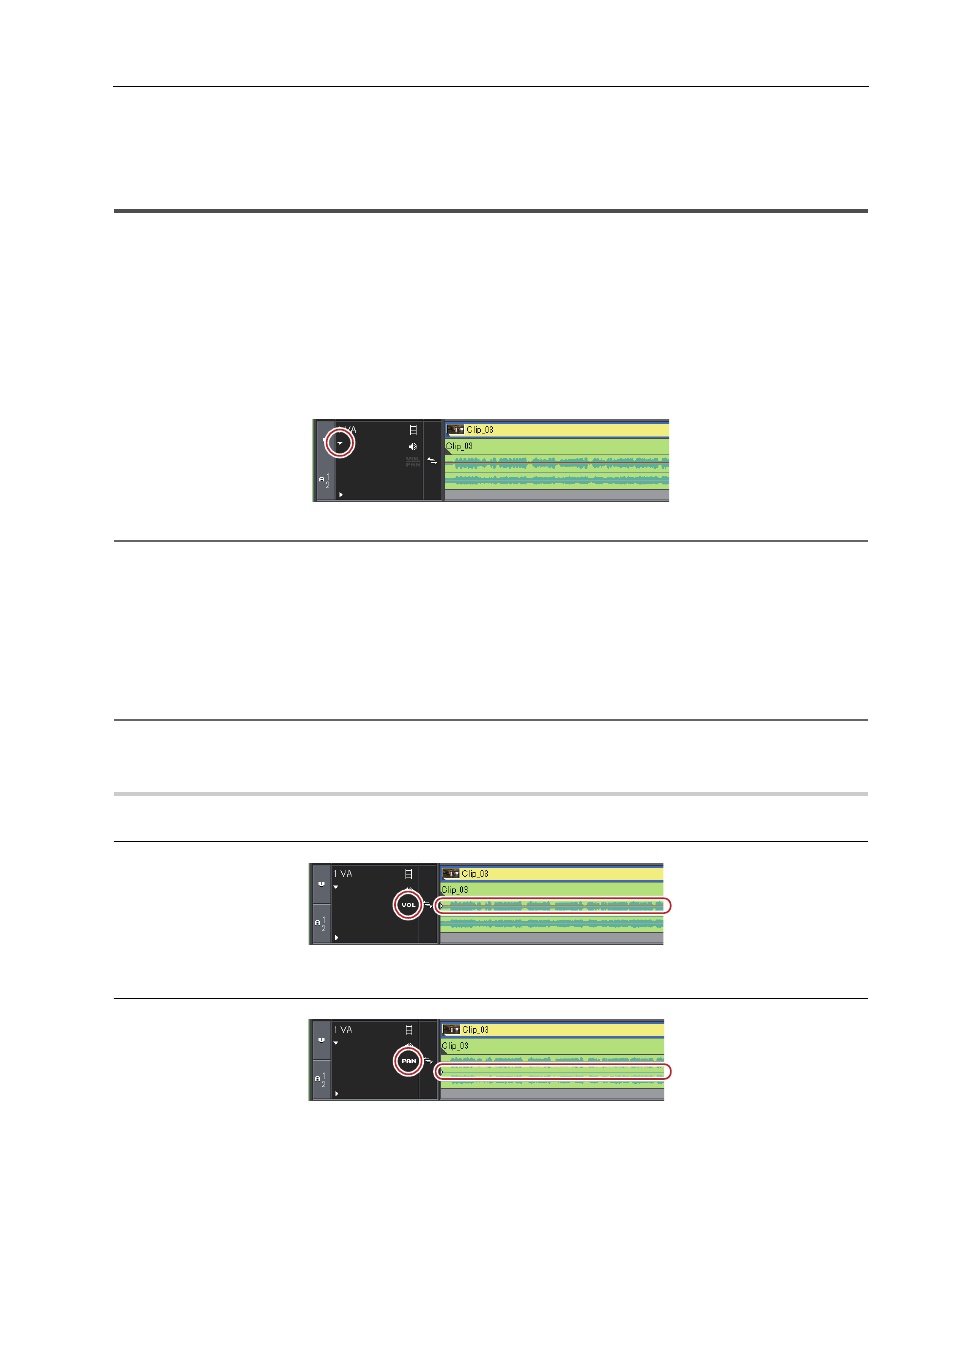
Two rubber bands are displayed on audio clips placed on the timeline; a volume rubber band (orange line) used to
adjust volume and a pan rubber band (blue line) used to change the L/R stereo balance. Rubber band points can be
added to adjust the shape of the rubber band.
1 Click the expand button for the audio on the track panel.
The track expands and the rubber band and the waveform are displayed. For stereo audio, a waveform is displayed in
each channel.
2
Alternative
• Expanded display of audio:
[Alt] + [S]
2 Click [Volume/Pan].
Clicking it switches between Volume, Pan and Lock.
Volume/Pan Rubber Band
3 Click on a rubber band in the position where you want to apply a change.
A point is added that is used to adjust the volume or pan.
2
Alternative
• Right-click a rubber band in the position you want to add a point, then click [Add/Delete].
Volume/Pan Rubber Band
0
Volume rubber band (orange line)
Pan rubber band (blue line)
Adjusting the Rubber Band
You can adjust the volume and pan of a clip. You can also adjust the volume and the pan along to the time axis by
adjusting the shape of the relevant rubber band.