Changing project settings, Sequence settings, Changing project settings sequence settings – Grass Valley EDIUS Pro v.6.5 User Manual
Page 68
Project Settings
46
EDIUS - Reference Manual
3 Select a project preset, and click [OK].
Changing Project Settings
Change the project settings by modifying the detailed settings of an existing project preset.
1
Note
• The settings of the original preset will not be changed if you change the project settings of a project you are currently
editing.
To create a new project preset or change the existing project preset settings, use [Application] in [System Settings]
→
[Project Preset].
• When changing the settings for [TC preset], [TC Mode], [Total Length], and [Channel map] in the project settings
while editing a project, the change is not reflected in the created sequence. Change the settings of the created
sequence in the [Sequence settings] dialog box for each sequence.
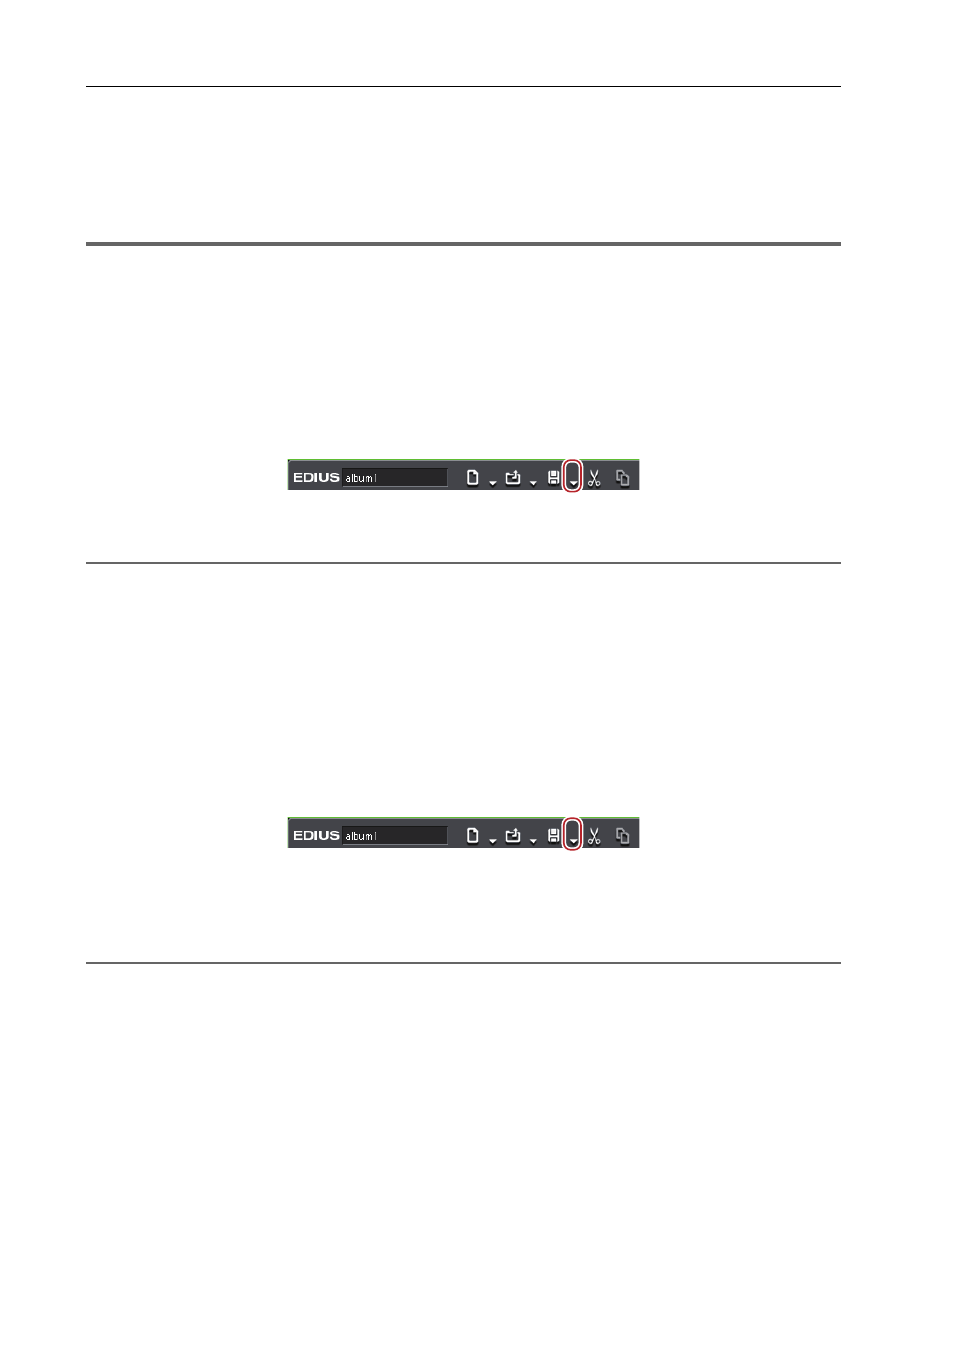
1 Click the [Save Project] list button on the timeline.
2 Click [Project Settings].
2
Alternative
• Click [Settings] on the menu bar, and click [Project Settings].
3 Select a project preset, and click [Change current setting].
The [Project Settings] (Detailed Settings) dialog box appears.
[Project Settings] (Detailed Settings) Dialog Box
4 Change the settings, and click [OK].
Sequence Settings
You can change the settings of the sequence settings in the [Sequence settings] dialog box.
1 Click the [Save Project] list button on the timeline.
2 Click [Sequence settings].
The [Sequence settings] dialog box appears.
[Sequence settings] Dialog Box
2
Alternative
• Click [Settings] on the menu bar, and click [Sequence settings].
• Right-click the sequence tab, and click [Sequence Settings].
• Right-click a sequence clip in the bin, and click [Sequence Settings].
3 Change the settings, and click [OK].