Moving camera switch points – Grass Valley EDIUS Pro v.6.5 User Manual
Page 329

307
Multicam Mode
EDIUS - Reference Manual
2 Click the camera video of the clip to be enabled first.
3 Click [Play] on the Recorder.
4 Click the camera video of the clip to be enabled at the video switching position.
The camera switch point is set to the timeline cursor position. When playback stops, a cut point is added to the clip on
the camera switch point.
3
•
Any camera switch point which is placed between the first up to the playback stop point is deleted.
• When setting the camera switch point during playback, you can set not to delete the camera switch points that
playback has passed through. Click [Mode] on the menu bar, and click [Overwrite Cut Point] to uncheck the
item.
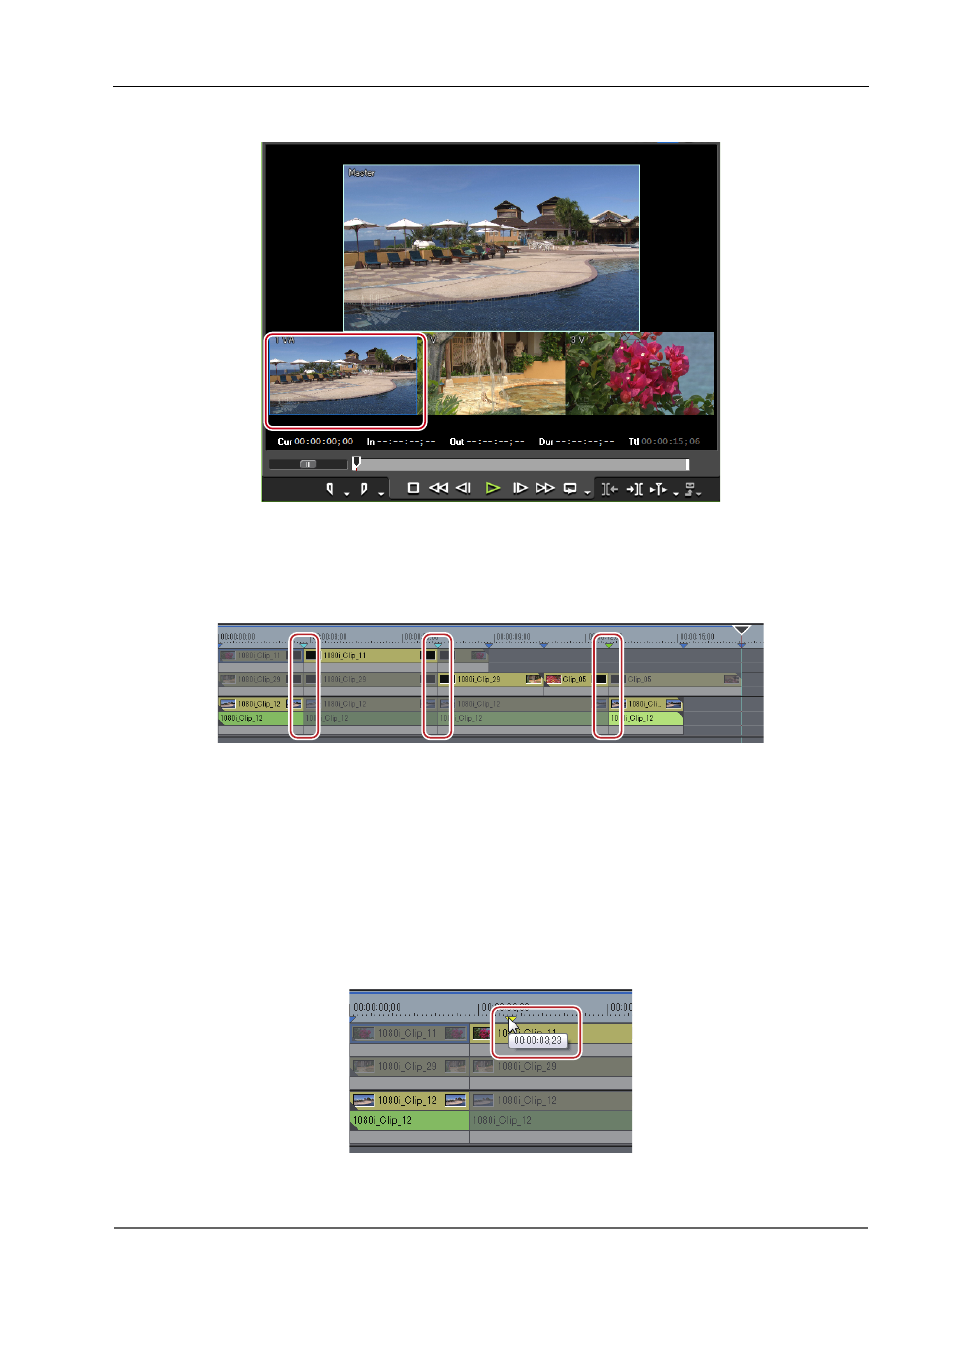
Moving Camera Switch Points
You can delete camera switch points.
1 Drag the camera switch point.
Selected camera switch points are displayed in light blue.
During dragging, the images of the previous and next frames of the camera switch point are displayed on the camera of
the respective track on the Recorder.
2
Alternative
• Click the clip boundary, and perform a slide trim.
