Deleting the in and out points on the timeline, Placing clips – Grass Valley EDIUS Pro v.6.5 User Manual
Page 250
Editing Timelines
228
EDIUS - Reference Manual
1 Select a clip, click [Marker] on the menu bar, and click [Set In/Out Point to Selected Clip].
In and Out points are set to both ends of the clip.
2
Alternative
• Setting In and Out points to both ends of a selected clip:
[Z]
Deleting the In and Out Points on the Timeline
You can delete In and Out points on the timeline.
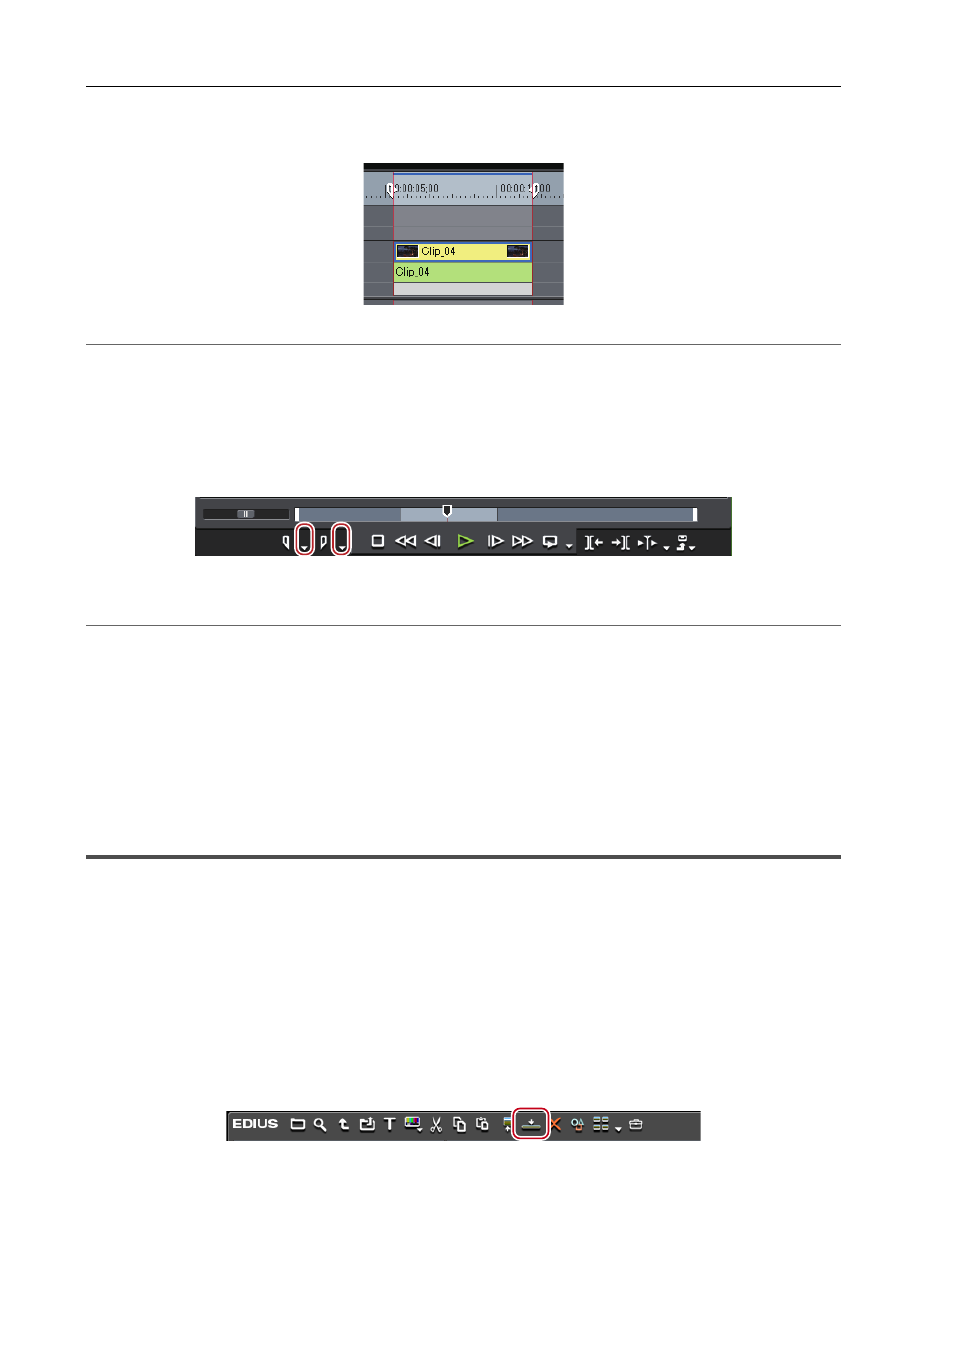
1 Click the [Set In] ([Set Out]) list button on the Recorder.
2 Click [Clear In Point] ([Clear Out Point]).
2
Alternative
• Right-click the time scale, and click [Clear In Point] ([Clear Out Point]).
• Click [Marker] on the menu bar, and click [Clear In Point] ([Clear Out Point]).
• Right-click the slider on the Recorder, and click [Clear In Point] ([Clear Out Point]).
• Deleting In and Out Points on the timeline:
[Alt] + [I]/[Alt] + [O]
3
•
You can delete In and Out points in a single operation by the following operation:
- Right-click the time scale, and click [Clear In/Out Point].
- Click [Marker] on the menu bar, and click [Clear In/Out Point].
- Deleting In/Out points:
[X]
Placing Clips
Placing Clips
You can place source clips on the timeline.
Clip operations at placement and placement results are dependent on the editing mode.
1 Set the source channel mapping.
Setting Channel Mapping
2 Move the timeline cursor to the position to place the clip.
3 Select a clip from the bin, and click [Add to Timeline].
The clip is placed on the track with the position of the timeline cursor set as the In point.