Setting in and out points to sources, Setting the in and out points, P176 – Grass Valley EDIUS Pro v.6.5 User Manual
Page 198

Importing Sources
176
EDIUS - Reference Manual
1
Note
• Clips displayed in the source browser sometimes cannot be displayed on the Player depending on the external
device or state of the clip.
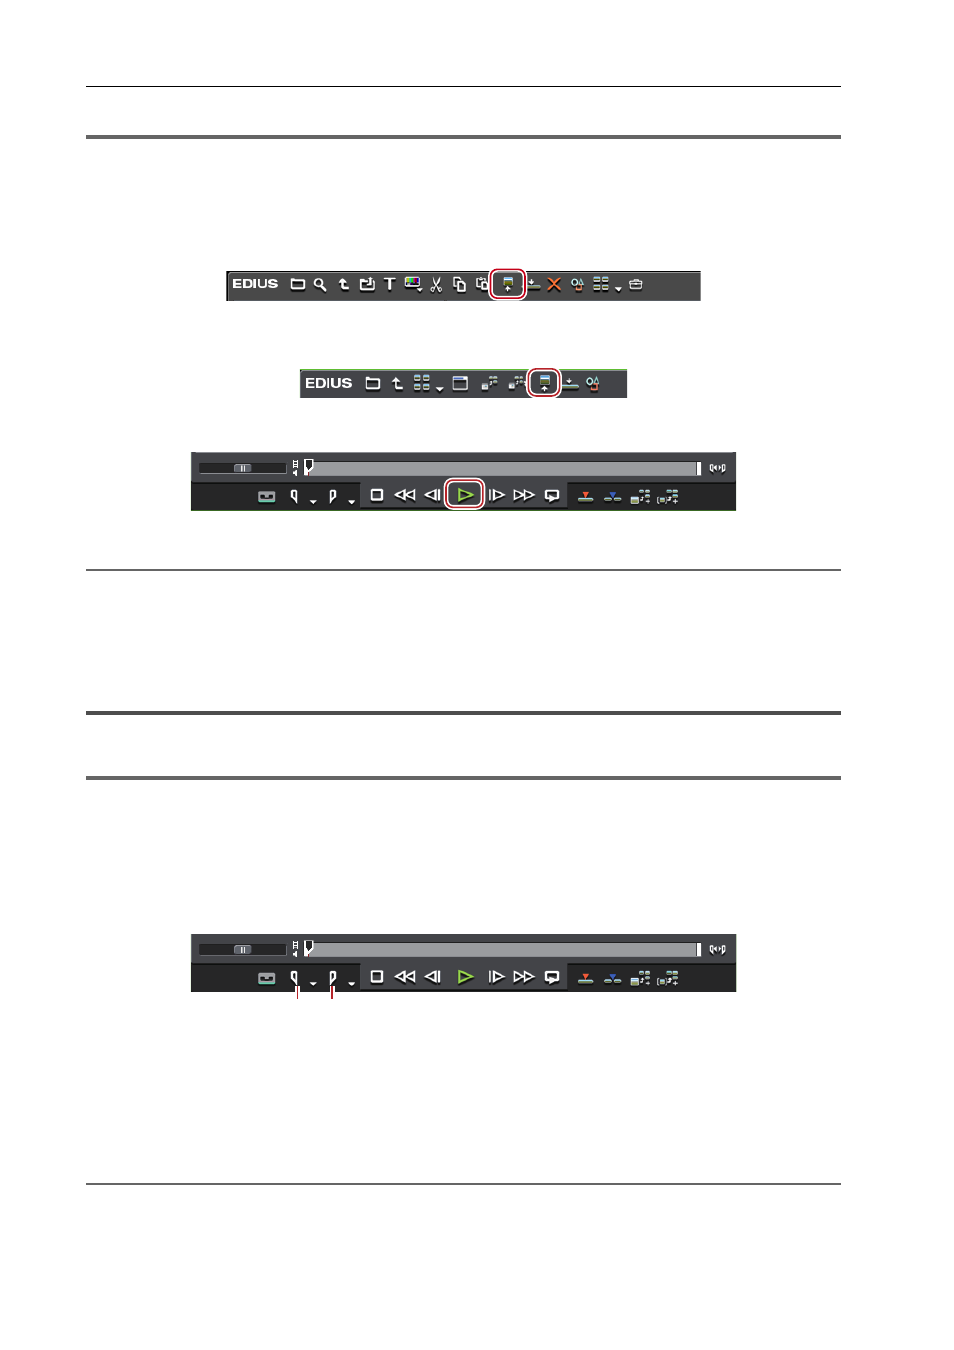
1 Select a clip in the clip view, and click [Show in Player] in the bin or in the source browser.
Example:
Bin
Example:
Source browser
2 Click [Play] on the Player.
Playback with Player Operation Buttons
2
Alternative
• Drag a clip, and drop it onto the Player screen.
• Right-click a clip and click [Show in Player].
• Double-click a clip.
• Select a clip, and press [Enter].
Setting In and Out Points to Sources
The following explains how to set In and Out points to sources.
1
Note
• Operations other than setting and deleting the In and Out points cannot be performed on sources that have not been
captured.
Setting the In and Out Points
Specify the In (start) and Out (end) points of the source. If the In and Out parts are specified in advance, only the part
between those points can be captured or placed on the timeline.
(1) Set the In point
(2) Set the Out point
1 Play back the source, and click [Set In Point] on the Player at the frame to set as the In point.
2 Continue to play back the source, and click [Set Out Point] on the Player at the frame to set as the Out
point.
2
Alternative
• Click [Marker] on the menu bar, and click [Set In Point] or [Set Out Point].
• Right-click the slider on the Player, and click [Set In Point] or [Set Out Point].
• Click the timecode at [In] or [Out] on the Player, and enter the desired numerical value.
(1) (2)
