Ripple mode – Grass Valley EDIUS Pro v.6.5 User Manual
Page 242
Editing Timelines
220
EDIUS - Reference Manual
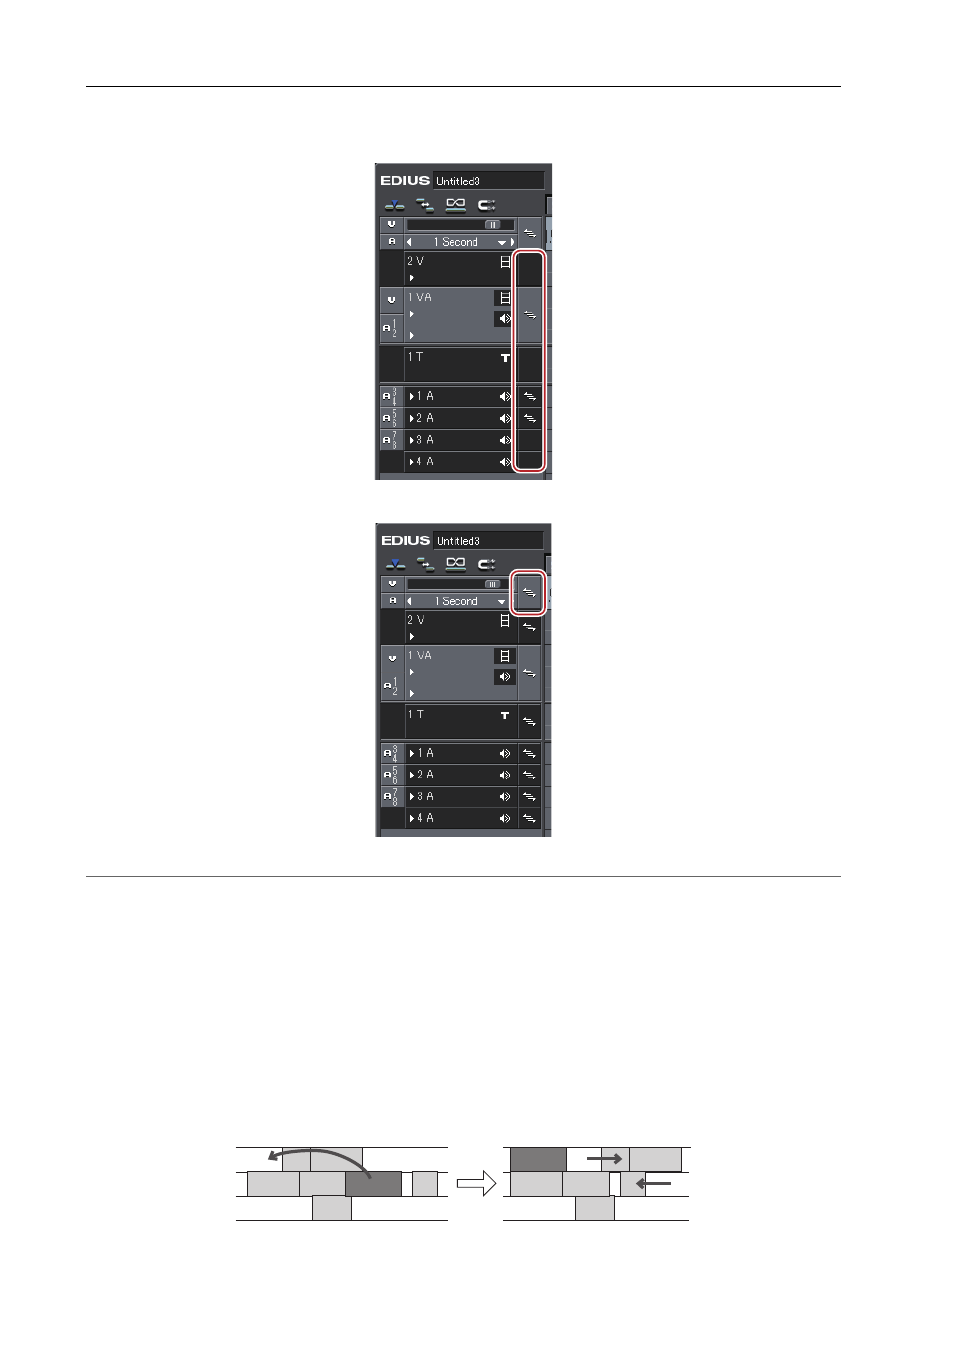
1 Click the lock panel of the track to which sync-lock is set.
An icon is displayed for the track set with sync-lock. Each click switches sync-lock on and off.
To set sync-lock to all tracks, click the batch lock panel.
2
Alternative
• Right-click the lock panel of the track to set sync-lock to, and click [Track Sync Lock]. To cancel, click [Track Sync
Unlock].
• Select the track to set sync-lock to, right-click the batch track panel, and select [Sync Lock Selected Tracks].
Ripple Mode
In the ripple mode, when a clip is deleted or trimmed, the subsequent clips move forward to prevent spaces from being
formed on the timeline. When inserting a clip, you can move the subsequent clips while holding the space at the insert
position.
3
•
All subsequent clips following the clip that is being edited between tracks set with sync-lock are interlocked.
Example:
When sync-lock is disabled on all three tracks and a clip has been inserted with the ripple mode on (insert mode)